▼
Friday, 23 September 2016
Wednesday, 14 September 2016
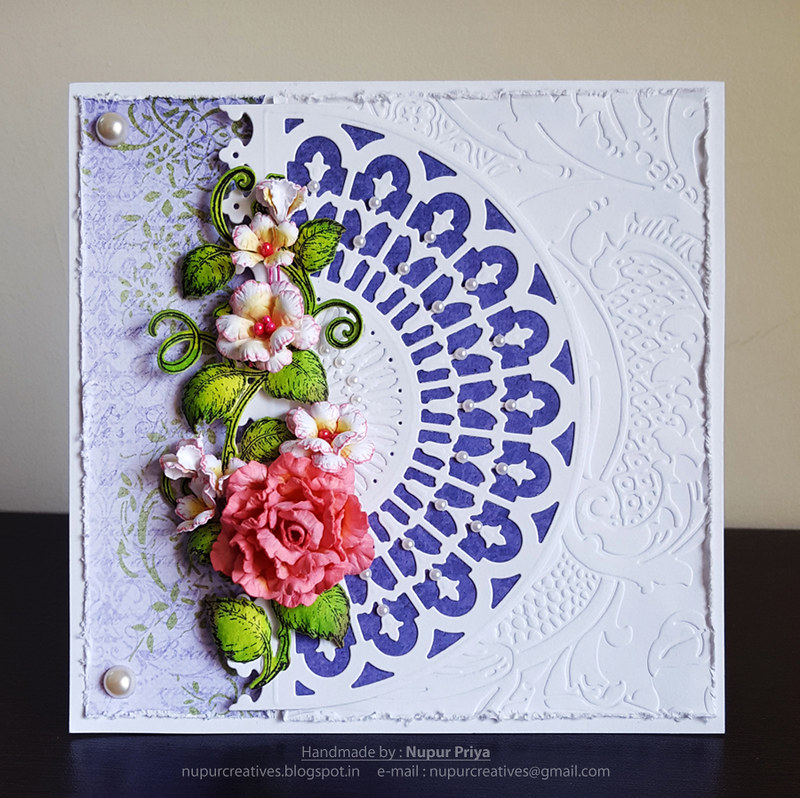
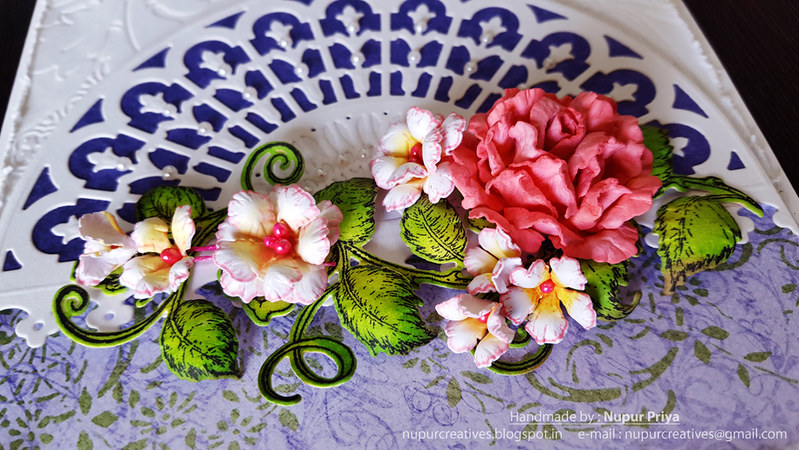
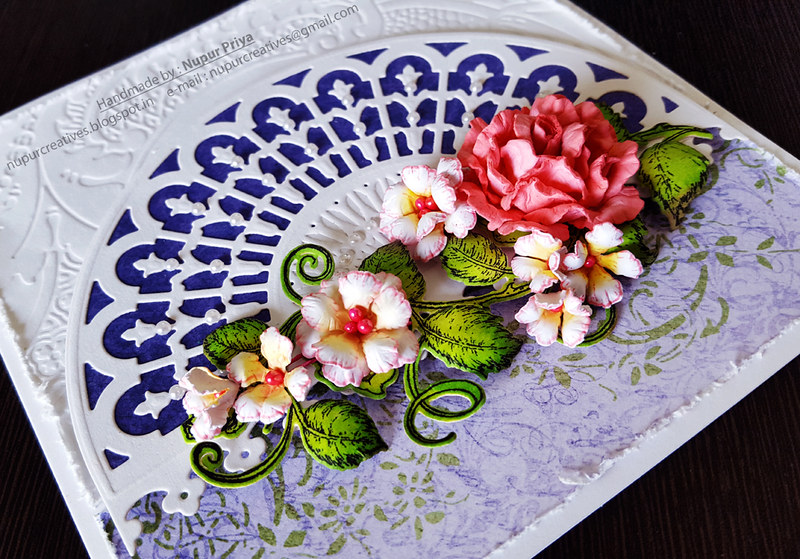
Classic Roses
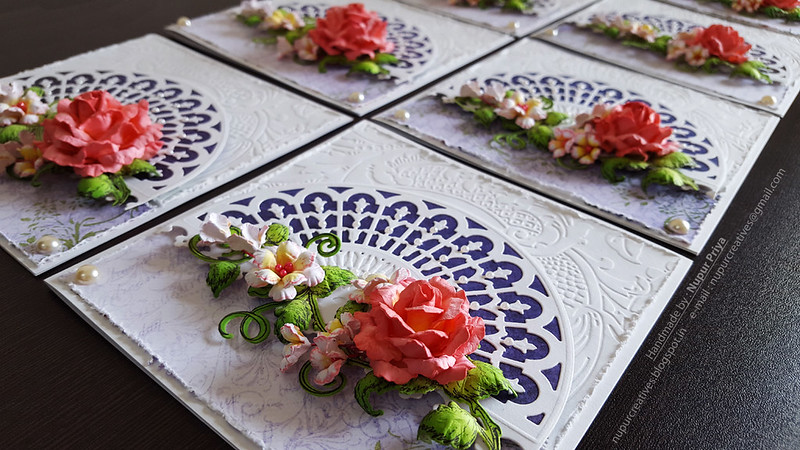
Hello friends & welcome to another Heartfelt Wednesday & September release day...
This month we have a very beautiful collection & I am totally in love with it...
Classic Rose Collection
Beautiful in color, exquisite in fragrance, and ever so dignified, the rose is one of the most coveted flowers found in chic bouquets, or carefully tended flower gardens. Breathtaking in bud form, as a blossom gently opening, or in full bloom, it is a flower that calls attention to itself and beckons you to pause and quietly reflect upon its elegance. Heartfelt Creations invites you to stop, fall quiet and immerse yourself in the breathtaking beauty of the new Classic Rose Collection! Filled with delicate illustrations of roses ranging from buds, to full blossoms, rose wreaths and flower filled vines, the three cling stamp sets and coordinating dies included in this assembling will have you building gorgeous rose gardens filled with varying sizes of dimensional flowers as realistic as those found in nature themselves. The captivating decorative paper collection will whisk you away to perfectly manicured rose filled grounds, serene meadows where brooks babble and wild roses hold their heads high, and alluring views from charming old world buildings clad in weathered brick and vining florals. The handsome color palette of regal purples, deep brick like reds, rich corals and leafy greens filled with delicate swirls, stunning brickwork and floral patterns, along with tender handwritten script are among just a few of the magnificent elements found within this graceful paper assembling. So join us as we slow down, enjoy the view and take some time to linger and smell the roses.
I love roses & I love to make roses...
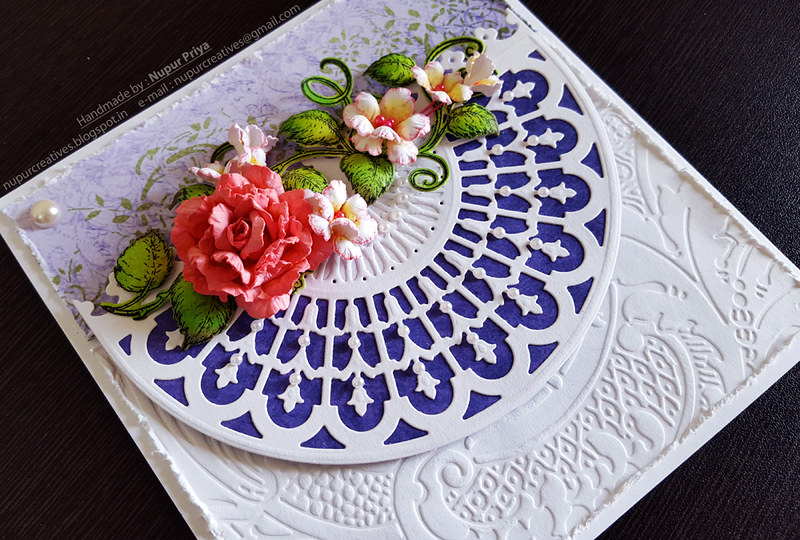
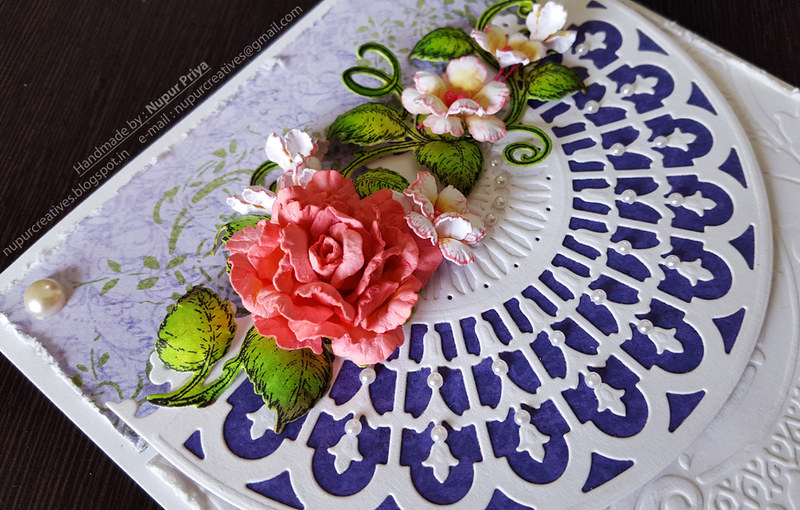
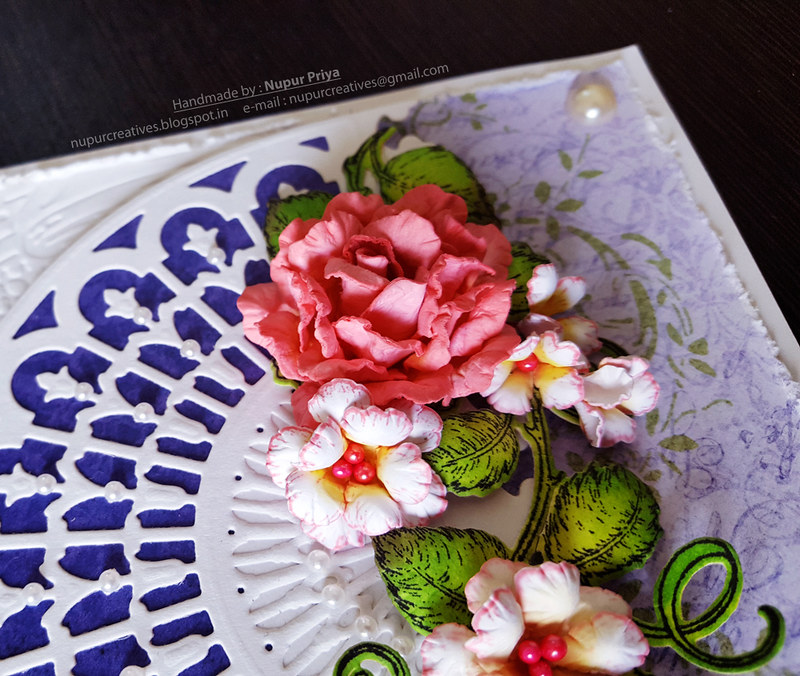
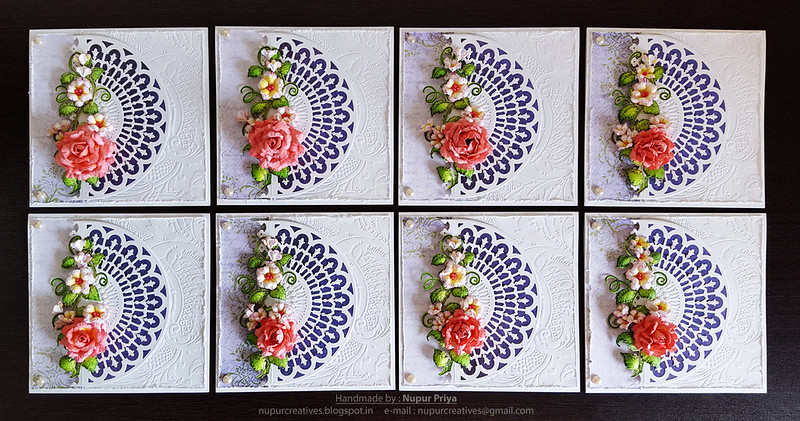
And you can also make other flowers with this collection like I have made for my card...
Saturday, 10 September 2016
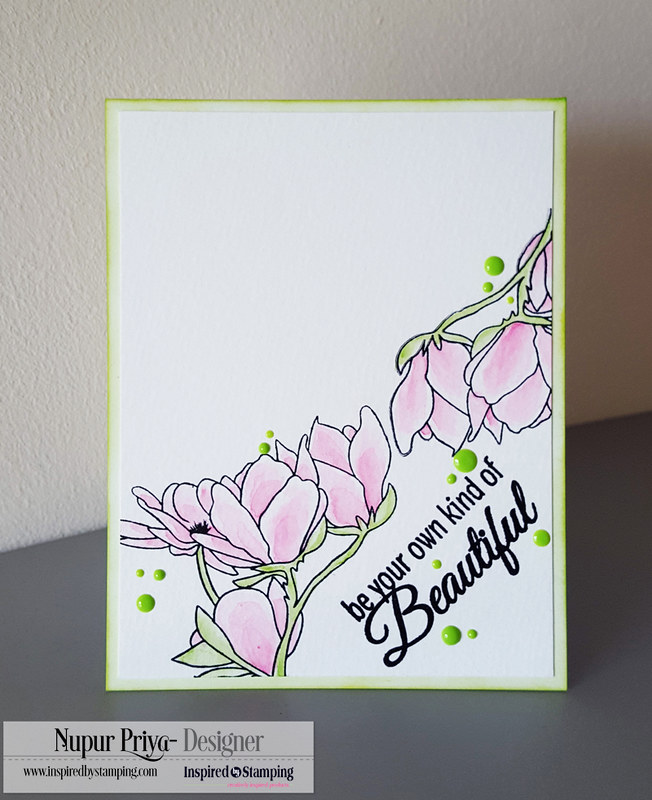
Be Your Own Kind of Beautiful
Hello friends
Welcome to Inspired By Stamping inspiration post...
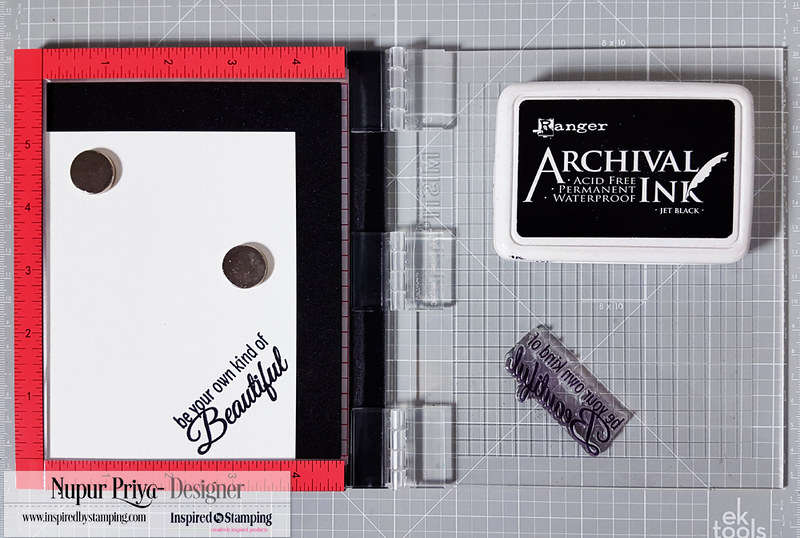
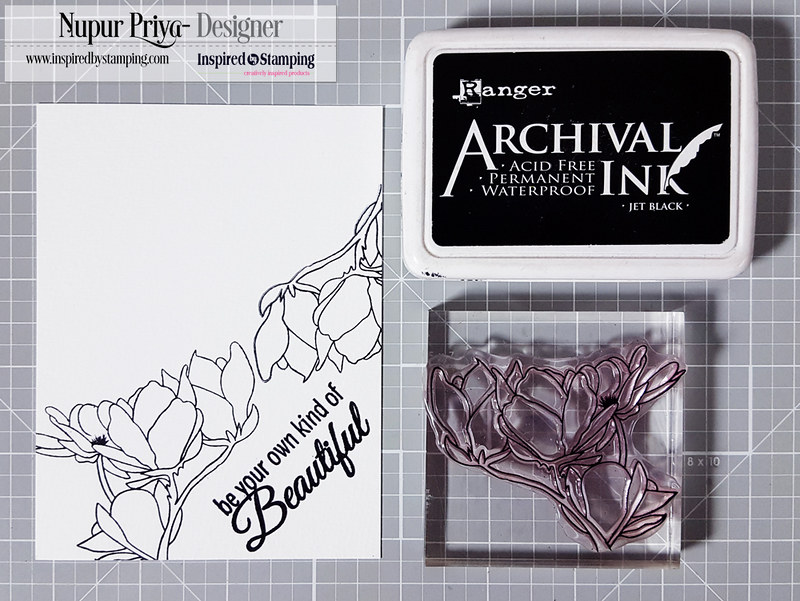
Today I am sharing a tutorial for today's card
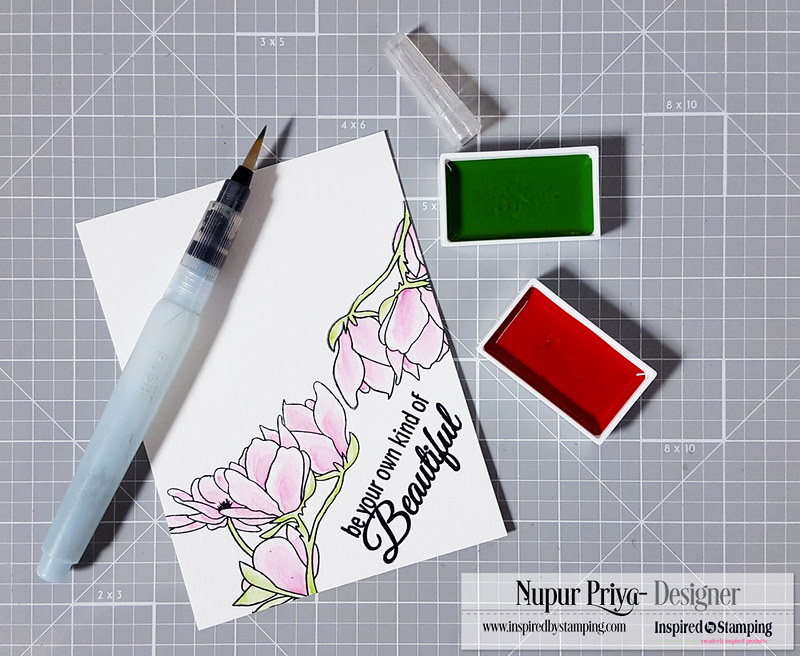
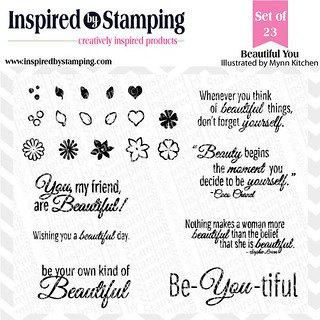
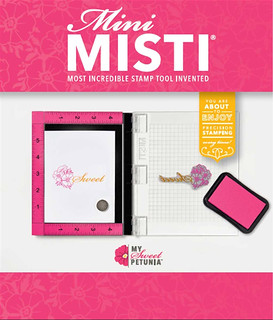
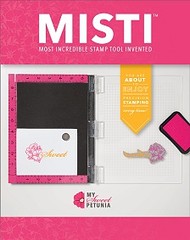
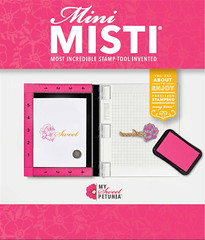
I started with stamping my sentiment first which would give me a guideline to position my image. I positioned my sentiment stamp from Beautiful You stamp set on watercolor cardstock places in mini MISTI. Closed the lid to pick p the stamp & then stamped it with black archival ink.
Then I stamped my image as shown with black archival ink.
Next I colored in the image with Gansai Tambi watercolors. I just wanted hint of colors & added light washes of color to achieve the look.
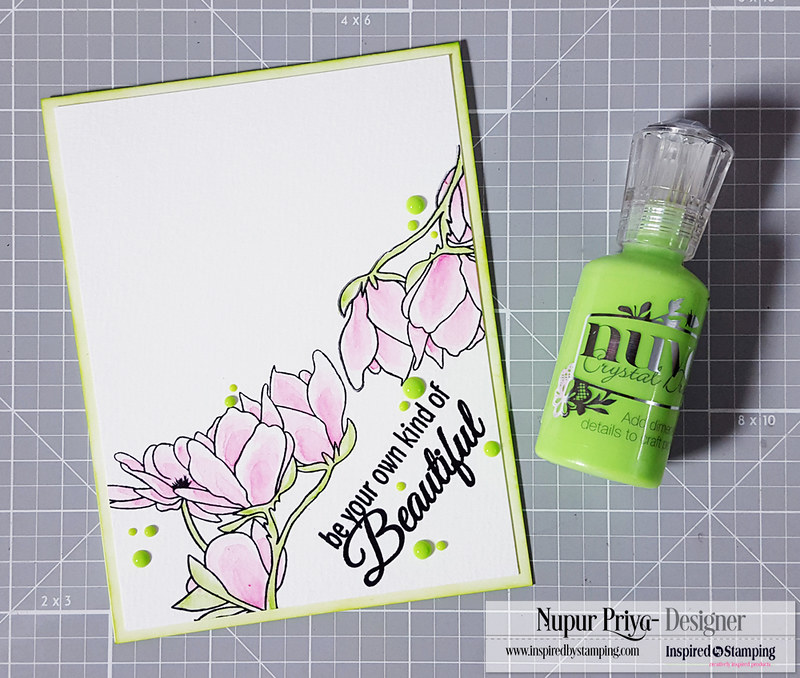
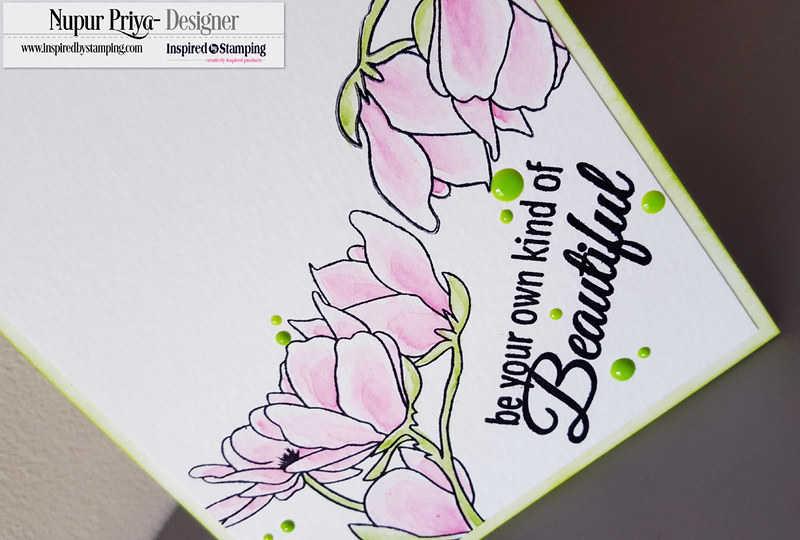
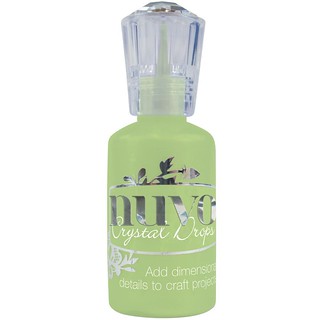
I added this panel on the card front inked lightly with mowed lawn distress ink. I added few drops of Gloss Apple Green Nuvo Crystal Drops as a final touch.
Friday, 9 September 2016
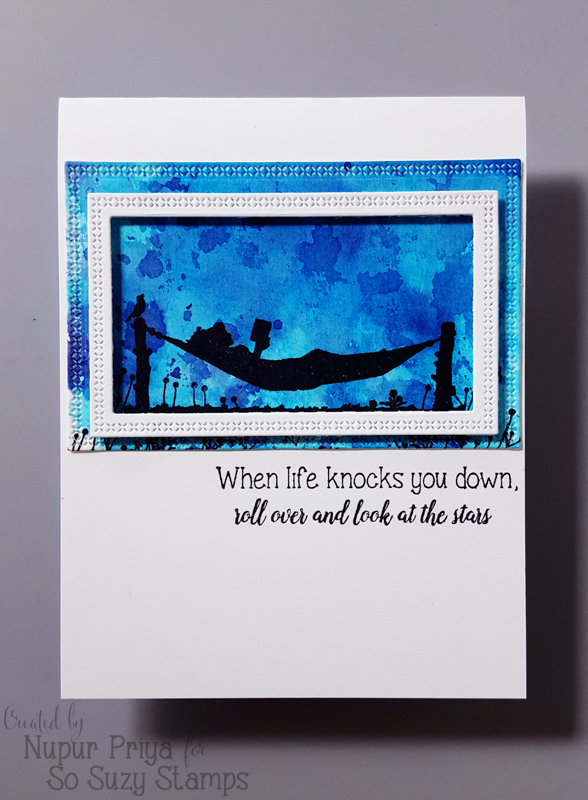
When Life Knocks You Down
Hello friends & welcome to So Suzy Stamps inspiration post.
I have made an inspirational card for today using Life Knocks You Down, Hammock & Spire Sage.
Here is how I made it...
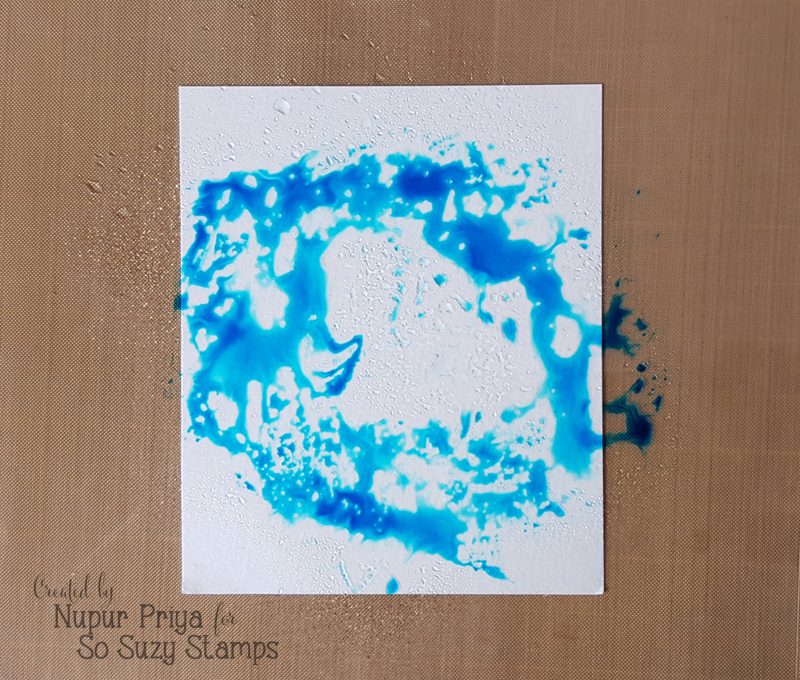
- I started with a piece of acetate, watercolor cardstock, mini mister, Mermaid Lagoon & Chipped Sapphire Distress inks.
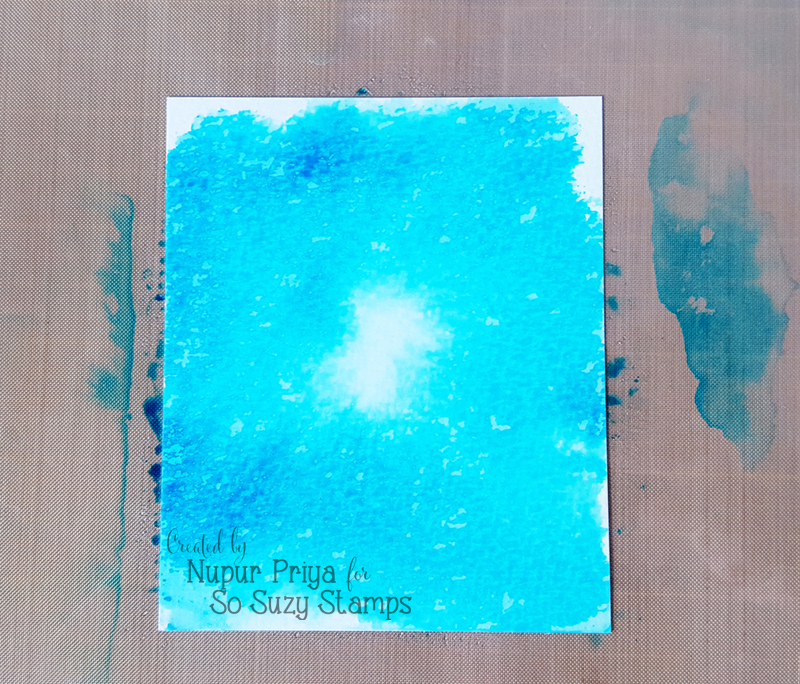
- I applied Mermaid Lagoon on the acetate, spritz it with water & smooshed it on the piece of watercolor cardstock.
- I repeated the step with Chipped Sapphire distress ink.
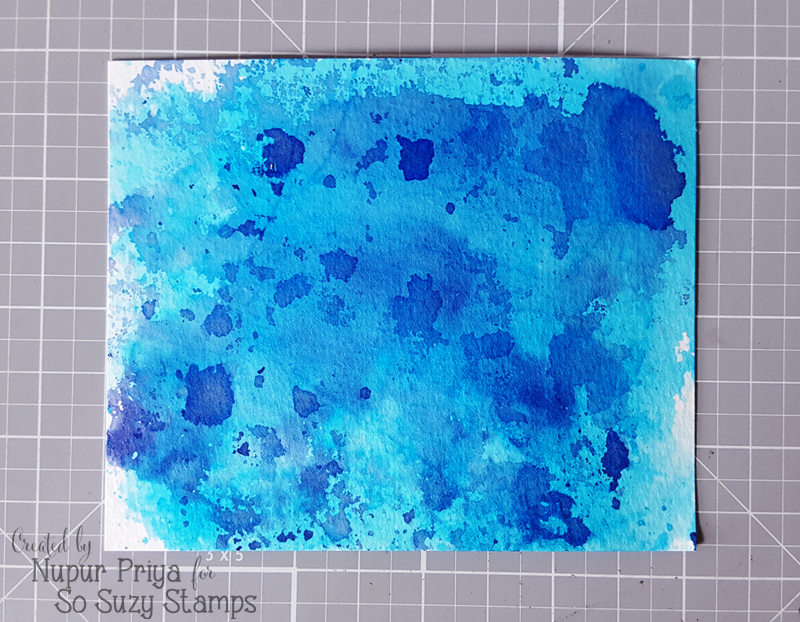
- Once the watercolor cardstock was dry I applied the remaining ink on the acetate again on it to get the result below.
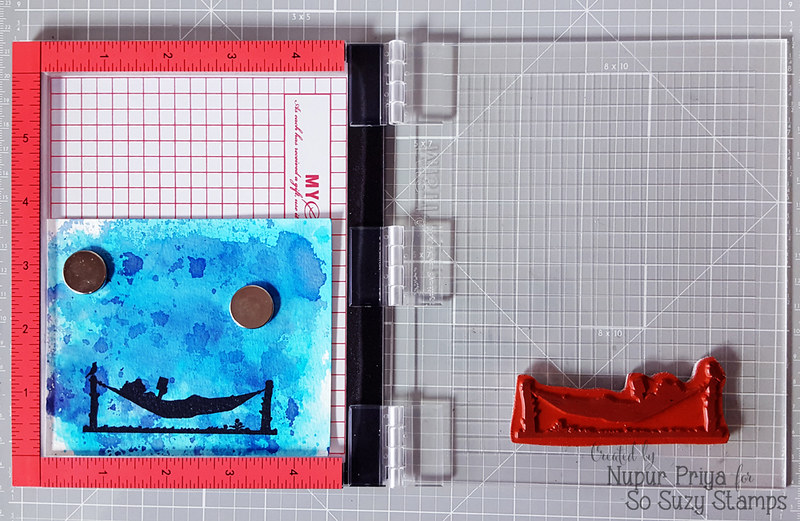
- Once it was dry I stamped the Hammock stamp on it using black archival ink & Mini MISTI.
- I used the Spire Sage stamp to add some foliage on the ground.
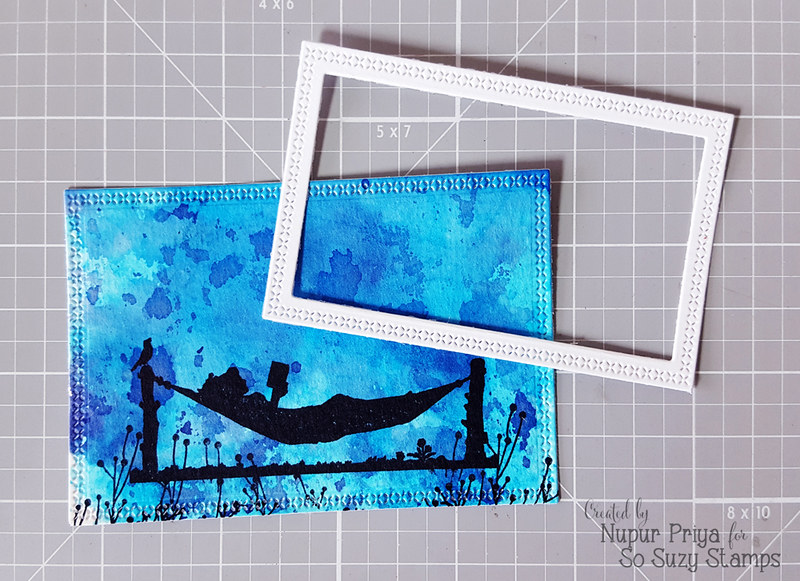
- Next step was to die cut the stamped image & a white frame with a stitched die.
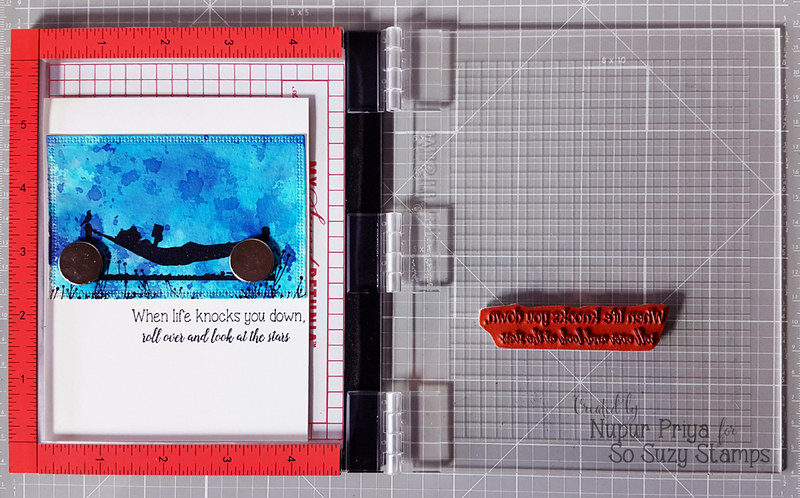
- I adhered the Stamped panel on the card front & then used Mini MISTI to position & stamp the Life Knocks You Down stamp on the card front.
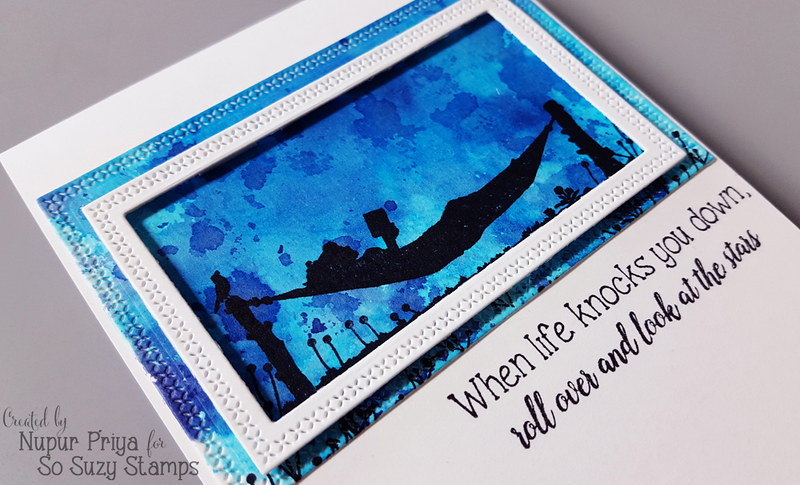
- Then I glued down the white die cut frame with foam adhesive on the stamped image.
Thank you for visiting today....
Supplies Used:
Wednesday, 7 September 2016
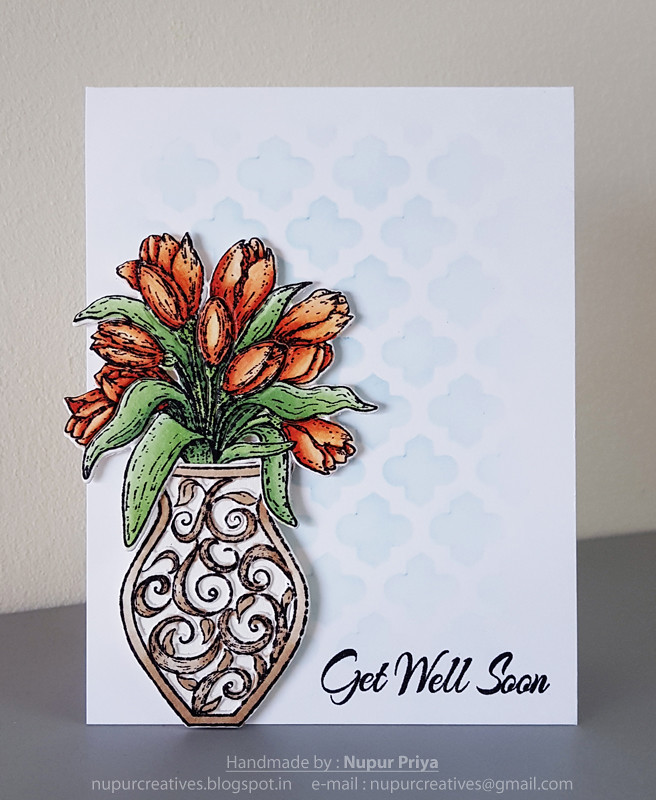
Get Well Soon
Hello friends & welcome to Heartfelt Wednesday
Today we are having a blog hop with Chameleon pens and there are prizes up for grabs...
So hop on over to Heartfelt Creations blog for more details!
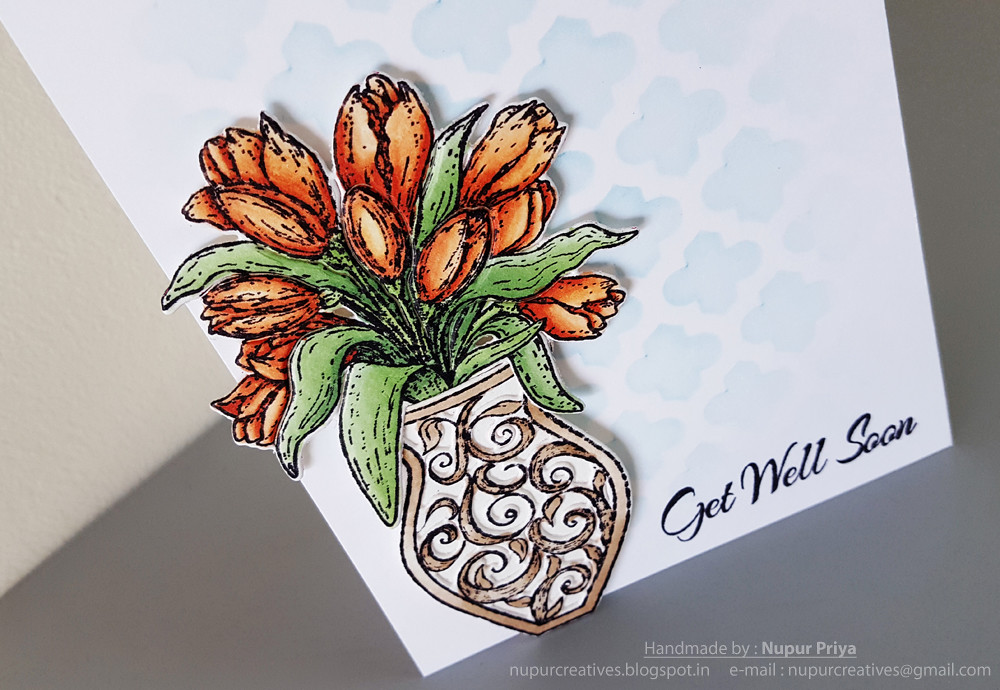
Here is my card for today...
I have used Chameleon markers to color in my image & it was so much fun...
Thursday, 1 September 2016
So Suzy Stamps September Release
Hello friends & welcome to September Release by So Suzy Stamps
This month we are having 2 releases this month... Non-Halloween stamps today & Halloween stamps in mid September... So stay tuned
We have some amazing sentiments & images in this release...
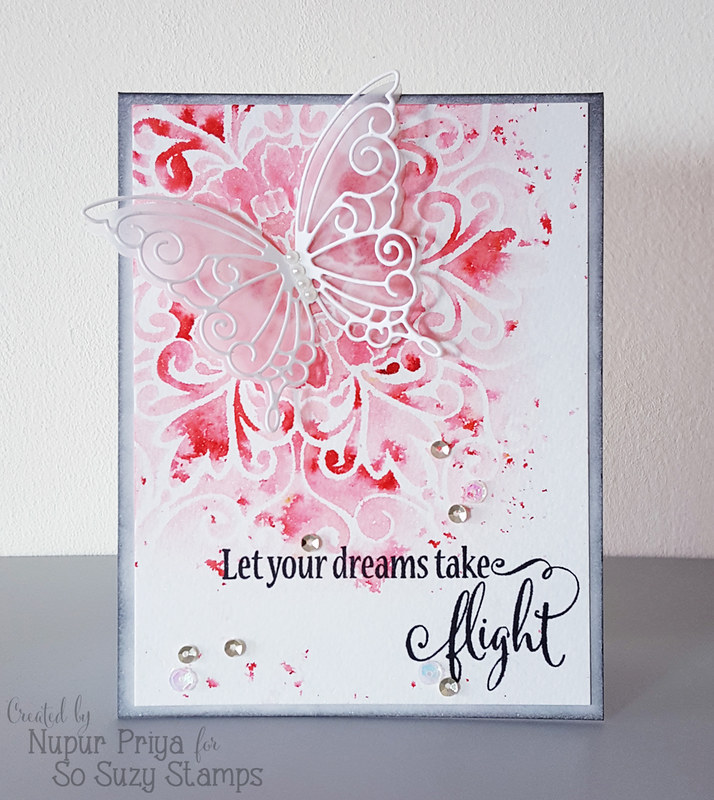
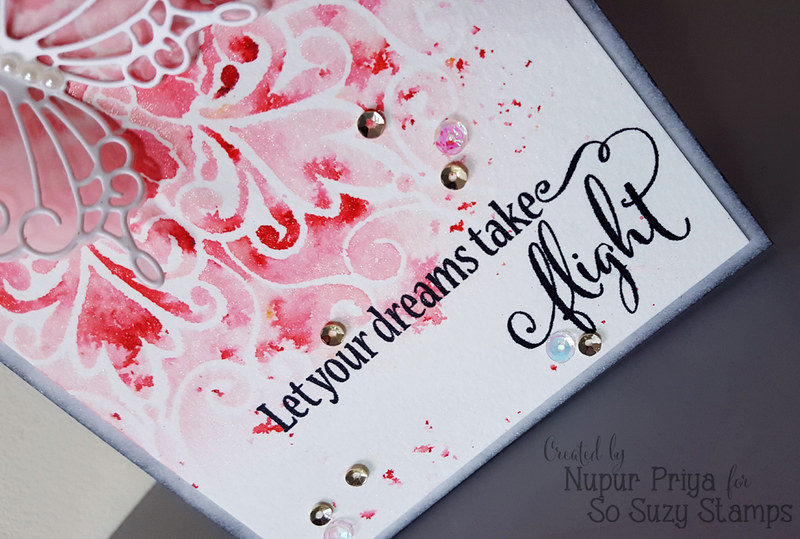
I have used Take Flight stamp for my card & I think butterflies pair wonderfully with this stamp set so I used one.
Lets move on to the tutorial for this card:
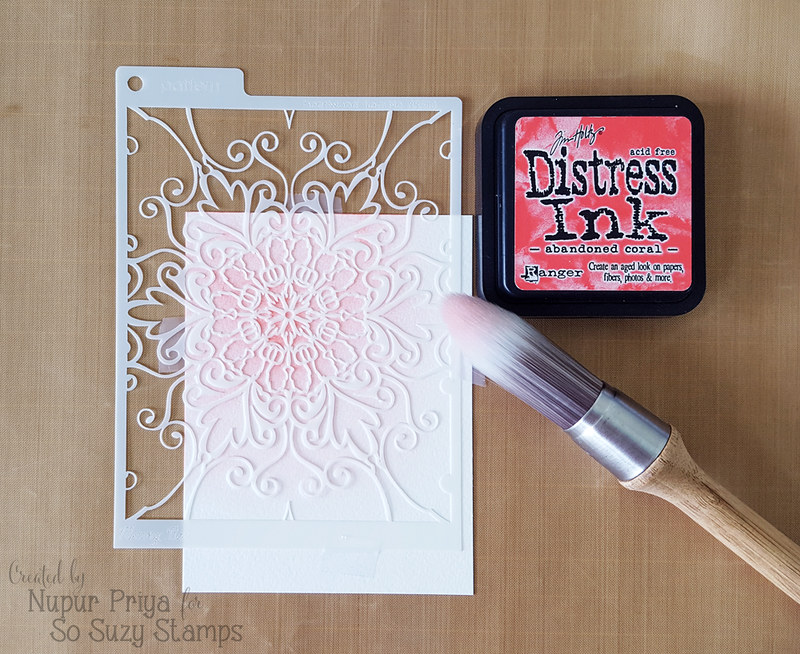
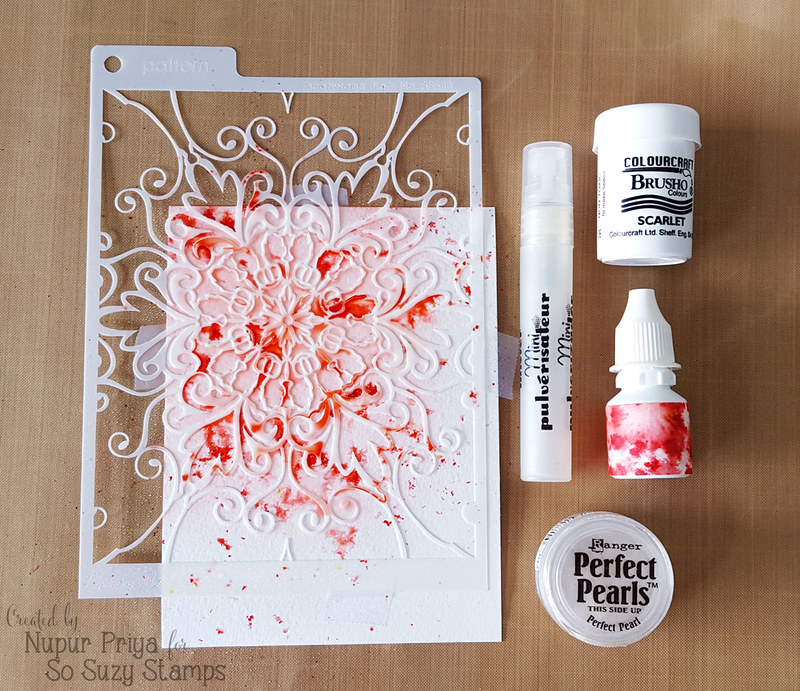
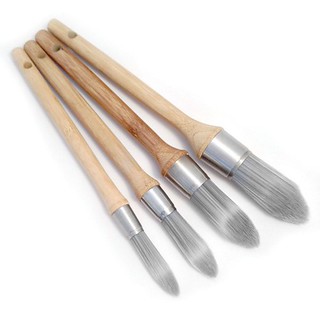
- I started with creating my background. I placed my Memory Box Stencil on a piece of watercolor cardstock & inked it with Abandoned Coral Distress ink & Clarity Brushes (These brushes are the perfect tool to create soft blended backgrounds...) I did this step to lay down a little color & prepare my background for my next step.
- Once the inking was done I sprayed a little Scarlet Brusho Color Crystals without removing the stencil & misted it with Mini Mister which had water mixed with a little Perfect Pearl powder to get a pretty shimmer on my background. The water activated the crystal powders & I got lovely variation of colors instead of plain stenciled background.
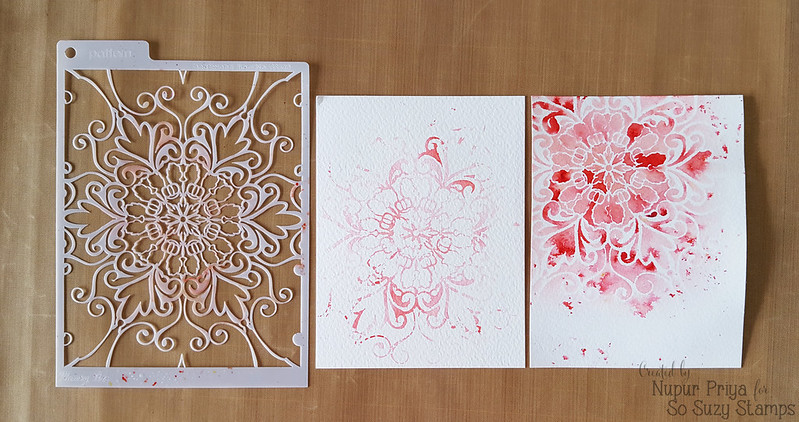
- Now I removed the Stencil carefully & let the background dry.
- Bonus Tip: After removing the stencil I pressed it down on another piece of watercolor cardstock to get 1 more bonus background. (Below you can see both the backgrounds)
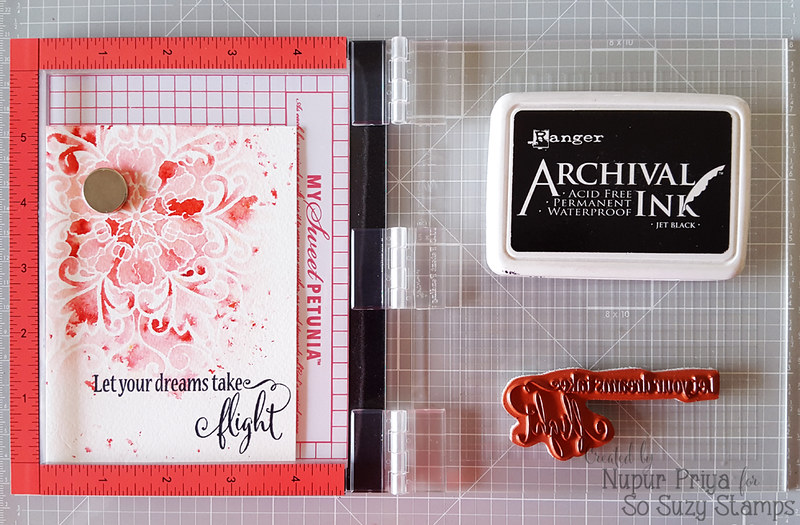
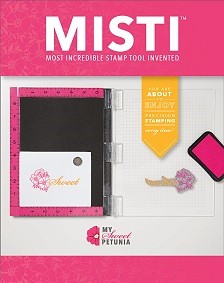
- My next step was to stamp my sentiment. Using MISTI or Mini MISTI for stamping saves a lot of mistakes like crooked stamping, partial stamping, blurry stamping etc. And since I had put so much effort on making the beautiful background I didn't want to ruin it by making any mistake while stamping my sentiment. Moreover stamping on watercolor or textured cardstock is tricky & very rarely get a good impression if I stamp only once. I positioned Take Flight stamp on Mini MISTI & stamped it on the background panel with Black Archival ink twice for perfect black sentiment.
- After the stamping was done I glued this panel to card base inked with Hickory Smoke Distress ink.
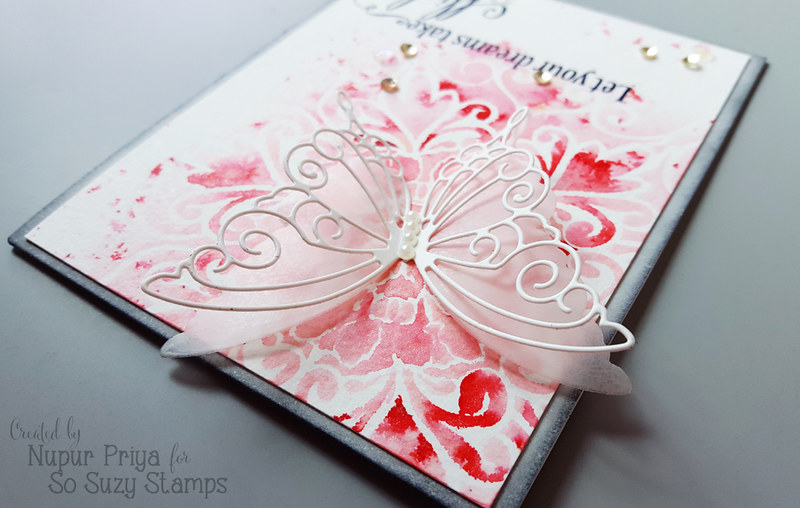
- I adhered die cut 2 layer butterfly on the card front.
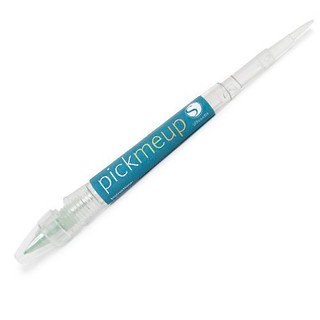
- The last & final step was to adhere the sequins & pearls on the card. Pick me Up is an huge help in picking up tiny embellishments & gluing them.
Here is the close up of the shimmery background & pretty butterfly...
Here you can see the perfect pearl shimmer a bit more clearly... It is so pretty IRL...
Hope you liked my card & give this technique a try... & hurry if you want to grab some stamps from this release... they will be gone in the blink of an eye...
Thank you for visiting today....
Supplies Used:

