Hello friends & welcome to September Release by So Suzy Stamps
This month we are having 2 releases this month... Non-Halloween stamps today & Halloween stamps in mid September... So stay tuned
We have some amazing sentiments & images in this release...
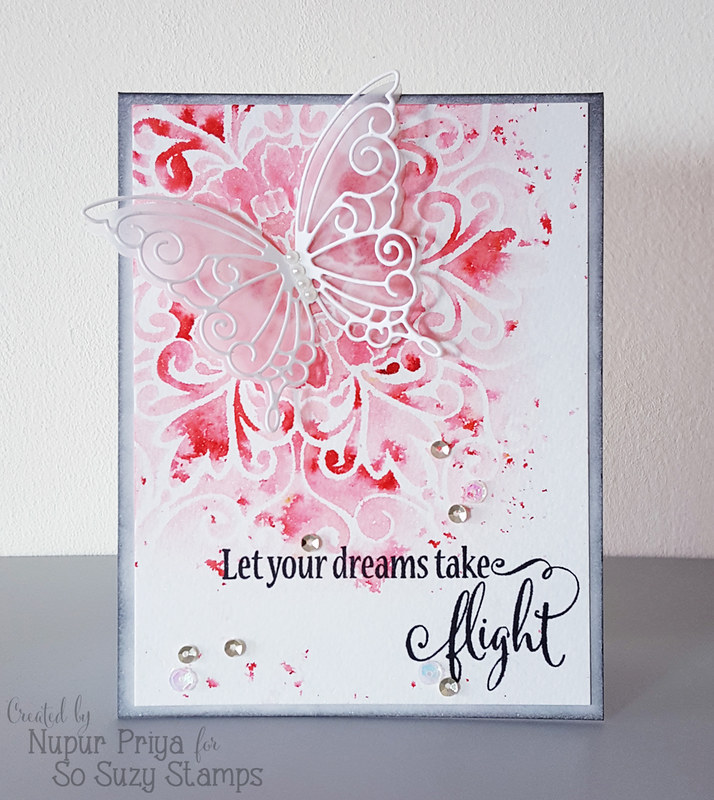
I have used Take Flight stamp for my card & I think butterflies pair wonderfully with this stamp set so I used one.
Lets move on to the tutorial for this card:
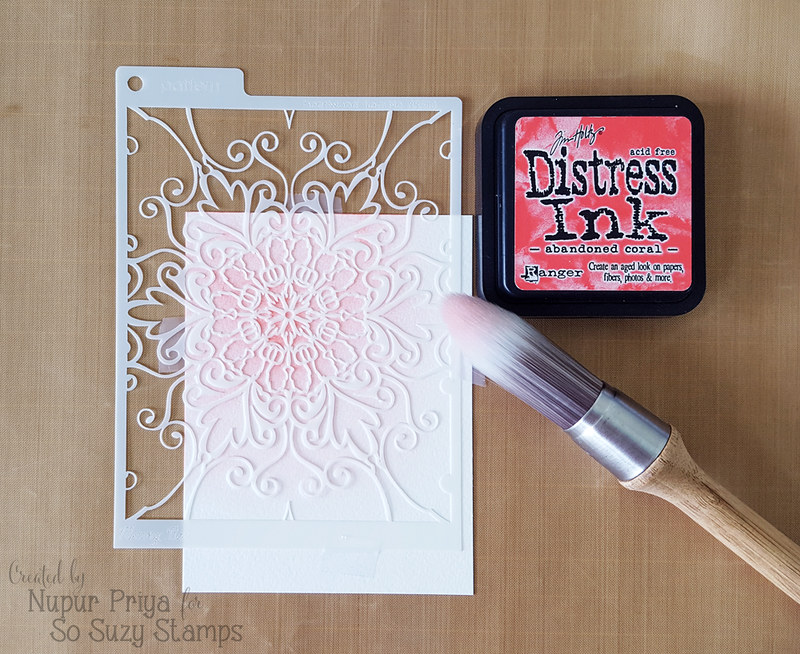
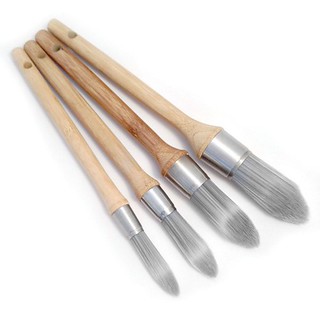
- I started with creating my background. I placed my Memory Box Stencil on a piece of watercolor cardstock & inked it with Abandoned Coral Distress ink & Clarity Brushes (These brushes are the perfect tool to create soft blended backgrounds...) I did this step to lay down a little color & prepare my background for my next step.
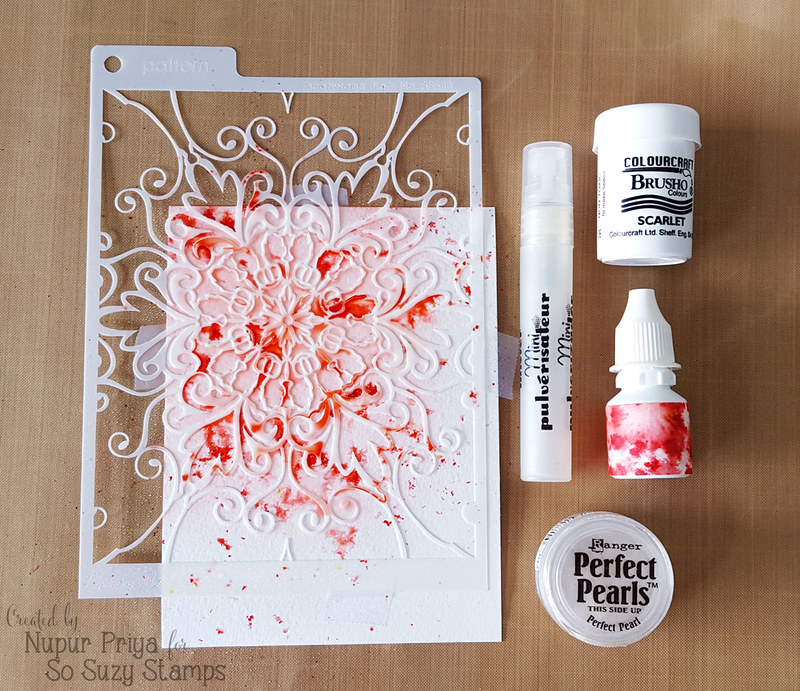
- Once the inking was done I sprayed a little Scarlet Brusho Color Crystals without removing the stencil & misted it with Mini Mister which had water mixed with a little Perfect Pearl powder to get a pretty shimmer on my background. The water activated the crystal powders & I got lovely variation of colors instead of plain stenciled background.
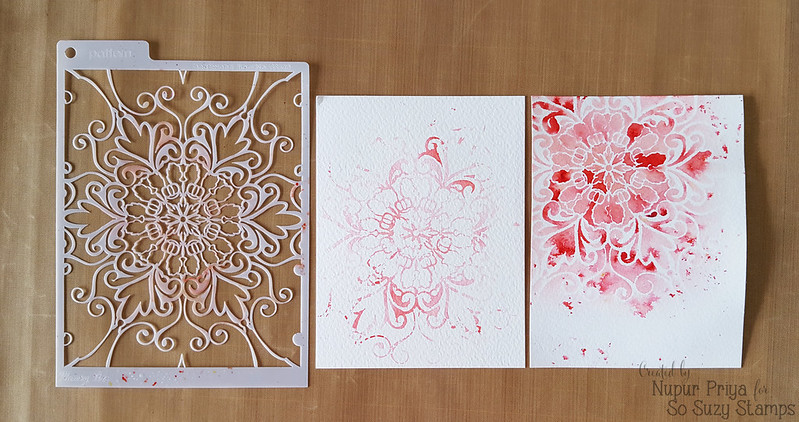
- Now I removed the Stencil carefully & let the background dry.
- Bonus Tip: After removing the stencil I pressed it down on another piece of watercolor cardstock to get 1 more bonus background. (Below you can see both the backgrounds)
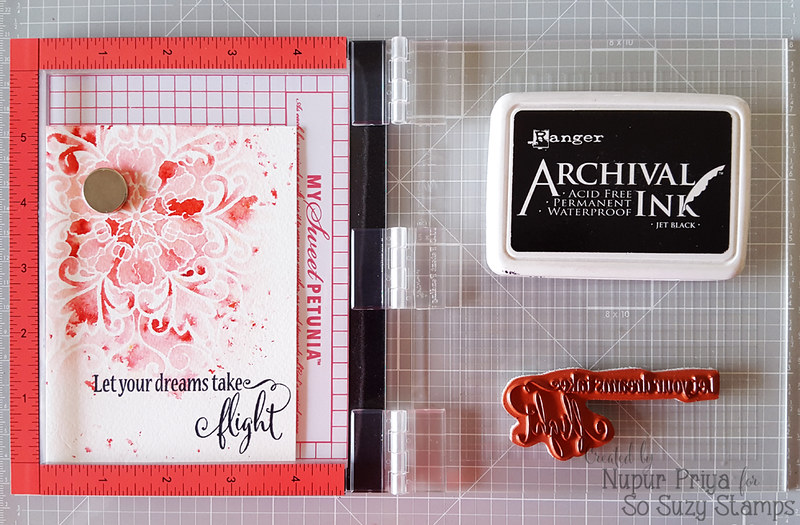
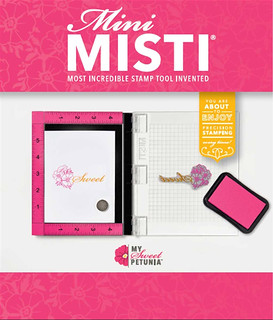
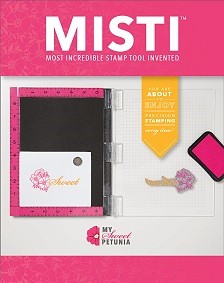
- My next step was to stamp my sentiment. Using MISTI or Mini MISTI for stamping saves a lot of mistakes like crooked stamping, partial stamping, blurry stamping etc. And since I had put so much effort on making the beautiful background I didn't want to ruin it by making any mistake while stamping my sentiment. Moreover stamping on watercolor or textured cardstock is tricky & very rarely get a good impression if I stamp only once. I positioned Take Flight stamp on Mini MISTI & stamped it on the background panel with Black Archival ink twice for perfect black sentiment.
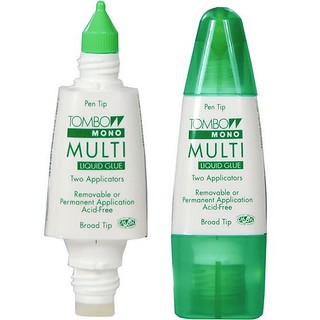
- After the stamping was done I glued this panel to card base inked with Hickory Smoke Distress ink.
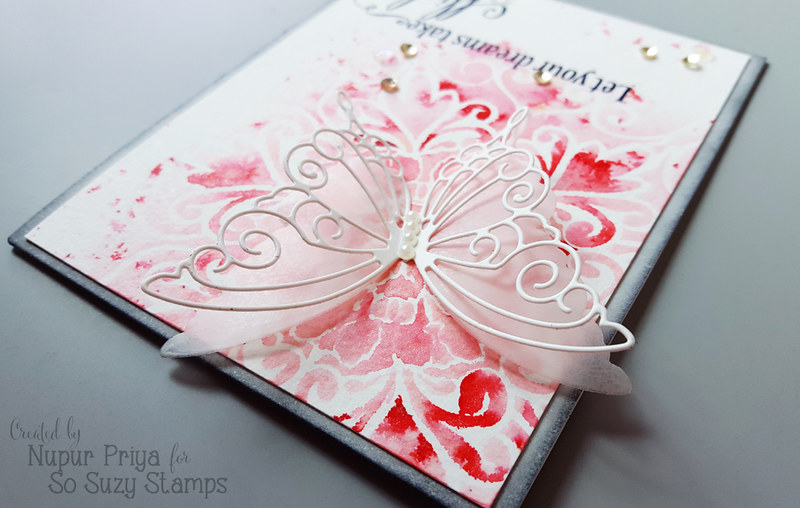
- I adhered die cut 2 layer butterfly on the card front.
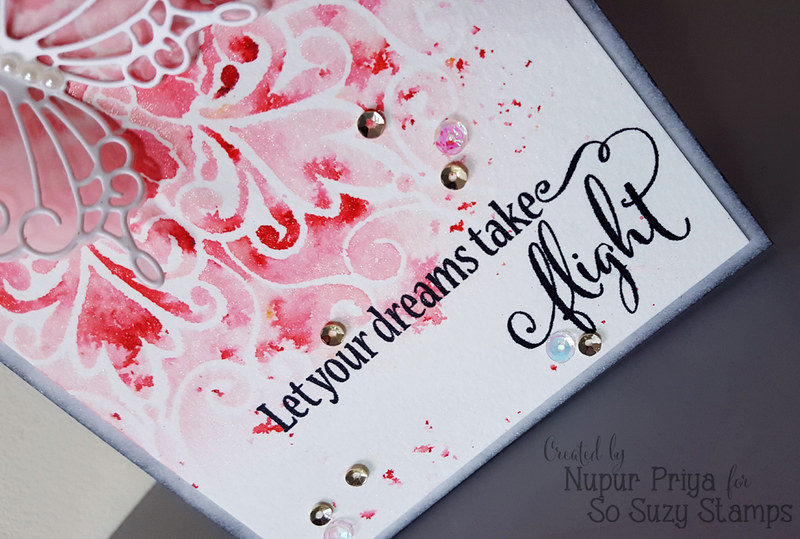
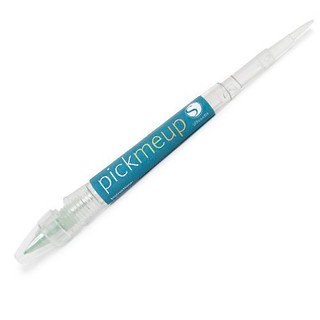
- The last & final step was to adhere the sequins & pearls on the card. Pick me Up is an huge help in picking up tiny embellishments & gluing them.
Here is the close up of the shimmery background & pretty butterfly...
Here you can see the perfect pearl shimmer a bit more clearly... It is so pretty IRL...
Hope you liked my card & give this technique a try... & hurry if you want to grab some stamps from this release... they will be gone in the blink of an eye...
Thank you for visiting today....
Supplies Used:



This is so beautiful. Thanks for the tutorial on how you created it.
ReplyDeleteIts So beautiful ,the swirly design in background,pretty volor and the butterfly make a very delicate look !
ReplyDeleteBeautiful card! Love the color and how it fades. Gorgeous.
ReplyDeleteAbsolutely Gorgeous!!
ReplyDelete