Hello friends,
Today I have a tutorial for a quick and easy gift.
This tutorial can be used to make a gift for any occasion.
I have to used the Wedding Collection Kit for this post...
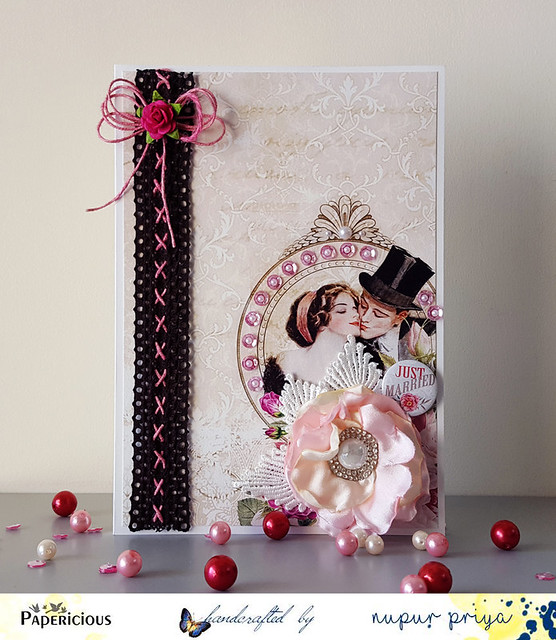
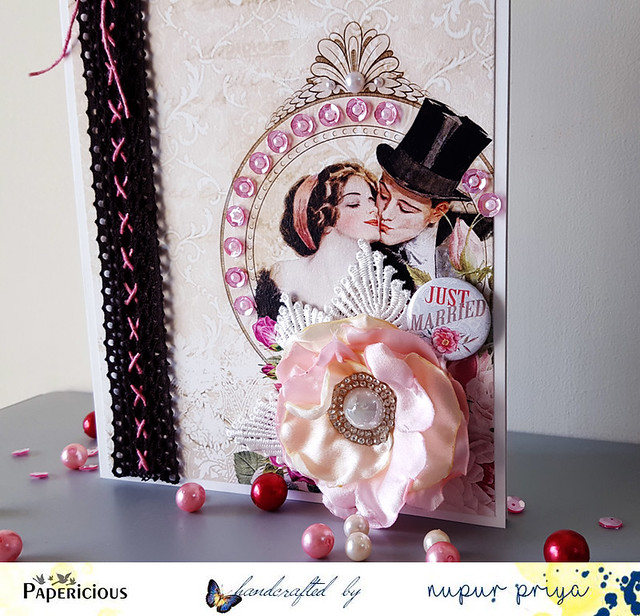
This is the front...
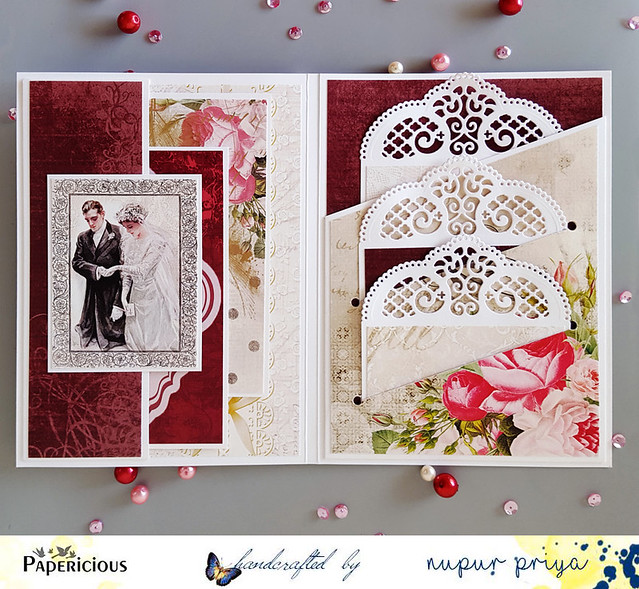
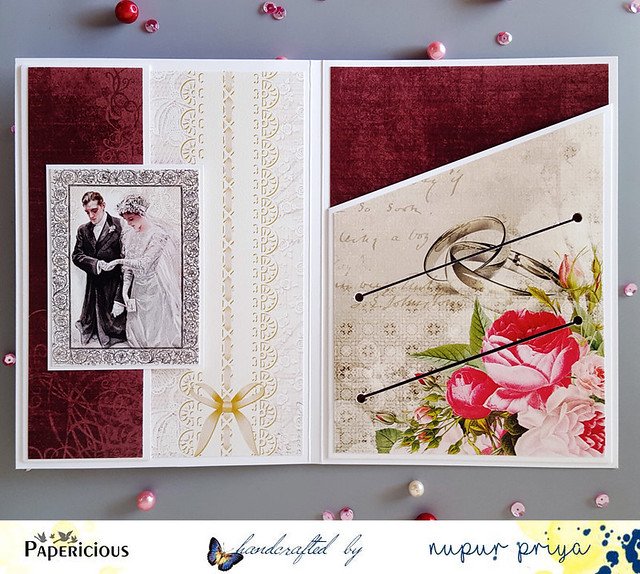
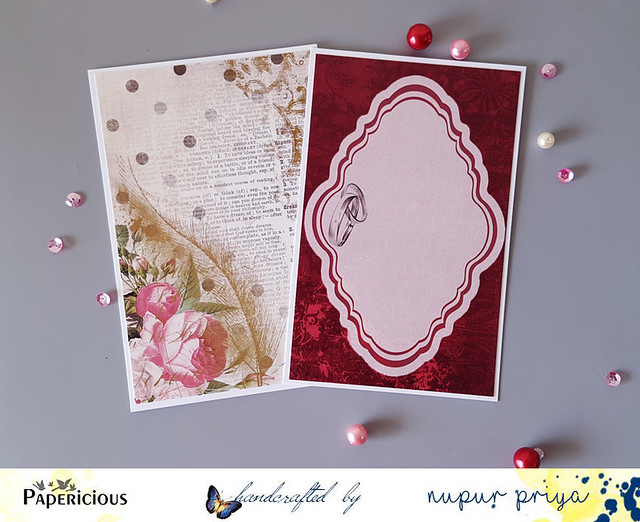
And here is the inside... It has 4 pockets for tags... Theses tags can be used as photomats as well as a messages & giftcards.
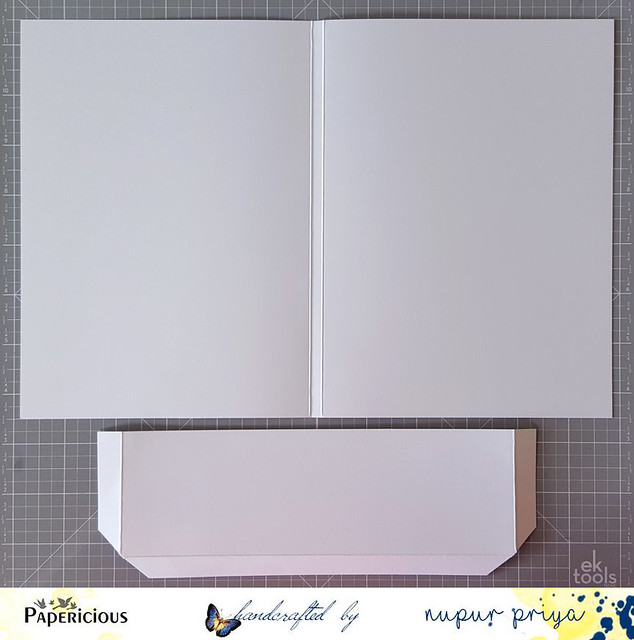
I started with creating the base for this pocket card.
Take a 11 3/4" x 8" piece of white cardstock & score at 5 3/4" & 6". Fold on the score lines.
Take another piece of 8 3/4" x 3" piece of white cardstock & score at 1/2" & 8 1/4", rotated it & scored at 1/2". Fold the score lines & cut the corners as shown. This will be our pocket for the left side.
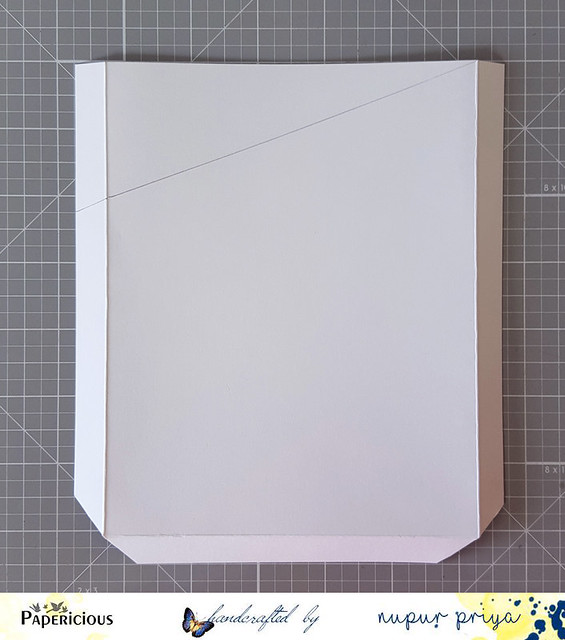
Now for the right side pocket take a white cardstock measuring 6 1/2" x 7 1/2"
Then I scored it at 1/2" & 6", rotated it & scored at 1/2".
Fold the score lines & cut the corners as shown.
Now measure 2" from the top on the left score line & draw a line till the top of right score line.
Cut off the resulting triangle.
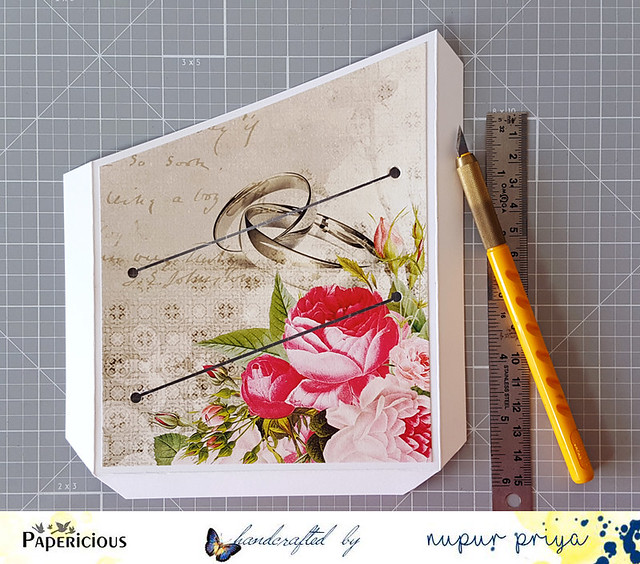
Adhere the pattern paper of your choice and mark 2" & 4" from the top on both sides.
punch a hole on all 4 marks keeping them in a straight line on both sides.
cut a sliver of paper out between 2 holes to make an opening as shown .
Adhere both the pockets to the base & decorate with pattern papers.
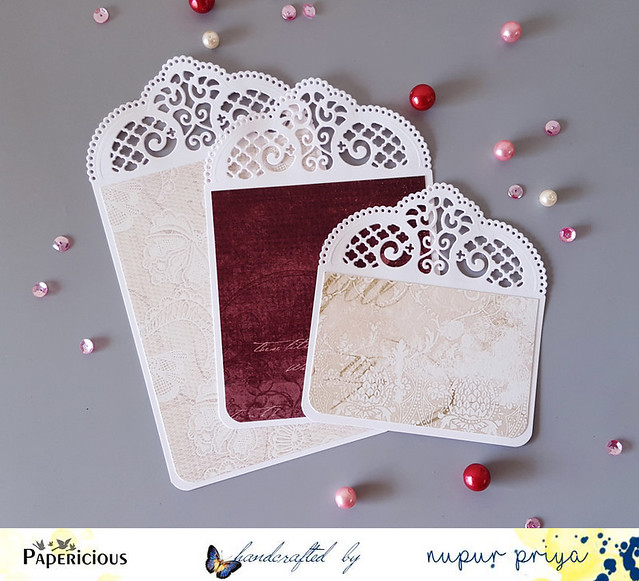
For the right pocket tags I took 3 lengths of cardstock all with a width of 4".
I used a decorative die to make the top tab of all 3 tags & decorated them with beautiful pattern papers from the Wedding Collection.
For the left pocket tag I used the journaling cards from the Wedding Collection matted them on white cardstock.
To decorate the caver I choose the paper with the beautiful bride & groom image.
I glued the pink sequins in the Wedding Kit to decorate the frame around the couple. I also glued some white pearls. Then I adhered the leaf lace, fabric flower & adhesive button as shown.
Next I took a lace from my stash & weaved the pink jute twine through it & adhered on the left side. Lastly I added a jute bow & flower to finish it.
Hope you like it...
Thank you for visiting today :)
Materials Used:
Wedding Collection Paper Stack
Fabric Flowers
Jute Twines
Sequins
Laces
Adhesive Buttons

No comments:
Post a Comment
Hi thanks for dropping by and having a look at my blog. Your comments are much appreciated. Hugs. Nupur...