Hello friends & welcome to Heartfelt Wednesday...
Before we go on to my project for today I have a request...
Heartfelt Creations is having a DT Call for 2018-19 team.
And this means that they need you to vote for the current DT members who get to stay on the team for another year... So if you like my work & would like me to stay on the team for 1 more year then please do vote for me and 4 more designers by clicking on the link HERE. Voting ends on February 9th, 2018.
Now moving on to my project for today...
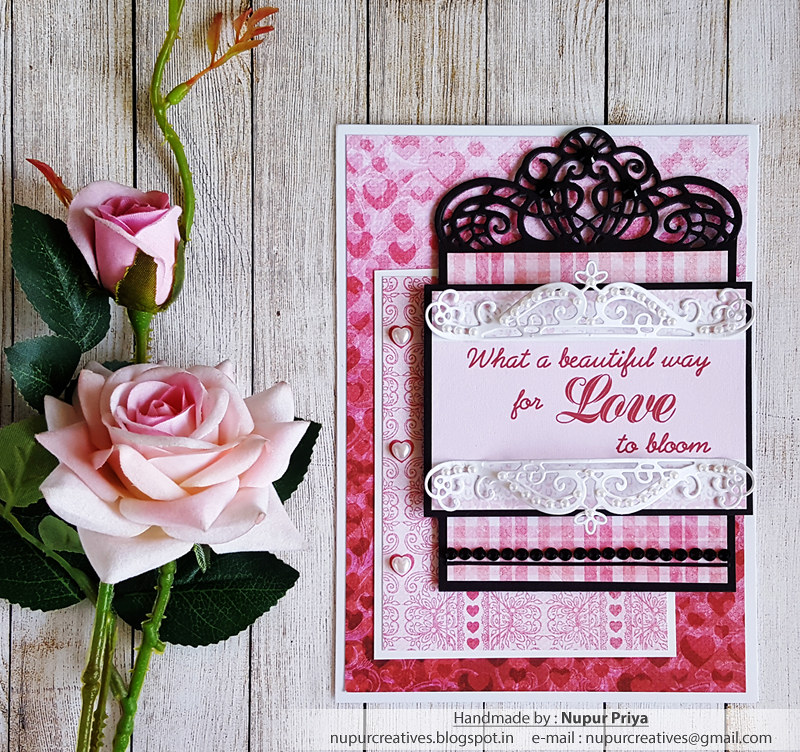
Valentines day is fast approaching & I have a simple last minute card idea for you today...
This card needs only pattern papers, few die cuts & pearls...
Read till the end for the list of products used & instructions for this altered box...


Heartfelt Creations Products:
HCDP1-284 Heartfelt Love Paper Collection
HCD1-780 Ornate Borders and Pockets Die
HCD1-7150 Window Box Elements Die
173842 Scor-Pal Measuring & Scoring Board
368771 Scor-Tool
359848 Spellbinders Tool N' One
31510 Funnel Tray
HCPP3-452 12 x 12 Cardstock Pack of 25 - White
HCPP1-438-1 Paper Pack of 10 - Black
159723 Designer Dries Clear Adhesive
352854 Metal Tip for Adhesive Bottles
PIN6 Glue Tip Pins
D120601 Darice Adhesive Foam Strips
Other Products:
Ebosser, Pearls & Rhinestones.
Instructions:
Cut a piece of 4 3/4" x 6 3/4" piece of pattern paper from Heartfelt Love Paper Collection & adhere it to a 5" x 6" white cardbase. Cut another piece of 3 1/4" x 4 1/2" pattern paper from the same paper collection & adhere it on 3 1/2" x 4 3/4" white cardstock. Adhere it on the card front.
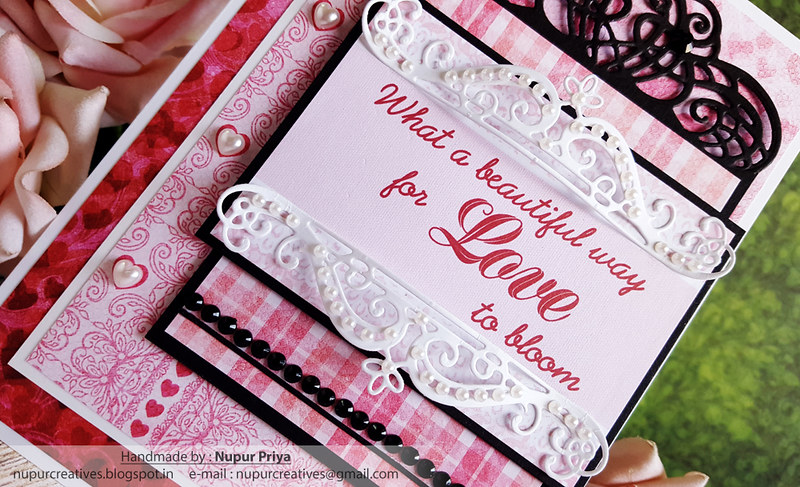
Die cut a piece of 5 1/2" x 3 3/4" black cardstock using Ornate Borders and Pockets Die to make a tag. Cut a piece of slightly smaller pattern paper from Heartfelt Love Paper Collection and glue it to the tag. Adhere this tag to the card front using Darice Adhesive Foam Strips. Cut a sentiment piece from the same paper collection & adhere it on a slightly bigger piece of black cardstock. Adhere it on the tag using Darice Adhesive Foam Strips. Die cut 2 pieces of white cardstock using Window Box Elements Die. curve & adhere them as shown to frame the sentiment. Add some pearls & rhinestones to add finishing touches.
Hope you like this card...
Thank you for visiting today... :)

Disclosure : Compensated affiliate links used when possible at NO additional cost to you.. Thank you!

Beautiful Design Nupur!
ReplyDeleteBeautiful!
ReplyDeleteThis is just gorgeous!
ReplyDeleteSo beautiful!!!
ReplyDeleteThank you :)
ReplyDelete