Wednesday, 31 December 2014

Happy New Year :)

Hello Friends...

Wish you all a very Happy & Prosperous New Year....

Welcome to my last post for year 2014 & inspiration for Heartfelt Creations...
Today I have a gift tag to share with you all...


Products Used:

Other Products:
Spellbinders Corners & Accents 1 Die, Ripe persiommon, Salty Ocean, Scattered Straw, Vintage Photo & Shabby Shutters Distress Inks, Coffee Archival Ink, Ebosser, Cuttlebug Acanthus Embossing Folder, Prima Gold Rush Glass Glitter, Rhinestones, White Organza Ribbon, White & Watercolor Cardstock, Koi Water Brush, Adhesive.

Project Instruction:

Cut a 6 1/2" x 3 1/4" tag from Watercolor Cardstock, emboss it with Cuttlebug Acanthus Embossing Folder & ink with Shabby Shutters Distress Ink.Stamp the image from Tattered Collage PreCut Set with Coffee Archival Ink on watercolor cardstock & color with various distress inks. Add some Prima Gold Rush Glass Glitter to the flower centers with wet glue. Cut this colored collage to fit the tag we created, distress the edges, ink them with Vintage Photo Distress ink & mount it on the tag base with foam adhesive. Die cut 2 pieces of white cardstock with Spellbinders Corners & Accents 1 Die & ink lightly with Ripe persiommon Distress Ink. Adhere them to collage panel as shown. Stamp the sentiment from Classic Message PreCut Set on Watercolor cardstock, cut in the shape of a banner, distress the edges & ink with Salty Ocean Distress Ink. Curl it slightly & adhere it to the Collage panel as shown. Spray the tag with some water Mixed with Perfect Pearls to add a bit of shimmer.Thread White Organza ribbon through the tag hole & tie a bow. Add some rhinestones to embellish the card.


Wednesday, 24 December 2014

Love Birds

Hello friends....
Welcome to new inspiration post for Heartfelt Creations...
I have made a  watercolor card with the beautiful image from Love Bird Hangout PreCut Set.


Products Used:


Other Products:
Spellbinders A2 Valiant Honor Die, Mowed Lawn, Salty Ocean,Chipped Sapphire, Picked Raspberry, Seedless Preserve, Brushed Corduroy Distress Inks, Black Archival Ink, Ebosser, Rhinestones, White Organza Ribbon, White, Watercolor & Gold Cardstock, Koi Water Brush,Black & White Viva Decor Pearl Pen, Adhesive.

Project Instruction:

Take a 4 1/4" x 5 1/2" cardbase.Die cut a gold Cardstock with the largest die from Spellbinders A2 Valiant Honor Die & mount it on the card base with some foam adhesive. Wrap a piece of White Organza Ribbon around the center & tie a bow at the left side of the card.

Stamp the image from Heartthrob PreCut Set with Black Archival Ink on watercolor cardstock & color with various distress inks. Add tiny drop of black Viva Decor Pearl Pens to the bird's eye. Add tiny drop of white Viva Decor Pearl Pens to the flower centers. Cut it to fit the  Frame we created with the Gold Cradstock & mount it on the card base. Add some Rhinestones to embellish the card.


Wednesday, 17 December 2014

Romantique Swans

Hello friends & welcome to a new day of Heartfelt Creations inspiration post...
Today I have a romantique card made with HFC products...


Products Used:

Other Products:
Spellbinders Lace Hearts Die, Crushed Olive, Forest Moss, Salty Ocean, Seedless Preserve, Victorian Velvet & Aged Mahogany Distress Inks, Black Archival Ink, Ebosser, Pearls, White cardstock,Watercolor cardstock, Koi Water Brush,Black Viva Decor Pearl Pen, Seed Beads & Adhesive.

Project Instruction:

Take a 4 1/4" x 5 1/2" cardbase & cover it with a card front from the Romantique Garden Paper Collection. Add pearl borderon all four sides. Die cut the largest heart from Spellbinders Lace Hearts Die set & ink with Seedless Preserve, Victorian Velvet & Aged Mahogany Distress Inks. Adhere to the card base with foam adhesive. Fussy cut a heart to layer on top of the lace heart. Stamp water from Romantique Swans PreCut Set with Black Archival Ink on the heart & color with Salty Ocean Distress Ink. Stamp swans from the Romantique Swans PreCut Set & cut with Romantique Garden Die. add shading with Salty Ocean Distress Ink. Add tiny black pearl drops to the eyes & adhere the swans on the heart with Foam adhesive as shown.

Stamp Vintage Morning Background PreCut Set with Seedless Preserve Distress Ink & cut with Majestic Blooms Die. Ink the flowers with Seedless Preserve, Victorian Velvet & Aged Mahogany Distress Inks & shape them. Add some seed beads to the flower centers. Stamp Open Leaf PreCut Set with Forest Moss Distress Ink, cut with Classic Leaf Die & ink with Crushed Olive & Forest Moss Distress Inks. Shape them & arrange the leaves & flowers as shown. Add some pearls to the heart.


Tuesday, 16 December 2014

Hello Sweet Friend...


Hello friends...
Today I have a cute little gift box to share with you all...
 I have used the sentiment from Flower Of The Month: Aster stamp set & decorated the top with flowers & butterfly...
 I have left a space for personal message inside...
Hope you like my gift box... Thank you for visiting today....


Sunday, 14 December 2014

My Friend

Hello friends...

Today I am sharing a card I made with IBS stamps...
 I have used Fancy Labels 3 &  Fancy Labels 3 Die for my purple panel behind the sentiment...
 The pretty pink circle is from Fancy Circles & the sentiment is also from the same stamp set.


Wednesday, 10 December 2014

Heartthrob

Hello Friends...
Welcome to a brand new inspiration week for Heartfelt Creations...
I have made a card with a beautiful image from their latest release Romantique Garden Collection...
Don't you just love these gorgeous images...


Products Used:

HCPC 3641 Heartthrob PreCut Set


Other Products:

Spellbinders Marvelous Squares Die, Worn Lipstick, Crushed Olive, Forest Moss, Mowed Lawn, Salty Ocean,Chipped Sapphire, Picked Raspberry, Seedless Preserve Distress Inks, Black Archival Ink, Ebosser, Cuttlebug Poppy Embossing Folder, Pearls, White, Pink & Black cardstock,Watercolor cardstock, Koi Water Brush,Black Viva Decor Pearl Pen, Adhesive.

Project Instruction:

Take a 6" x 5 1/4" cardbase & ink the edges with Picked Raspberry Distress Ink. Take a 5 3/4" x 5" white cardstock & emboss with cuttlebug poppy embossing folder. Add this embossed piece to the card base with foam adhesive. Die cut 2 pieces of Spellbinders Marvelous Squares Die from pink cardstock & ink with picked Raspberry Distress ink.

Stamp the image from Heartthrob PreCut Set with Black Archival Ink on watercolor cardstock & color with various distress inks. Add tiny drop of black Viva Decor Pearl Pens to the bird's eye. Mount it on a slightly larger black cardstock & add the 2 die cuts on the back as shown & add to the card base with foam adhesive. Add some pearls to embelish the card.


Thursday, 4 December 2014

Build A Stocking

Hello Friends,

We are having a Christmas week at IBS...
 And I am sharing a Stocking card with you all today...
 Build A Stocking is such a fun stamp to play with...


I stamped the stocking with red ink, fussy cut it & inked it with some shading...
Next I stamped the snowflake few times to add a fun design to my stocking...
Then I stamped, fussy cut & inked the hounds tooth stamp from the same set ...
I stacked the together & added some rhinestones...

 I propped the stocking with foam tape on a die cut & inked card front...

I hope you like me card... Thank you for visiting today...  :)
IBS Products:

 Build A Stocking


Wednesday, 3 December 2014

Bleeding Hearts Gift Bag

Hello Friends...
Its time for another Wednesday Inspiration with Heartfelt Creations...
Today I have a gift bag to share with you all...


Products Used:


Other Products:
Black Soot Distress Ink, Ebosser, Martha Stewart Scoreboard, Pearls, Black Satin Ribbon, White Cardstock, Adhesive.

Project Instruction:

Take a sheet of pattern paper from Romantique Garden Paper Collection & cut two pieces ( 4 3/4" x 7 1/2" & 7 1/4" x 7 1/2")piece to make the gift bag. Score the 4 3/4" x 7 1/2" piece at 6 1/2". Score the 7 1/4" x 7 1/2" ( with 7 1/4" side alinged with the top edge of the score board) at 1/4", 1 1/4", 6" & 7". Rotate the paper 90 degree & score at 6 1/2". Make slits on the 1 1/4" & 6" score line from the edge to the 6 1/2" score line & assemble the gift bag. Make 2 holes on both sides & thread black satin ribbon through them to make the handles.

Die cut a piece of white cardstock with Decorative Lace Border Die & ink with Black Soot Distress Ink. Stick this on the front of the gift bag & cut the excess. Cut a card front panel from the Romantique Garden Paper Collection & mat it on a piece of slightly large cardstock inked with Black Soot Distress Ink & embellish with pearls. Adhere this panel on the front of the gift bag. 

Fussy cut a gift tag from the same paper collection & add it to the gift bag handle with a bow.


Tuesday, 2 December 2014

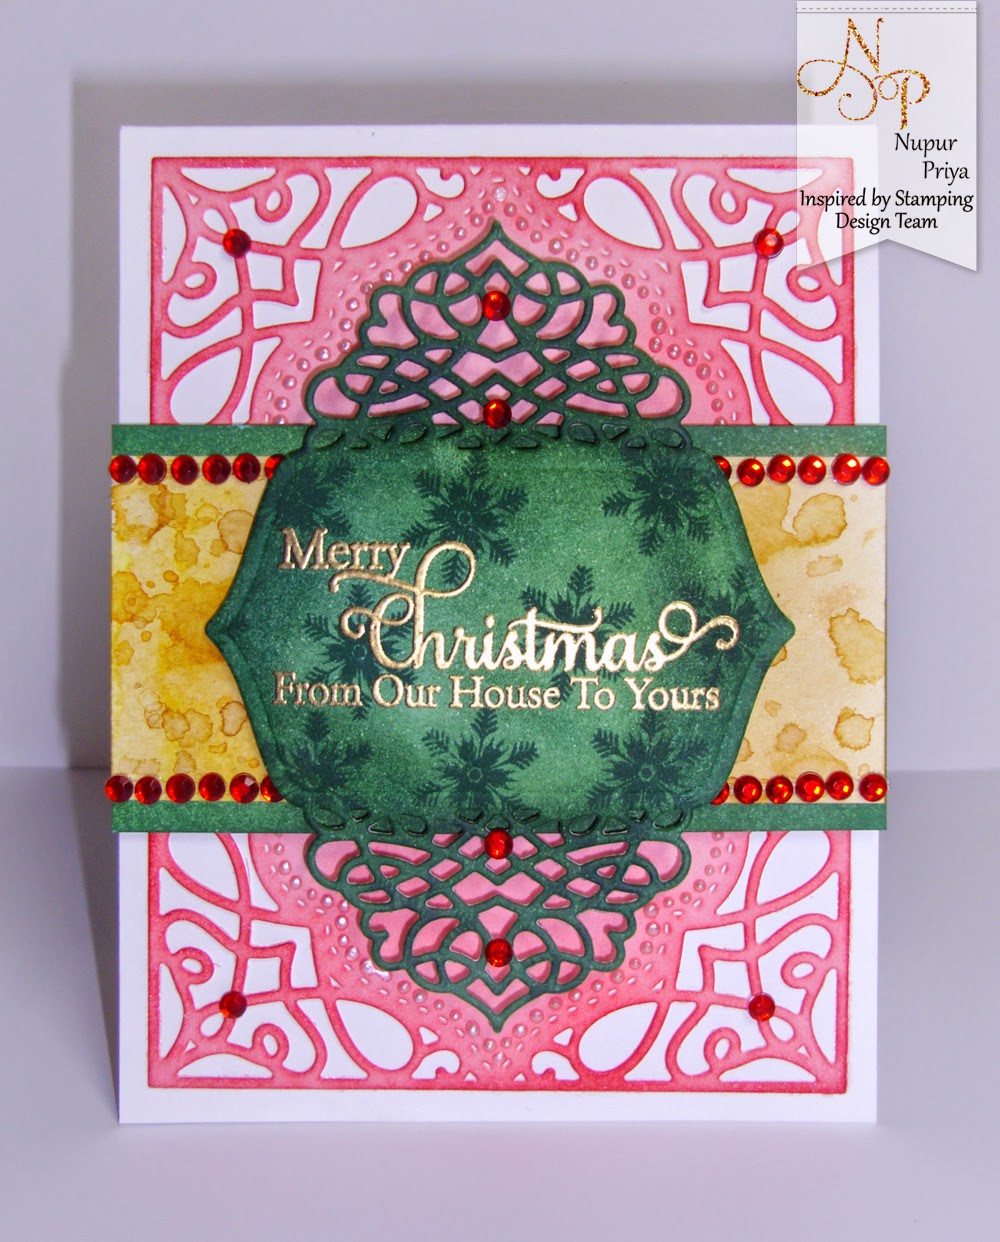
Merry Christmas

Hello Friends...

Can't believe its December already... time sure flies by...
Christmas is just around the corner & I am here to share a new Christmas card with you all...

 I just wanted to highlight the sentiment from our  Big Holidays so I heat embossed it in gold, die cut & inked it...
I also added some fun snowflakes from Build A Stocking stamp set to add some interest without taking away the attention from the sentiment...

I hope you like my card...
Thank you for visiting today...


IBS Products:

 Big Holidays


Friday, 28 November 2014

Romantique Garden Release

Hello friends...

Today we have a new release at Heartfelt Creations...

Romantique Garden

Love is in full bloom with the Romantique Garden collection from Heartfelt Creations.  A romantic symphony composed in subtle shades of pink, fuchsia, green, cream and charcoal harmonizes beautifully with picturesque images of dainty hummingbirds, devoted love birds, graceful swans and delicate bleeding heart bushes.  Ornate ironwork backgrounds are in perfect harmony with layered elements of vintage sheet music, lace, flowing handwriting, scrollwork, florals, stripes and flourishes.  Six hand drawn stamp sets capture the idyllic beauty of a peaceful garden where swans glide across the surface of a glassy lake, nesting lovebirds are wreathed in flowers, and hummingbirds sip nectar from blossom laden branches of exquisite beauty.  The coordinating die cuts feature elegant swirled stems, a graduated set of bleeding heart blossoms and a majestic pair of swimming swans.  Dreamy and idyllic, uplifting and inspiring, romantic and moving as a masterfully scored concerto, this enchanting collection is a celebration of love and life amidst the extraordinary beauty of nature.


This is such an amazing collection... & I have made a card with one of the image stamps & the paper from this collection ...


Products Used:

Other Products:
Picked Raspberry, Black Soot, Crushed Olive, Forest Moss, Mowed Lawn, Salty Ocean, Walnut Stain Distress Inks, Black Archival Ink, Rhinestones, White Cardstock, Watercolor paper, Ebosser, Koi Waterbrush, Viva Decor Black Pearl Pen, Adhesive.

Project Instruction:
Take a 6" x 6" card base & ink the edges with Black Soot  Distress Ink. Cut a piece of 5 3/4" x 5 3/4" pattern paper from Romantique Garden Paper Collection and adhere it to the card base. Die cut two pieces of white cardstock with Decorative Butterfly Corner Die, ink them with Black Soot  Distress Ink & adhere them to the card base as shown. 

Stamp the image from Romatique Wings PreCut Set with Black Archival Ink on watercolor paper & color with Distress Inks & Waterbrush. Cut a slightly larger mat, ink with Black Soot  Distress Ink & adhere it to the card base with some foam adhesive. Adhere the colored image on this panel with foam adhesive. Add a tiny dot of Viva Decor Black Pearl Pen on the Humming bird's eyes. Add some black rhinestones on the corners & die cut. 


Thank you for visiting...


Sunday, 23 November 2014

Sweet Christmas

Hello friends...

I have a quick Sunday inspiration for you all made with IBS stamps...
Sugar & Spice is such a cute set & I have used the candy stamps to make my background.... The gingerbread cookie man is also from the same set... I also used the greeting from the same set..
The border was made with the hounds-tooth pattern from the  Build A Stocking stamp set.


Thank you for visiting...


 IBS Products:

Friday, 21 November 2014

Watercolored Butterfly

Hello friends...
I have a watercolored card to share with you all today...

I have used the butterfly stamp from  Australian Nature I & I have used traditional water colors to color them... I spread some colors from the butterflies & added some splatters...

The sentiment is from  Everyday Greetings.. I think this sentiment goes so well with the colorful butterflies.

I love the result & I hope you will also love it...
Thank you for visiting today  :)

IBS Products: