Hello friends and welcome to Heartfelt wednesday...
It is a new release week...Woohoooo
And this month we have
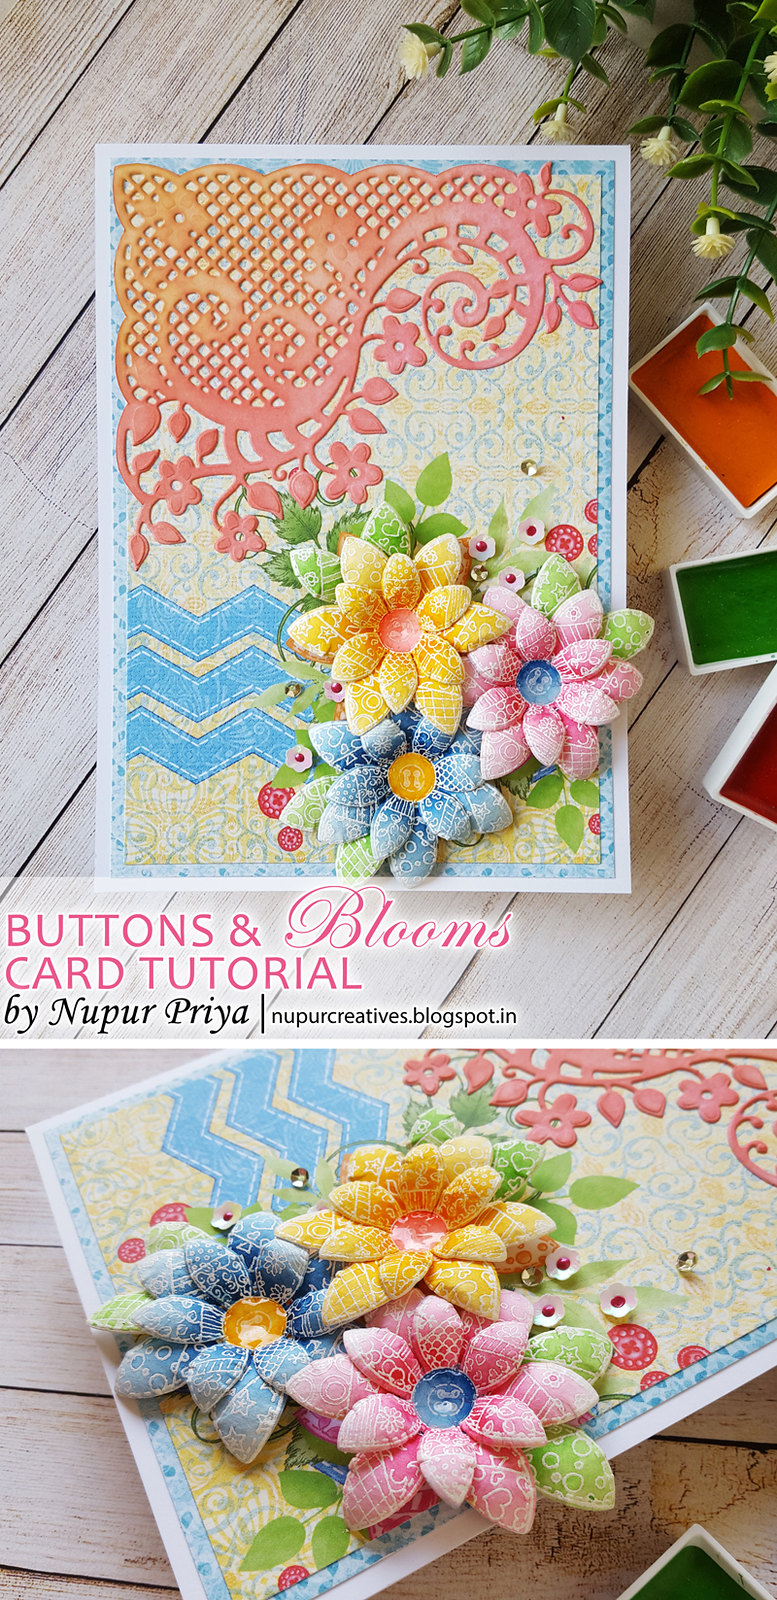
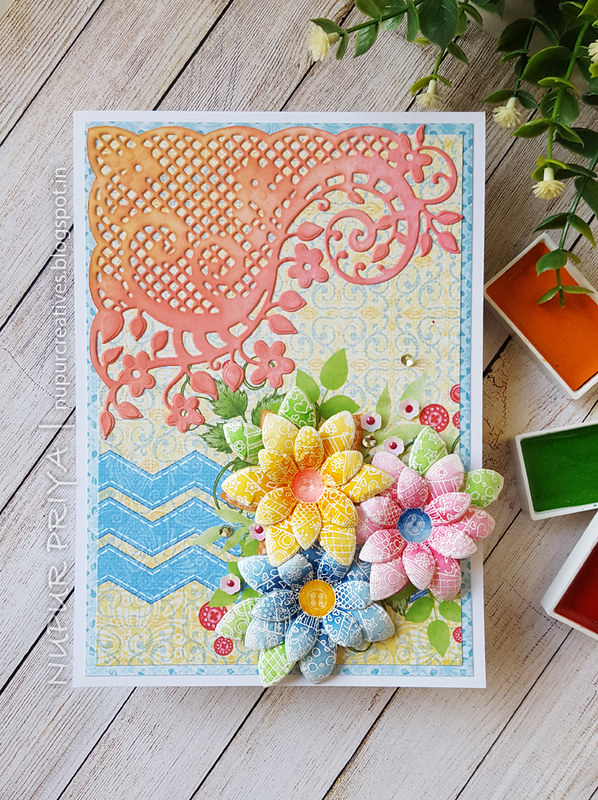
I have made a card using this collection for today's inspiration.
Keep reading for the list of supplies and full instructions for this card.
Heartfelt creations Products:
HCPC-3849 Buttons and Blooms Cling Stamp Set
HCD1-778 Fleur Borders and Pockets Die
HCD1-7205 Buttons and Blooms Die
HCDP1-295 Buttons and Blooms Paper Collection
HCPP3-452 12 x 12 Cardstock Pack of 25 - White
Nuvo Crystal Drops - Rhubarb Crumble
RPEJ685 Embossing Powder - White
352854 Metal Tip for Adhesive Bottles
159723 Designer Dries Clear Adhesive
3D1844 3-D Crystal Lacquer
RAHT Heat It Craft Tool
HCST1-401 Deluxe Flower Shaping Kit
173842 Scor-Pal Measuring & Scoring Board
D110305 Stamp Mat Pad
411231 5pc. Acrylic Block Set
359848 Spellbinders Tool N' One
HCDA2-450 Stack and Store Daubers-Pack of 30
Other products:
Spiced Marmalade and Picked Raspberry Distress inks, Canson watercolor cardstock, Versamark Ink, Gansai Tambi Watercolors, Koi Watrbrush, White flower sequins and gold sequins
Instructions:
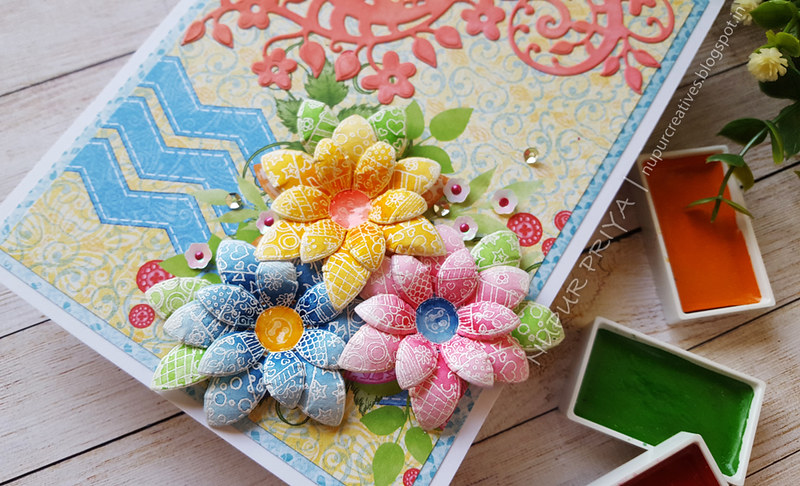
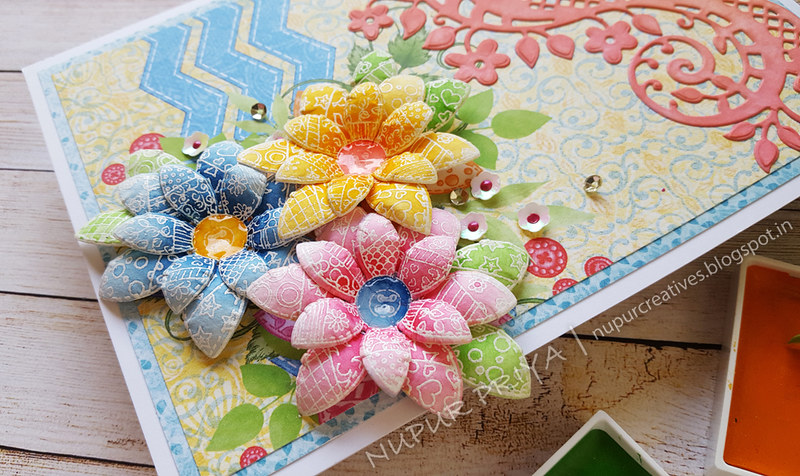
Stamp the flowers from Buttons and Blooms Cling Stamp Set using Versamark Ink on watercolor cardstock and heat emboss them using Heat It Craft Tool and White Embossing Powder. Color them using Koi Watrbrush and blue, pink, orange, yellow and green colors from Gansai Tambi Watercolors. Die cut them using matching dies from Buttons and Blooms Die. Shape all the flowers using Deluxe Flower Shaping Kit. Use the green flower petals as leaves for the flower arrangement. Apply 3-D Crystal Lacquer to the flower centers.
Cut two 4 3/4" x 6 3/4" and 4 1/2" x 6 1/2" pieces of pattern papers from Buttons and Blooms Paper Collection and adhere them on a 5" x 7" white cardbase. Die cut a piece of white cardstock using the die from Fleur Borders and Pockets Die. Ink it with Spiced Marmalade and Picked Raspberry Distress inks using Stack and Store Daubers. Adhere it to the top left corner of the card front. Arrange and adhere the flowers and leaves as shown on the bottom right corner of the card front. Glue some white flower sequins and gold sequins around the flower arrangement. Put tiny drops of Rhubarb Crumble Nuvo Crystal Dropsto the white flower sequins.
Hope you like it...
It is a new release week...Woohoooo
And this month we have
BUTTONS AND BLOOMS COLLECTION
Beautiful floral fabric, delicate trimmings and charming buttons accompanied by delicate hand-stitch work, and precise patchwork become a most exquisite project in the hands of an experienced seamstress! While sewing may not be a talent gifted to everyone, you can now experience the same stunning results in your paper crafts with the Buttons and Blooms Collection from Heartfelt Creations! An inviting paper collection bound in delightfully vibrant hues of bright blues, happy yellows, pretty pinks and robust reds boast alluring patterns of dainty florals, fun filled polka dots and quilt like patterns which will beckon you to caress them as you would the beautiful bolts of material found in your favorite fabric store! “Applique” cards and scrapbook pages quickly and with ease using the striking yet functional premade card panels designed in varying sizes and patterns! Embellish your handmade creations with a variety of hand-stitched accents found in the gorgeous assembling of cling stamp sets and coordinating dies. Choose from delicately embroidered sentiments, stitched banners, charming patchwork pockets, decorative patches and rick rack trim, all lending that personal handmade touch to your crafty creations! Lastly, “hem” your projects with fetching blossoms that have been skillfully illustrated to give them the appearance of having been cut from patchwork fabric! Designed in three varying sizes, these pleasing posies are ideal for using as flat embellishments, or layered to create wonderful dimensional blooms! So, come along with us…grab your shears, patterned papers and patchwork die cuts and let’s head into the craft room! Bobbins, threads and sewing machines not required!I have made a card using this collection for today's inspiration.
Keep reading for the list of supplies and full instructions for this card.
Heartfelt creations Products:
HCPC-3849 Buttons and Blooms Cling Stamp Set
HCD1-778 Fleur Borders and Pockets Die
HCD1-7205 Buttons and Blooms Die
HCDP1-295 Buttons and Blooms Paper Collection
HCPP3-452 12 x 12 Cardstock Pack of 25 - White
Nuvo Crystal Drops - Rhubarb Crumble
RPEJ685 Embossing Powder - White
352854 Metal Tip for Adhesive Bottles
159723 Designer Dries Clear Adhesive
3D1844 3-D Crystal Lacquer
RAHT Heat It Craft Tool
HCST1-401 Deluxe Flower Shaping Kit
173842 Scor-Pal Measuring & Scoring Board
D110305 Stamp Mat Pad
411231 5pc. Acrylic Block Set
359848 Spellbinders Tool N' One
HCDA2-450 Stack and Store Daubers-Pack of 30
Other products:
Spiced Marmalade and Picked Raspberry Distress inks, Canson watercolor cardstock, Versamark Ink, Gansai Tambi Watercolors, Koi Watrbrush, White flower sequins and gold sequins
Instructions:
Stamp the flowers from Buttons and Blooms Cling Stamp Set using Versamark Ink on watercolor cardstock and heat emboss them using Heat It Craft Tool and White Embossing Powder. Color them using Koi Watrbrush and blue, pink, orange, yellow and green colors from Gansai Tambi Watercolors. Die cut them using matching dies from Buttons and Blooms Die. Shape all the flowers using Deluxe Flower Shaping Kit. Use the green flower petals as leaves for the flower arrangement. Apply 3-D Crystal Lacquer to the flower centers.
Cut two 4 3/4" x 6 3/4" and 4 1/2" x 6 1/2" pieces of pattern papers from Buttons and Blooms Paper Collection and adhere them on a 5" x 7" white cardbase. Die cut a piece of white cardstock using the die from Fleur Borders and Pockets Die. Ink it with Spiced Marmalade and Picked Raspberry Distress inks using Stack and Store Daubers. Adhere it to the top left corner of the card front. Arrange and adhere the flowers and leaves as shown on the bottom right corner of the card front. Glue some white flower sequins and gold sequins around the flower arrangement. Put tiny drops of Rhubarb Crumble Nuvo Crystal Dropsto the white flower sequins.
Hope you like it...
Thank you for visiting today... :)