Hello friends & welcome to Heartfelt Wednesday...
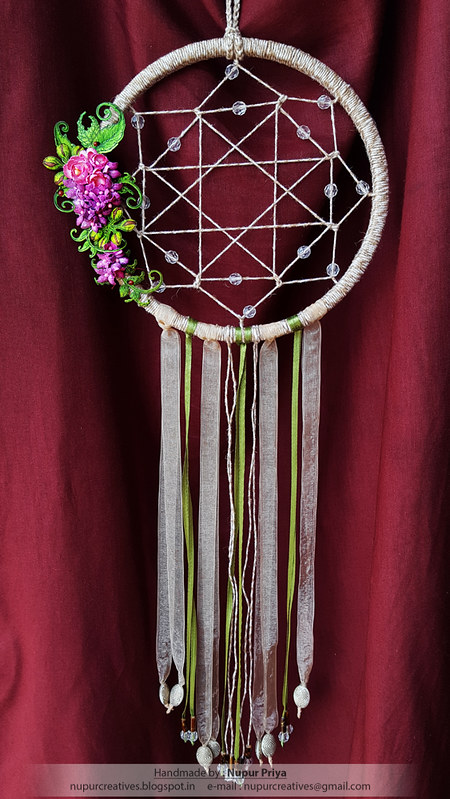
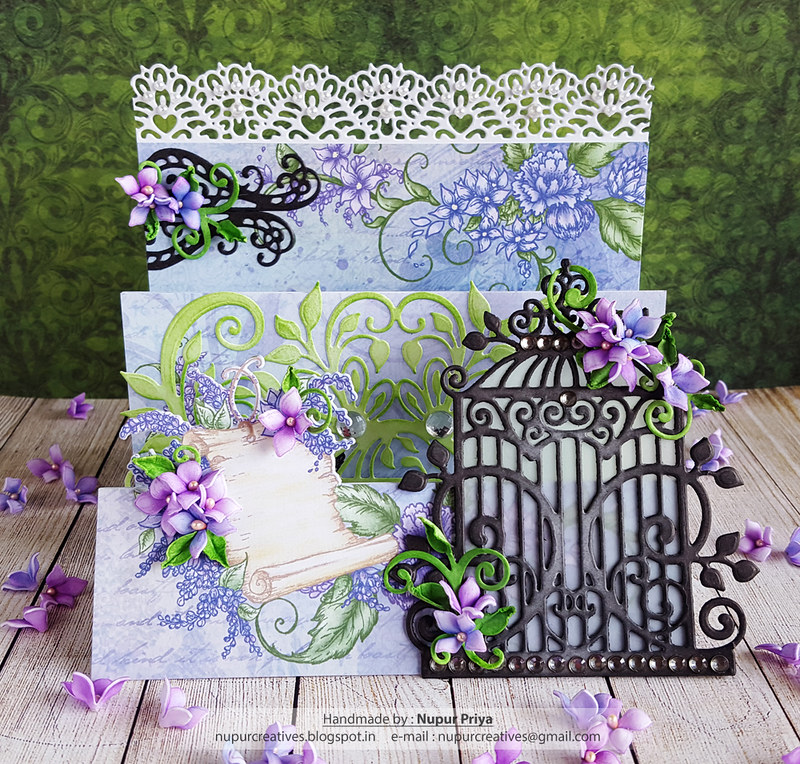
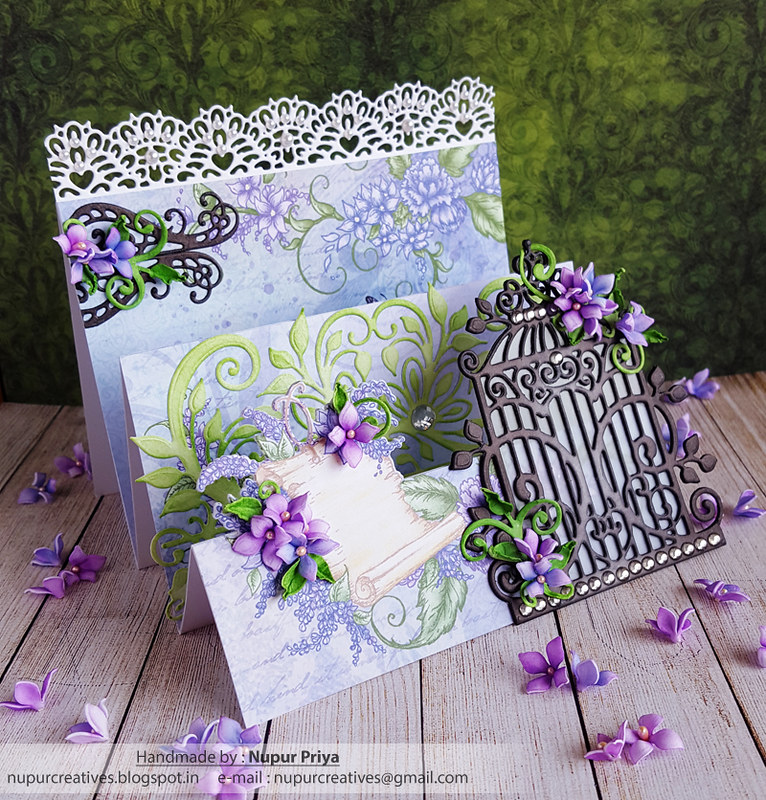
Here is my card for today's inspiration using Lush Lilac Collection...
Read till the end for the list of products & instructions for this card...
Heartfelt Creations Products:
HCPC-3811 Rain Boots and Blossoms Cling Stamp Set
HCPC-3816 Lush Lilac Cling Stamp Set
HCD1-7161 Sweetheart Borders Die
HCD1-7169 Rain Boots and Blossoms Die
HCD1-7170 Lush Lilac Die
HCD1-7172 Sweet Lilac Scroll & Cage Die
HCFS1-465 Art Foam Paper
HCPP3-452 12 x 12 Cardstock Pack of 25 - White
HCPP1-438-1 Paper Pack of 10 - Black
HCST1-401 Deluxe Flower Shaping Kit
HCST2-406 Flower Shaping Essentials
STP1-421 Stylus Handle
STP1-420 Molding Mat
RAHT Heat It Craft Tool
HCDA2-450 Stack and Store Daubers-Pack of 30
173842 Scor-Pal Measuring & Scoring Board
368771 Scor-Tool
D110305 Stamp Mat Pad
359848 Spellbinders Tool N' One
31510 Funnel Tray
411231 5pc. Acrylic Block Set
RACP468 Ranger Archival Ink Pad - Jet Black
RACP985 Ranger Archival Ink Pad - Cactus Flower
RACP614 Ranger Archival Ink Pad - Magenta Hue
RACP454 Ranger Archival Ink Pad - Manganese Blue
HCS1-457-1 Pastel Pearl Stamens-Small
159723 Designer Dries Clear Adhesive
352854 Metal Tip for Adhesive Bottles
PIN6 Glue Tip Pins
D120601 Darice Adhesive Foam Strips
Other Products:
Black Soot Distress ink, Ebosser, watercolor cardstock, brush, Gansai Tambi watercolors & rhinestones.
Instructions:
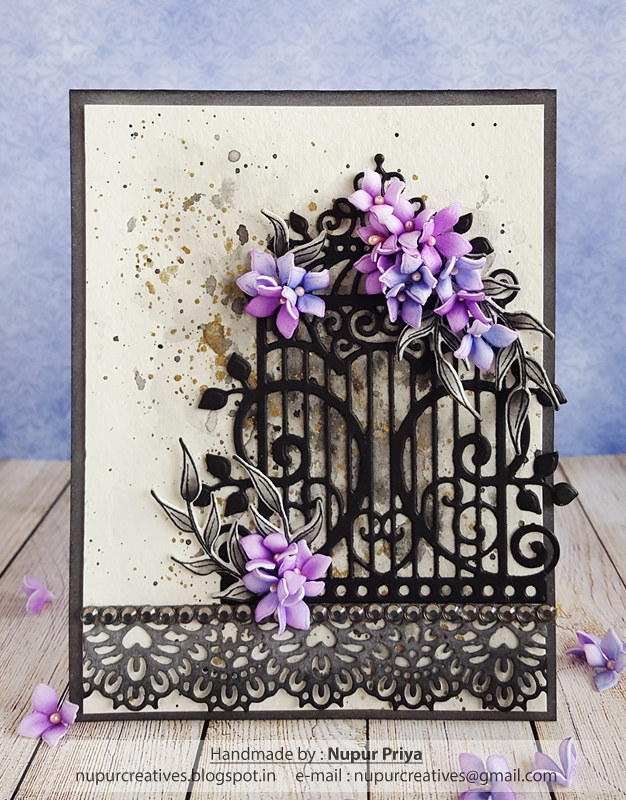
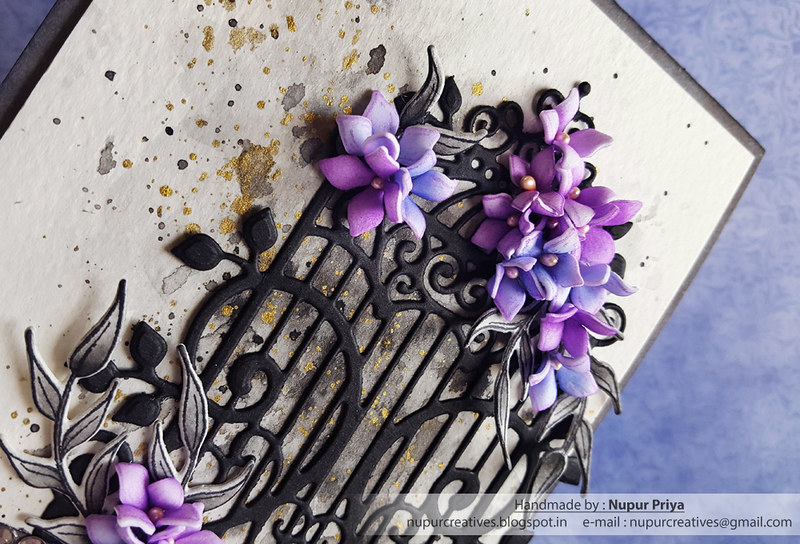
Take a piece of 4" x 5 1/4" watercolor cardstock & paint random shape in the center with diluted black watercolor. After it dries splatter black & gold colors from the same set. Take a 4 1/4" x 5 1/2" card base & ink its edges with black soot distress ink using Stack and Store Daubers. Adhere the watercolored panel on it using Darice Adhesive Foam Strips.
Die cut a piece of black cardstock using the cage die from the Sweet Lilac Scroll & Cage Die And adhere it to the front right of the card. Die cut a piece of white cardstock using the die from Sweetheart Borders Die, ink it with black soot distress ink using Stack and Store Daubers & adhere it below the cage die cut.
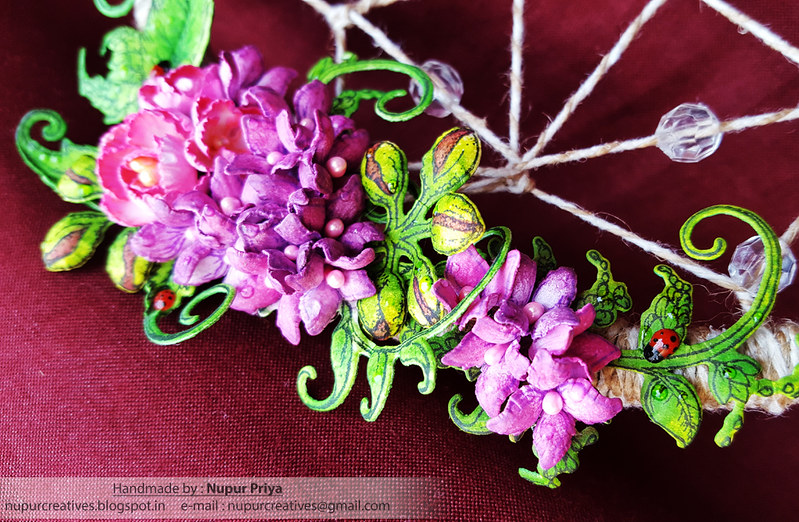
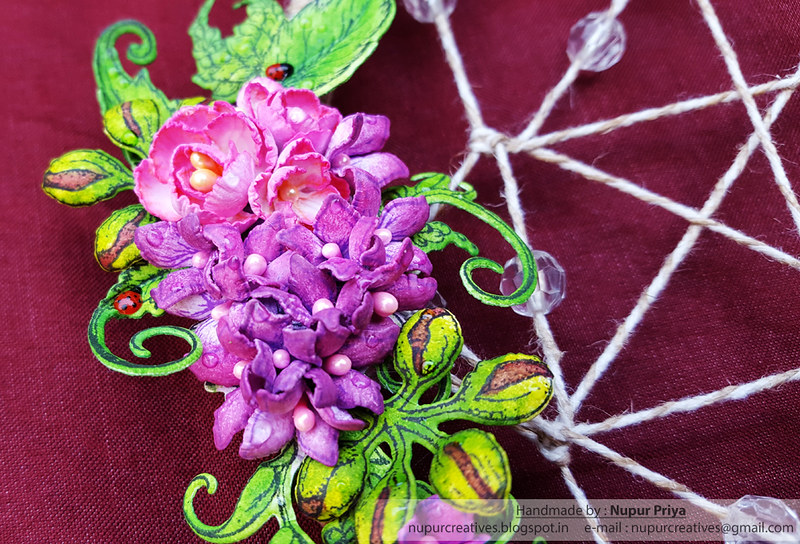
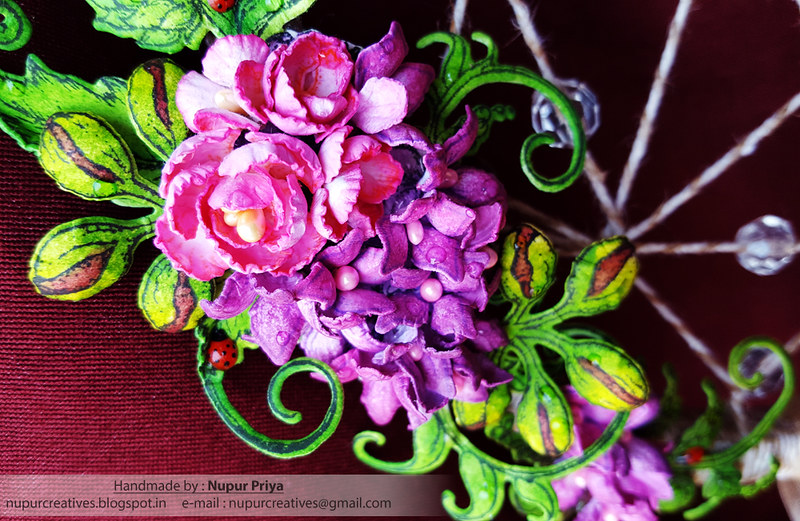
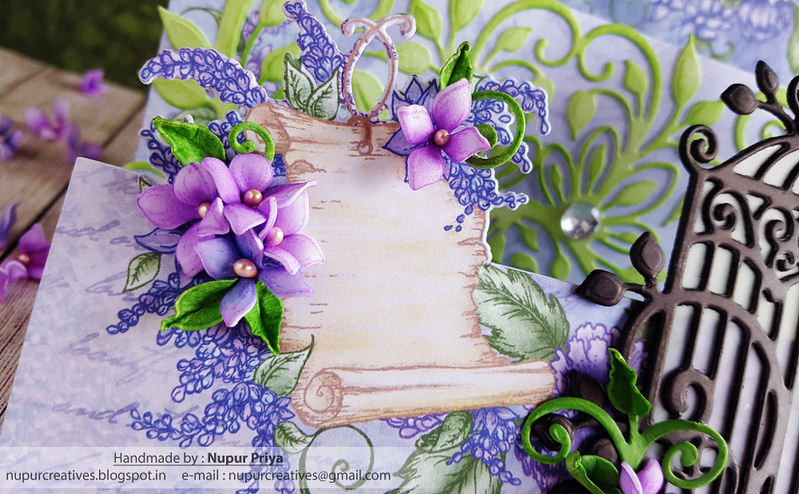
Stamp the Lilacs from Lush Lilac Cling Stamp Set on Art Foam Paper using Cactus Flower Ranger Archival Ink Pad. Ink them using Cactus Flower, Magenta Hue & Manganese Blue Ranger Archival Ink Pad . Die cut them using matching die from Lush Lilac Die. Shape them using Deluxe Flower Shaping Kit & Heat It Craft Tool. Add Pastel Pearl Stamens to the Lilac centers.
Stamp the leaves from Rain Boots and Blossoms Cling Stamp Set using Jet Black Ranger Archival Ink Pad, ink it using the same ink & die cut it using matching die from Rain Boots and Blossoms Die.
Arrange & adhere all the flowers & leaves as shown. Add some rhinestones to add finishing touch to the card.

Disclosure : Compensated affiliate links used when possible at NO additional cost to you.. Thank you!
Here is my card for today's inspiration using Lush Lilac Collection...
Read till the end for the list of products & instructions for this card...
Heartfelt Creations Products:
HCPC-3811 Rain Boots and Blossoms Cling Stamp Set
HCPC-3816 Lush Lilac Cling Stamp Set
HCD1-7161 Sweetheart Borders Die
HCD1-7169 Rain Boots and Blossoms Die
HCD1-7170 Lush Lilac Die
HCD1-7172 Sweet Lilac Scroll & Cage Die
HCFS1-465 Art Foam Paper
HCPP3-452 12 x 12 Cardstock Pack of 25 - White
HCPP1-438-1 Paper Pack of 10 - Black
HCST1-401 Deluxe Flower Shaping Kit
HCST2-406 Flower Shaping Essentials
STP1-421 Stylus Handle
STP1-420 Molding Mat
RAHT Heat It Craft Tool
HCDA2-450 Stack and Store Daubers-Pack of 30
173842 Scor-Pal Measuring & Scoring Board
368771 Scor-Tool
D110305 Stamp Mat Pad
359848 Spellbinders Tool N' One
31510 Funnel Tray
411231 5pc. Acrylic Block Set
RACP468 Ranger Archival Ink Pad - Jet Black
RACP985 Ranger Archival Ink Pad - Cactus Flower
RACP614 Ranger Archival Ink Pad - Magenta Hue
RACP454 Ranger Archival Ink Pad - Manganese Blue
HCS1-457-1 Pastel Pearl Stamens-Small
159723 Designer Dries Clear Adhesive
352854 Metal Tip for Adhesive Bottles
PIN6 Glue Tip Pins
D120601 Darice Adhesive Foam Strips
Other Products:
Black Soot Distress ink, Ebosser, watercolor cardstock, brush, Gansai Tambi watercolors & rhinestones.
Instructions:
Take a piece of 4" x 5 1/4" watercolor cardstock & paint random shape in the center with diluted black watercolor. After it dries splatter black & gold colors from the same set. Take a 4 1/4" x 5 1/2" card base & ink its edges with black soot distress ink using Stack and Store Daubers. Adhere the watercolored panel on it using Darice Adhesive Foam Strips.
Die cut a piece of black cardstock using the cage die from the Sweet Lilac Scroll & Cage Die And adhere it to the front right of the card. Die cut a piece of white cardstock using the die from Sweetheart Borders Die, ink it with black soot distress ink using Stack and Store Daubers & adhere it below the cage die cut.
Stamp the Lilacs from Lush Lilac Cling Stamp Set on Art Foam Paper using Cactus Flower Ranger Archival Ink Pad. Ink them using Cactus Flower, Magenta Hue & Manganese Blue Ranger Archival Ink Pad . Die cut them using matching die from Lush Lilac Die. Shape them using Deluxe Flower Shaping Kit & Heat It Craft Tool. Add Pastel Pearl Stamens to the Lilac centers.
Stamp the leaves from Rain Boots and Blossoms Cling Stamp Set using Jet Black Ranger Archival Ink Pad, ink it using the same ink & die cut it using matching die from Rain Boots and Blossoms Die.
Arrange & adhere all the flowers & leaves as shown. Add some rhinestones to add finishing touch to the card.
Hope you like this card...
Thank you for visiting today... :)
Disclosure : Compensated affiliate links used when possible at NO additional cost to you.. Thank you!