
Hello friends & welcome to another Heartfelt Wednesday inspiration post...
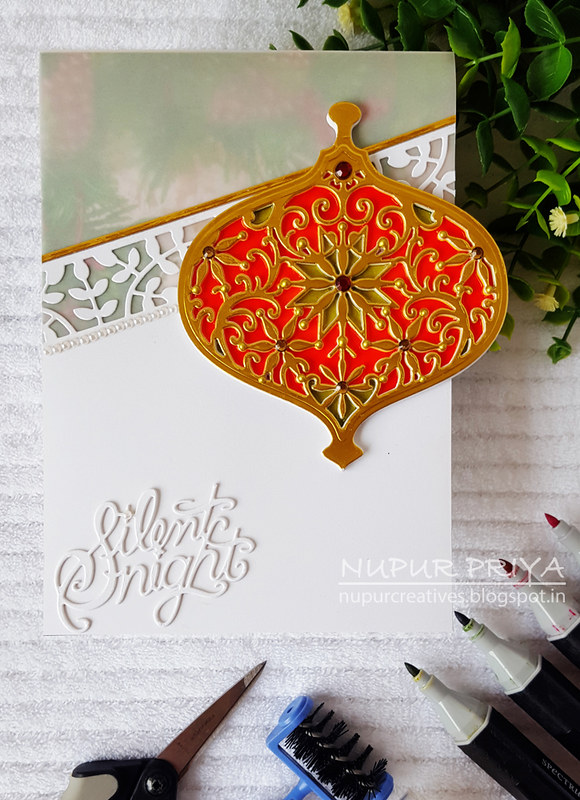
I wanted the ornament to be the highlight of this card so I kept the rest of the card very simple...
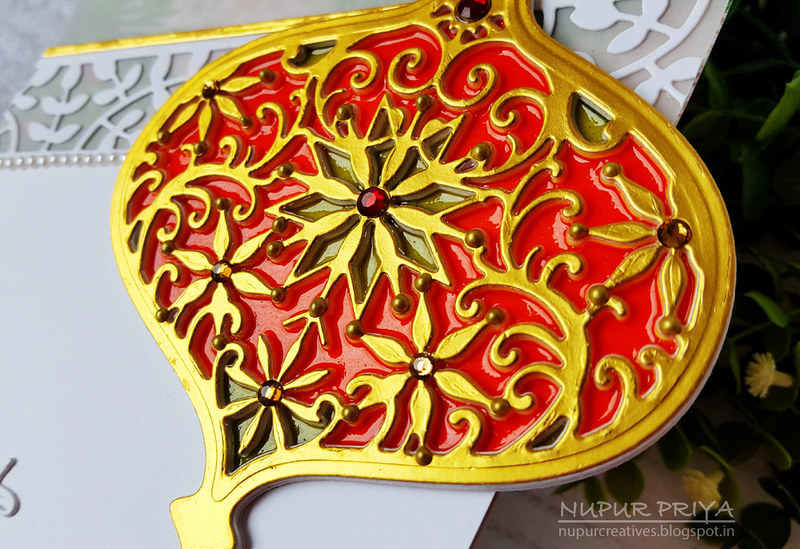
The ornament looks gorgeous in real life and I think the Bright Gold Nuvo Crystal Drops and rhinestones enhance it's beauty...
Heartfelt Creations Products:
HCD2-7189 Eyelet Rectangle & Basics Die
HCD2-7190 Frame a Card Leafy Borders Die
HCD1-7186 Silent Night Scroll Die
HCD1-7188 Noel Ornament Die
HCDP1-292 O Holy Night Paper Collection
18002 Rajni Chawla's Vellum Flowerite
HCPP3-452 12 x 12 Cardstock Pack of 25 - White
3D1844 3-D Crystal Lacquer
Nuvo Crystal Drops - Bright Gold
352854 Metal Tip for Adhesive Bottles
159723 Designer Dries Clear Adhesive
359848 Spellbinders Tool N' One
532423-KIT Sizzix Vagabond 2 With Solo Wafer-Thin Die Adapter
31510 Funnel Tray
173842 Scor-Pal Measuring & Scoring Board
Other Products:
Alcohol markers in Green and red colors, gold cardstock, rhinestones and pearls.
Instructions:
Take a piece of 5" x 6" white cardstock and cut the top portion at an angle as shown. Use 2 of the inner dies from Frame a Card Leafy Borders Die and position them along the border and die cut the cardstock. Take a piece of 5" x 5" Vellum and adhere it to the back of die cut white cardstock using Metal Tip with Designer Dries Clear Adhesive. Add a thin strip of gold cardstock to the die cut edge.
Align the white cardstock part with 0 on the Scoring Board and score the Vellum at 7". Adhere the scored part on a 5" x 7" white cardstock to make the card base. Cut a piece of 5" x 7" pattern paper from the O Holy Night Paper Collection and adhere it to the inside of the card.
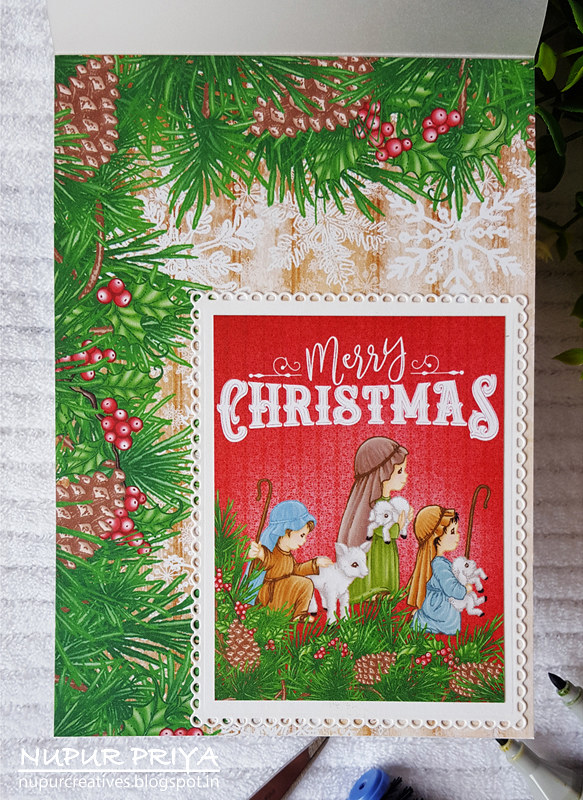
Die cut a piece of white cardstock using the Eyelet Rectangle & Basics Die. Cut a piece of sentiment panel from the same paper collection and adhere it to the die cut. Glue it to the inside of the card as shown.
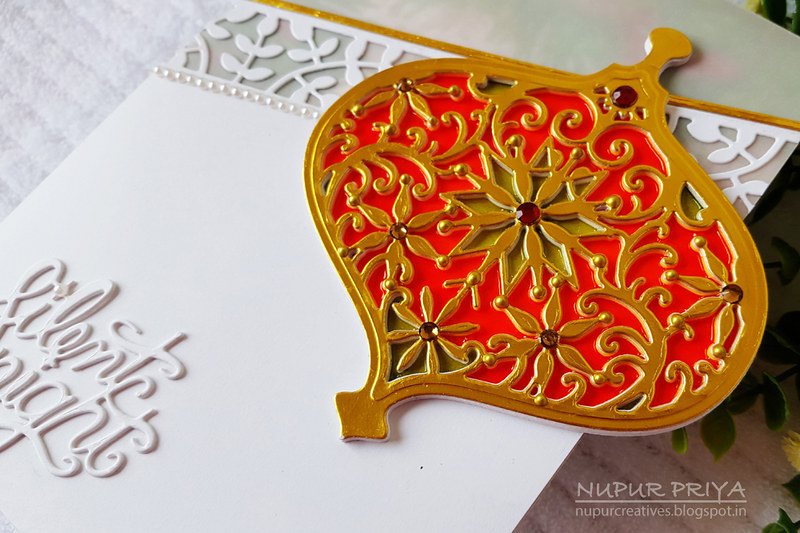
Die cut 4 pieces of the ornament die from Noel Ornament Die with edge & the inside lacy piece from white cardstock and 1 from gold cardstock. Die cut only the outline die and glue them together. Adhere one of the detailed die cut on the solid die cuts and then color it using green and red alcohol markers. Adhere all the white die cuts on top of the colored piece. Now fill all the depressions with a thick layer of 3-D Crystal Lacquer. Let it dry completely. Now adhere the gold die cut on top. Adhere it to the card front as shown. Add some rhinestones and Bright Gold Nuvo Crystal Drops to the die cut
Die cut 2 pieces of white cardstock using the Silent Night die from Silent Night Scroll Die. Adhere them together and glue it down on the bottom left corner of the card front. Add a line of pearls below the Leafy Borders Diecut to add finishing touch.
Hope you like it...
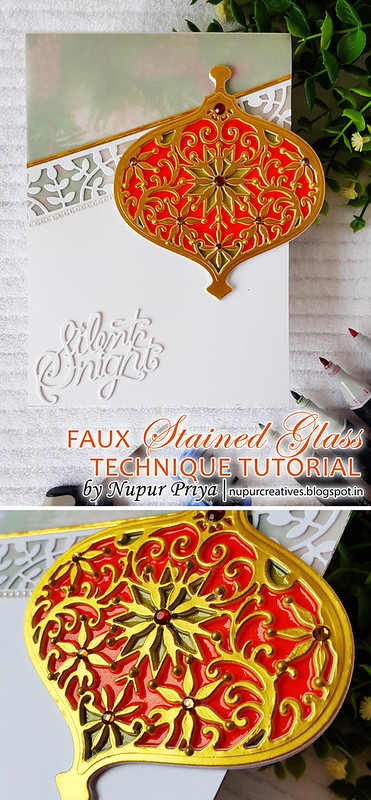
I have another card using O Holy Night Collection to share with you today... The star of this card is a Christmas Ornament which I made using the dies from Noel Ornament Die and I have used the Faux Stained Glass Technique that I Jennifer Mcguire demonstrated few weeks back... I loved the results and I had to give it a try...
I have changed few things like I used Gold cardstock instead of heat embossing and 3-D Crystal Lacquer to get the faux stained glass look.
Basically you die cut the detailed die a few times and stack them to create a chipboard like piece... color the base and fill in the depressions with any clear product like 3-D Crystal Lacquer, Glossy accents etc... and let it dry. The top layer can be changed according to your preference like white, gold, silver, black or any other color of your choice. The top layer is adhered after the 3-D Crystal Lacquer is completely dry so that any imperfections can be masked. Scroll down to see the full instructions and supply list to make this card.
But before we move on to my card here is an amazing offer I want to share with you all...
CLICK HERE to avail 50% discount on Journal Binder and Pages (Offer Valid till 7/1/18 - 7/31/18)Basically you die cut the detailed die a few times and stack them to create a chipboard like piece... color the base and fill in the depressions with any clear product like 3-D Crystal Lacquer, Glossy accents etc... and let it dry. The top layer can be changed according to your preference like white, gold, silver, black or any other color of your choice. The top layer is adhered after the 3-D Crystal Lacquer is completely dry so that any imperfections can be masked. Scroll down to see the full instructions and supply list to make this card.
But before we move on to my card here is an amazing offer I want to share with you all...
I wanted the ornament to be the highlight of this card so I kept the rest of the card very simple...
The ornament looks gorgeous in real life and I think the Bright Gold Nuvo Crystal Drops and rhinestones enhance it's beauty...
Heartfelt Creations Products:
HCD2-7189 Eyelet Rectangle & Basics Die
HCD2-7190 Frame a Card Leafy Borders Die
HCD1-7186 Silent Night Scroll Die
HCD1-7188 Noel Ornament Die
HCDP1-292 O Holy Night Paper Collection
18002 Rajni Chawla's Vellum Flowerite
HCPP3-452 12 x 12 Cardstock Pack of 25 - White
3D1844 3-D Crystal Lacquer
Nuvo Crystal Drops - Bright Gold
352854 Metal Tip for Adhesive Bottles
159723 Designer Dries Clear Adhesive
359848 Spellbinders Tool N' One
532423-KIT Sizzix Vagabond 2 With Solo Wafer-Thin Die Adapter
31510 Funnel Tray
173842 Scor-Pal Measuring & Scoring Board
Other Products:
Alcohol markers in Green and red colors, gold cardstock, rhinestones and pearls.
Instructions:
Take a piece of 5" x 6" white cardstock and cut the top portion at an angle as shown. Use 2 of the inner dies from Frame a Card Leafy Borders Die and position them along the border and die cut the cardstock. Take a piece of 5" x 5" Vellum and adhere it to the back of die cut white cardstock using Metal Tip with Designer Dries Clear Adhesive. Add a thin strip of gold cardstock to the die cut edge.
Align the white cardstock part with 0 on the Scoring Board and score the Vellum at 7". Adhere the scored part on a 5" x 7" white cardstock to make the card base. Cut a piece of 5" x 7" pattern paper from the O Holy Night Paper Collection and adhere it to the inside of the card.
Die cut a piece of white cardstock using the Eyelet Rectangle & Basics Die. Cut a piece of sentiment panel from the same paper collection and adhere it to the die cut. Glue it to the inside of the card as shown.
Die cut 4 pieces of the ornament die from Noel Ornament Die with edge & the inside lacy piece from white cardstock and 1 from gold cardstock. Die cut only the outline die and glue them together. Adhere one of the detailed die cut on the solid die cuts and then color it using green and red alcohol markers. Adhere all the white die cuts on top of the colored piece. Now fill all the depressions with a thick layer of 3-D Crystal Lacquer. Let it dry completely. Now adhere the gold die cut on top. Adhere it to the card front as shown. Add some rhinestones and Bright Gold Nuvo Crystal Drops to the die cut
Die cut 2 pieces of white cardstock using the Silent Night die from Silent Night Scroll Die. Adhere them together and glue it down on the bottom left corner of the card front. Add a line of pearls below the Leafy Borders Diecut to add finishing touch.
Hope you like it...
Thank you for visiting today... :)

So beautiful! I love how you've used the crystal lacquer, such a wonderful effect with the pretty ornament!
ReplyDeleteAbsolutely gorgeous Nupur!
ReplyDelete