Hello friends & welcome to Heartfelt Wednesday...
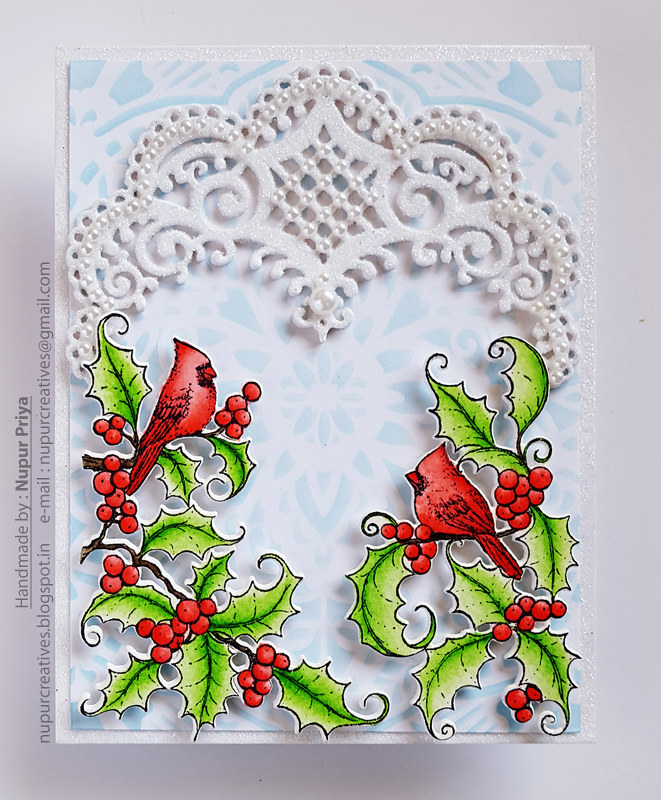
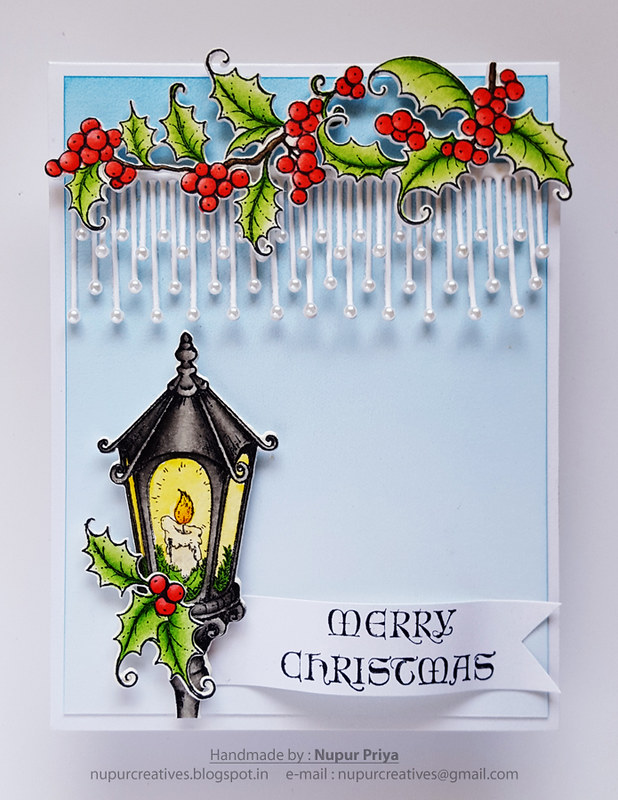
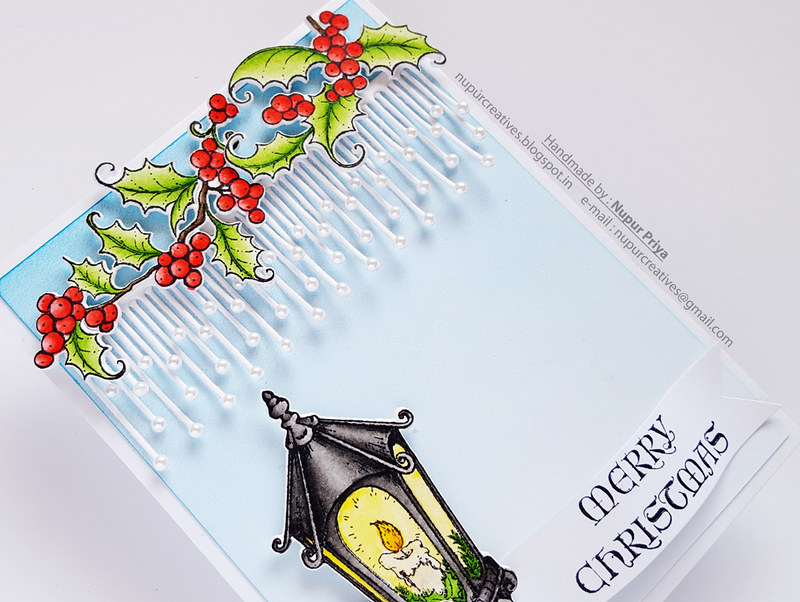
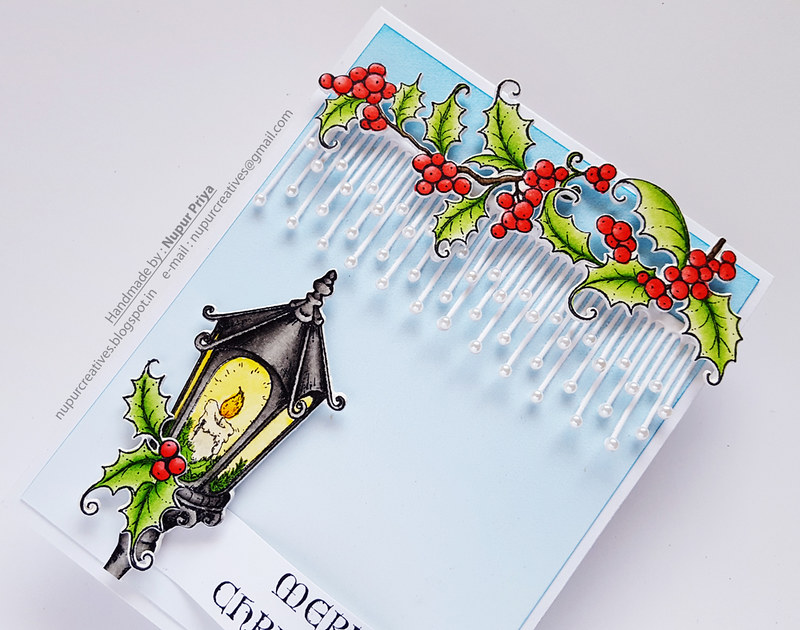
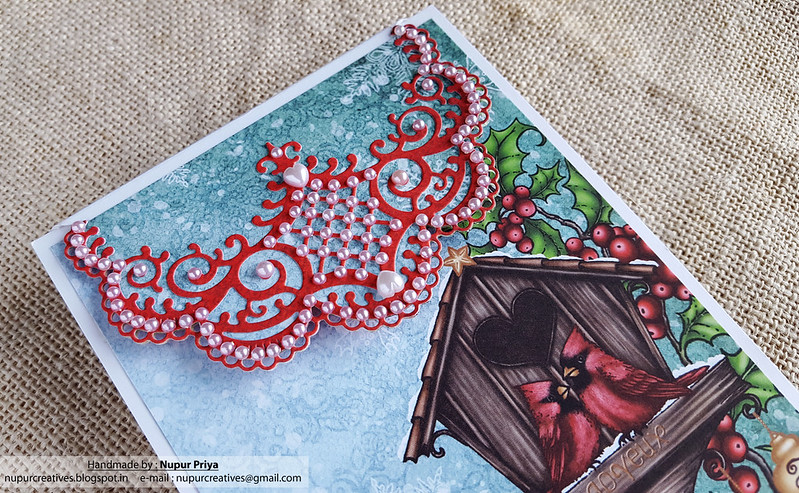
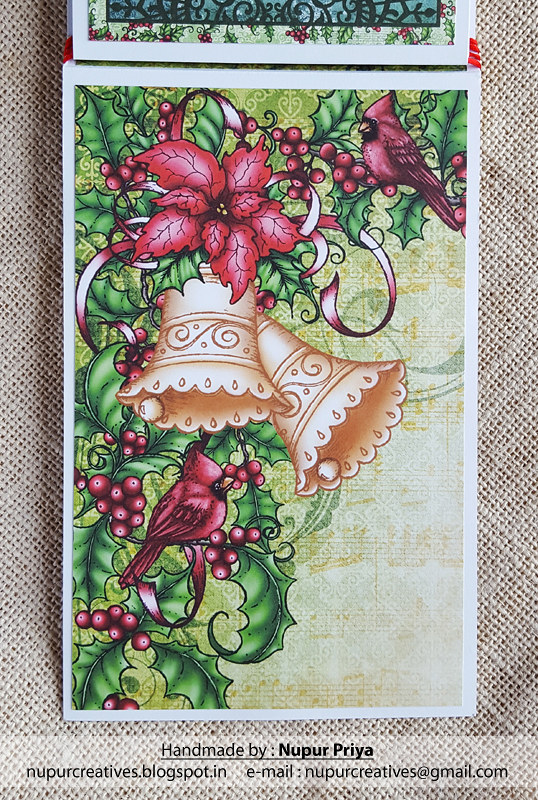
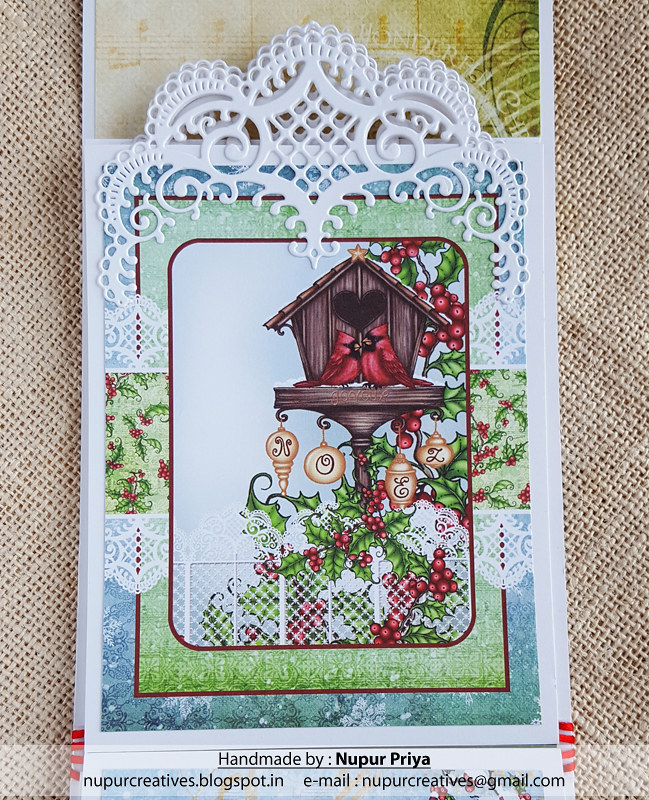
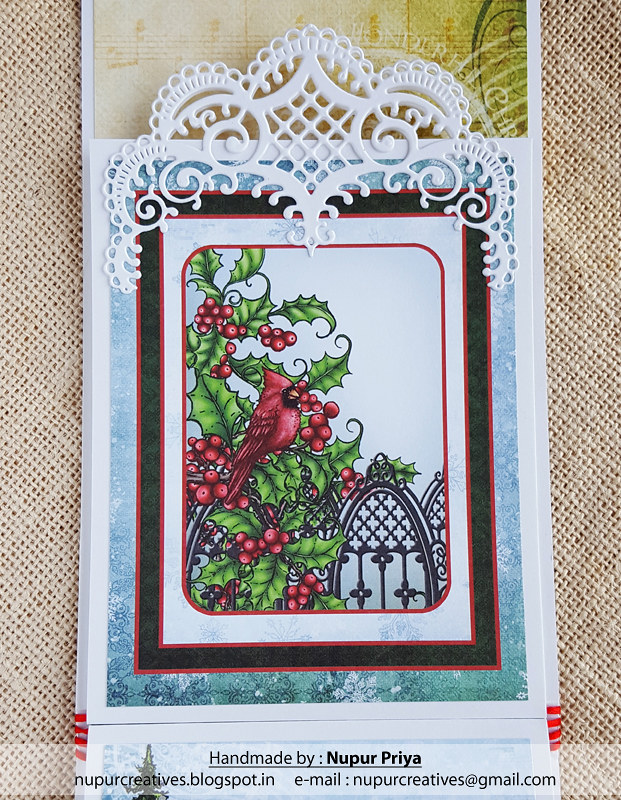
Today I have made a mini Christmas Album with the new Festive Holly collection...
Stay with me till the end to see all the supply list & instructions for this mini album...


Heartfelt Creations Products:
HCDP1-280 Festive Holly Paper Collection
HCD1-7118 Delicate Border Basics Die
HCD1-7119 Classic Border Basics Die
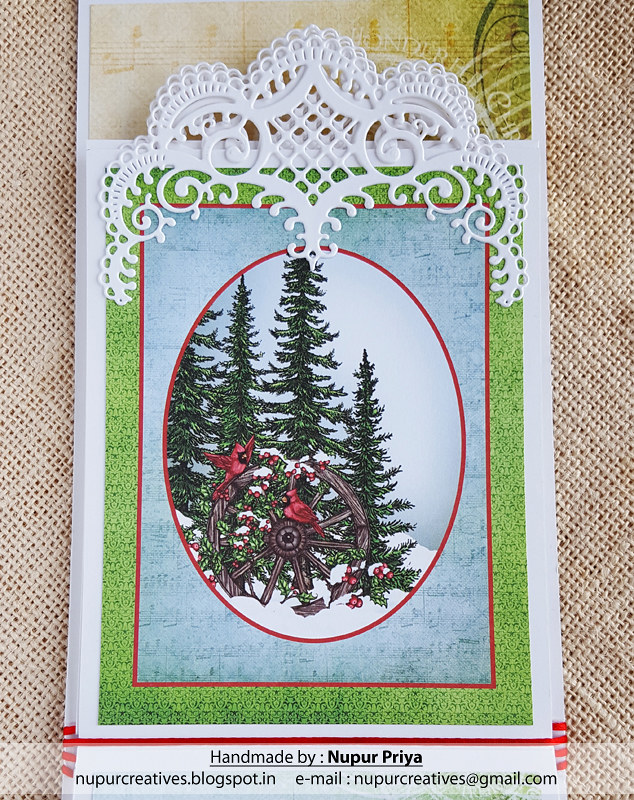
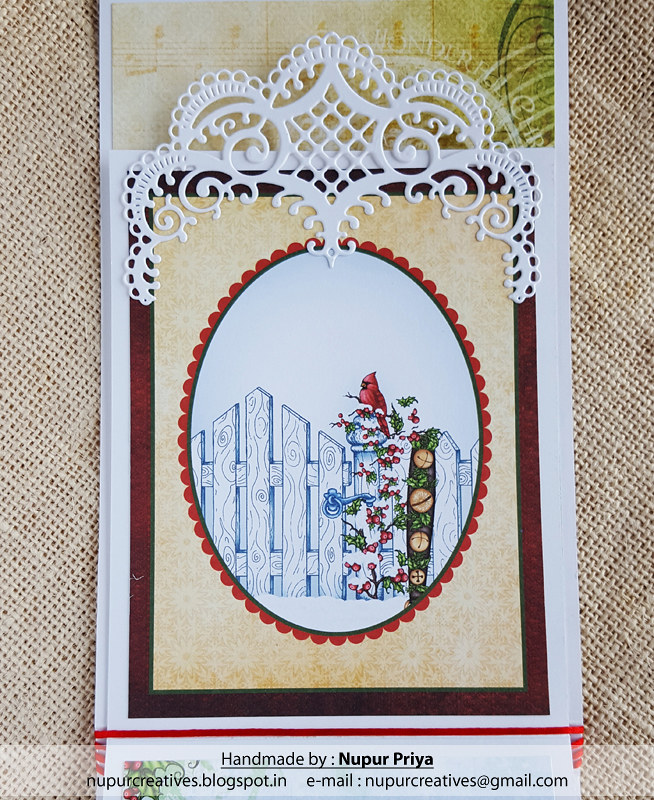
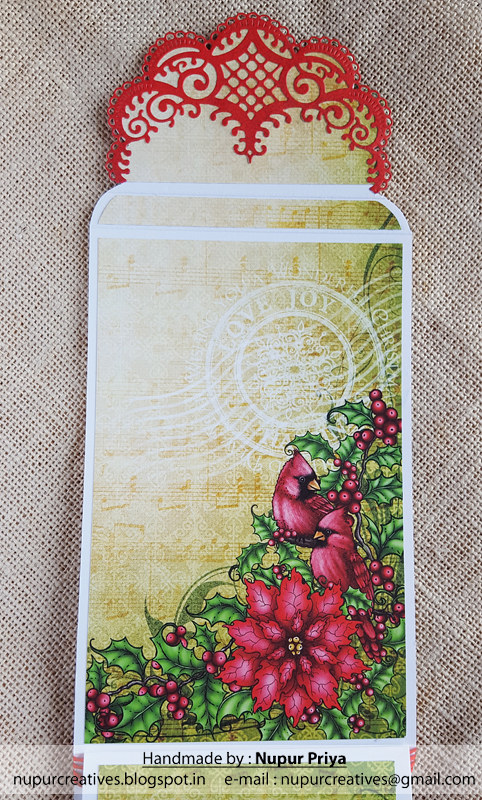
HCD1-7146 Festive Holiday Die
HCD1-7118 Delicate Border Basics Die
HCD1-7119 Classic Border Basics Die
HCD1-7146 Festive Holiday Die
Other Products:
Ebosser, Martha Stewart scoreboard, white cardstock, magnet, red twine, pearls rhinestones & adhesive.
Project Instruction:
Take a 4 1/2" x 7 1/2" piece of white cardstock & score at 7". Take another piece of 4 1/2" x 10 1/2" cardstock & score at 1/2", 7 1/2" & 8". Glue the 1/2" tabs to make the cover of the album. Attach the magnets to the overlapping flaps.
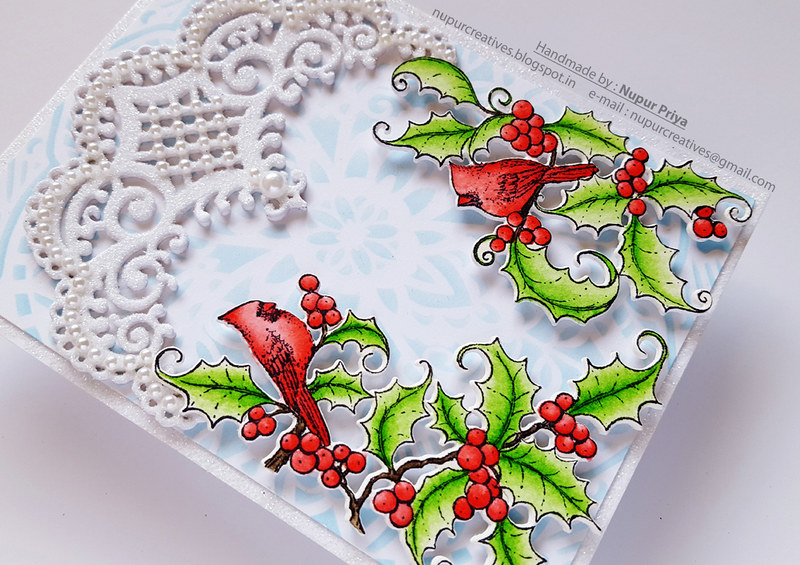
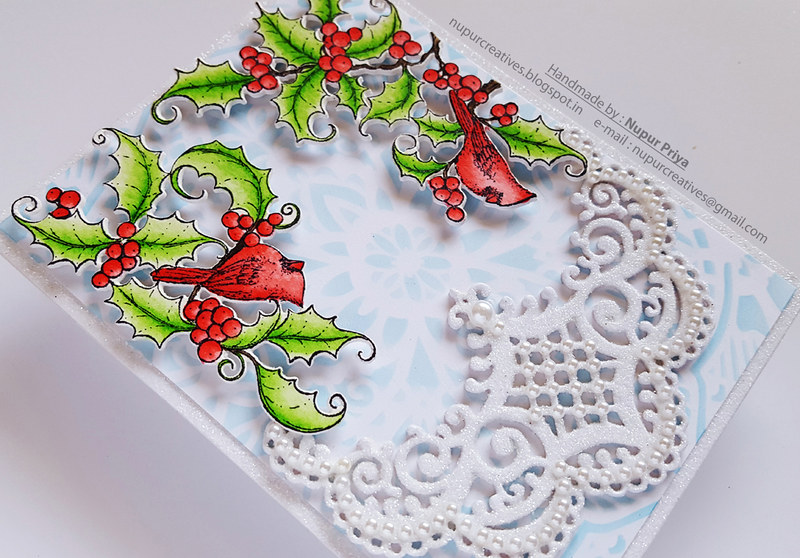
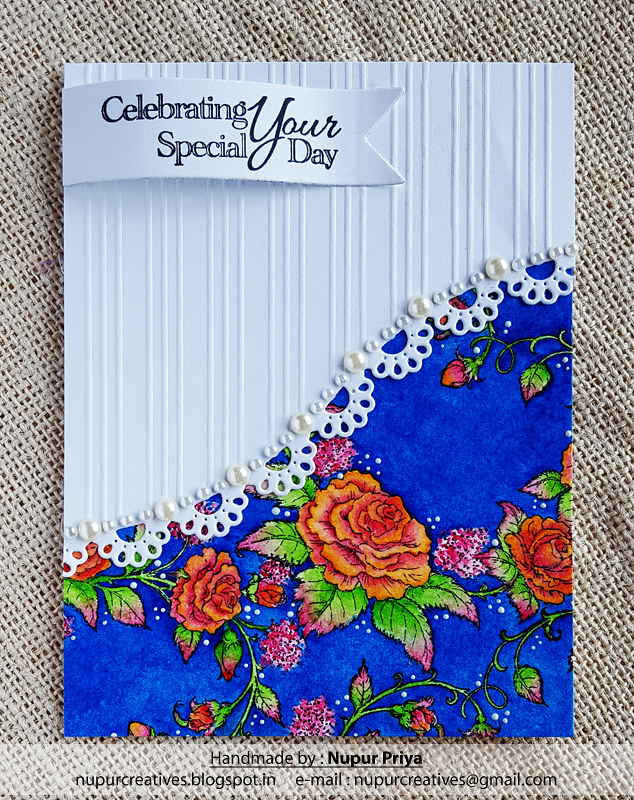
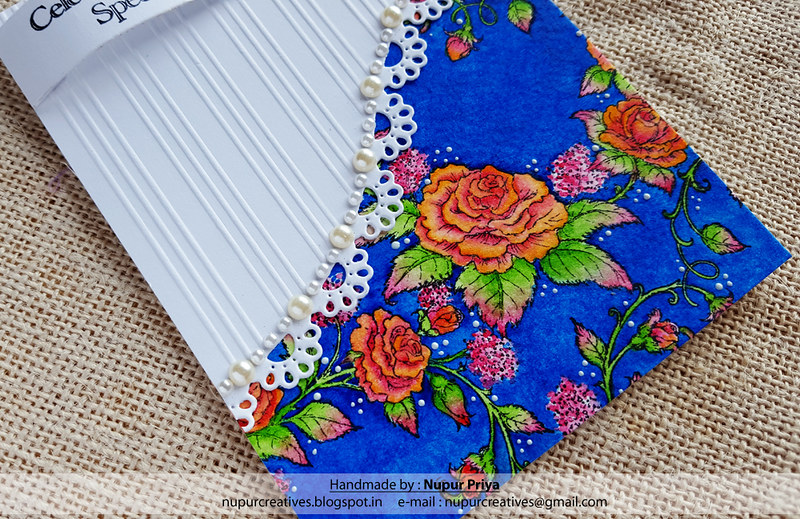
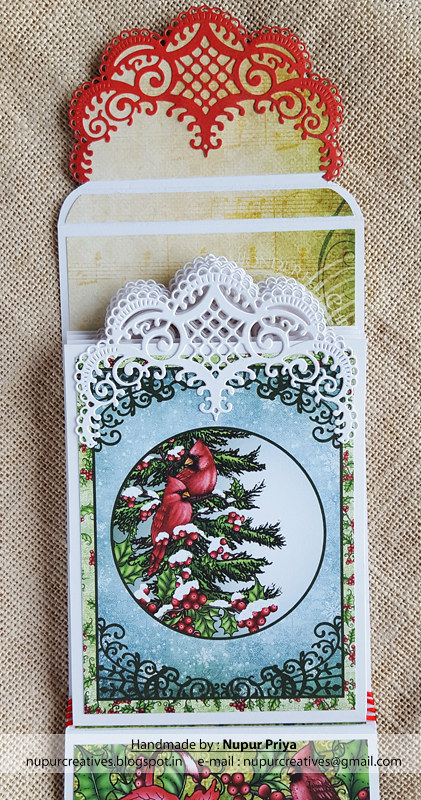
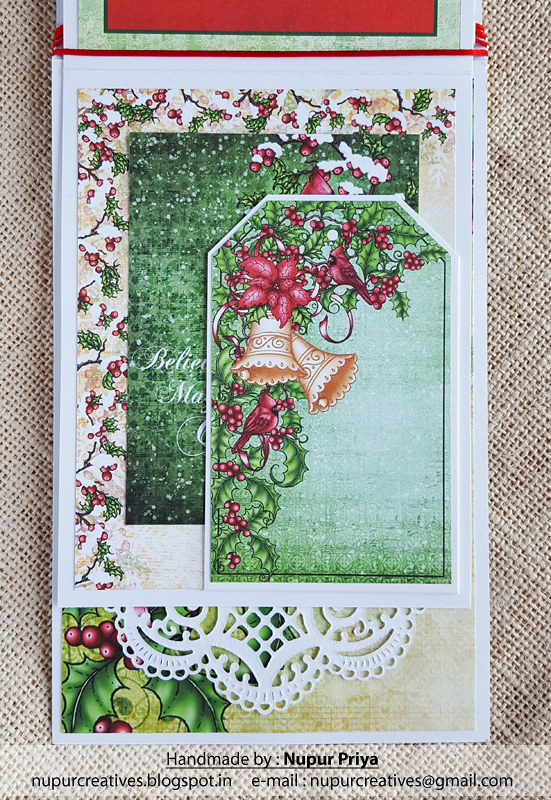
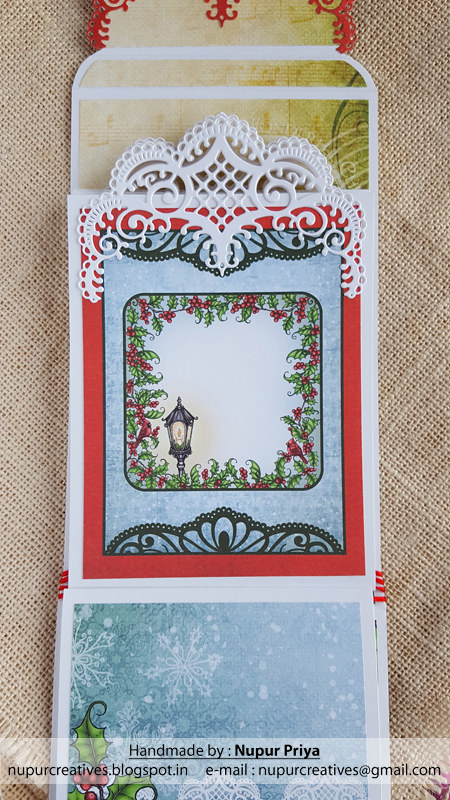
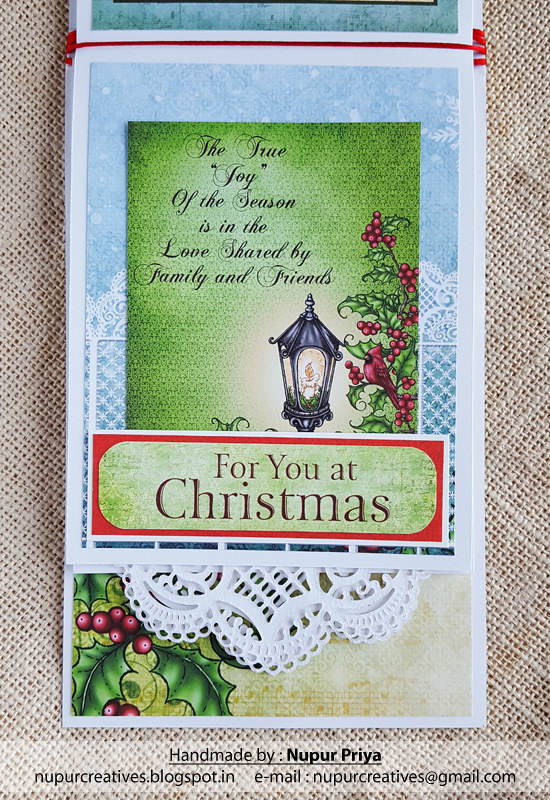
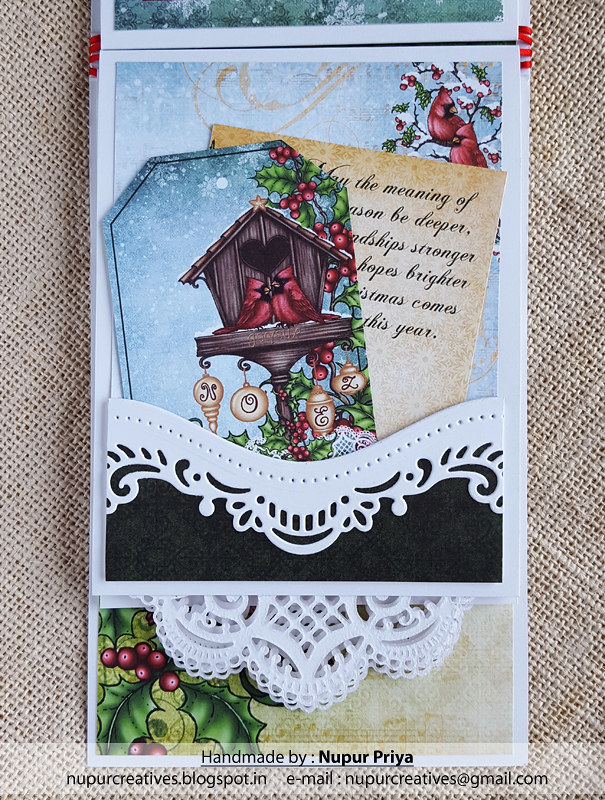
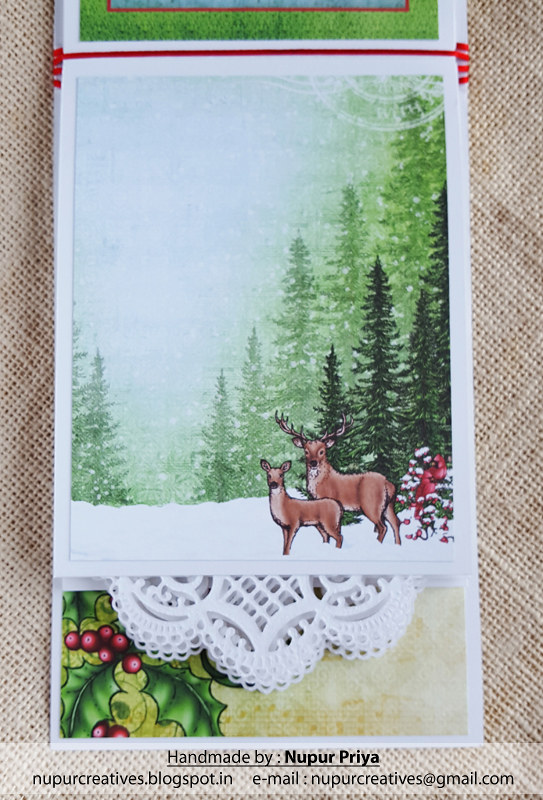
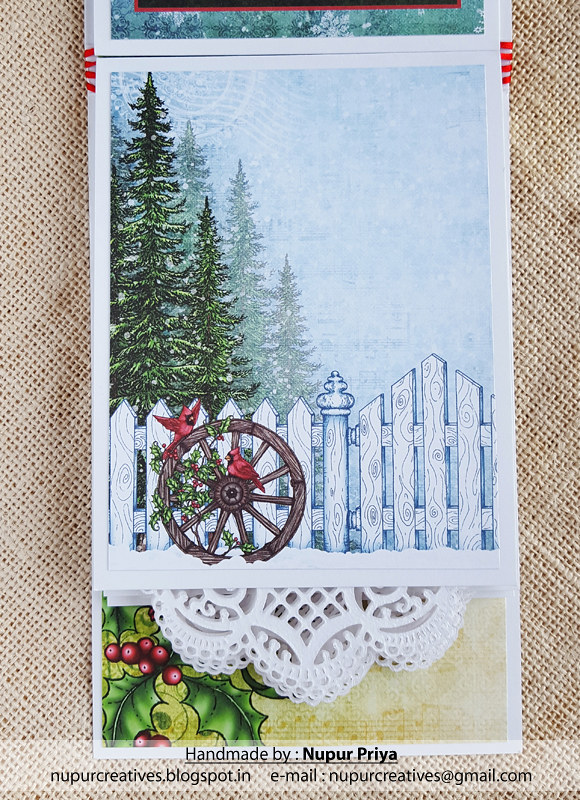
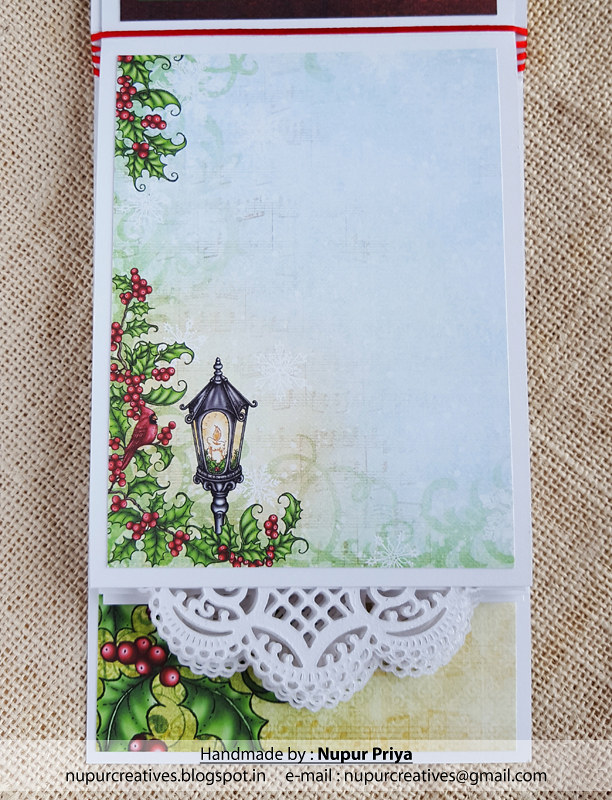
Take 4 pieces of 4 1/4" x 11" white cardstock & score them at 5 1/2" to make the pages of the album. Decorate the cover & the pages with papers from Festive Holly Paper Collection. Make the pockets for the pages using Delicate Border Basics Die & Classic Border Basics Die.
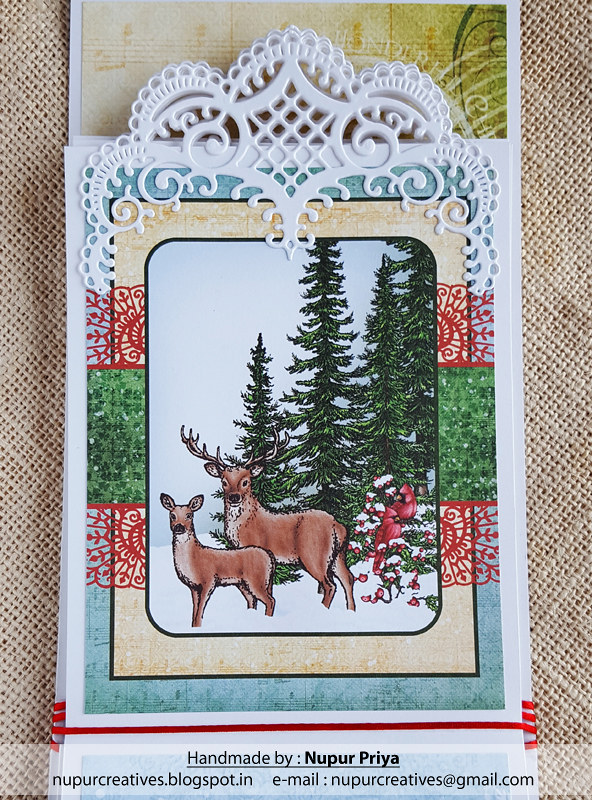
Make the tabs to the pages & cover using the decorative die from Festive Holiday Die. Attach the pages to the album using red twine wrapped around the spine of the album. Add some pearls to the die cut on the cover to add finishing touch to the album. Hide the red twine knot on the spine by gluing down a rhinestone on it.
Hope you like this album...
Thank you for visiting today... :)

Disclosure : Compensated affiliate links used when possible at NO additional cost to you.. Thank you!