Showing posts with label Mini Album. Show all posts

Saturday, 17 March 2018

Mini Album Tutorial

Hello friends & welcome to Heartfelt Inspiration post...

Do you want to learn how to make mini albums using foldout cards & layered cards then head over to Heartfelt Creations blog to see the step-by-step tutorial along with pictures & lots of helpful tips...
Below are some pictures of the album cover.. you can view more pictures & the tutorial by clicking HERE !

20180305_163140

20180305_163231

20180305_163404

20180305_163243


Hope you like it...
Thank you for visiting today... :)
Nupur
Disclosure : Compensated affiliate links used when possible  at NO additional cost to you.. Thank you! 

Wednesday, 26 July 2017

Christmas Mini Album

Hello friends & welcome to Heartfelt Wednesday...
Today I have made a mini Christmas Album with the new Festive Holly collection...
Stay with me till the end to see all the supply list & instructions for this mini album...

20170719_152743

20170719_153931


20170719_152931

20170719_152922

20170719_152957_001

20170719_153036

20170719_153425

20170719_153443_001

20170719_153502

20170719_153516

20170719_153551_001

20170719_153610

20170719_153641

20170719_153709_001

20170719_153728

20170719_153739

20170719_153750

20170719_153802

20170719_153840

20170719_153904


Heartfelt Creations Products: 
HCDP1-280 Festive Holly Paper Collection
HCD1-7118 Delicate Border Basics Die
HCD1-7119 Classic Border Basics Die
HCD1-7146 Festive Holiday Die

Other Products: 
Ebosser, Martha Stewart scoreboard, white cardstock, magnet, red twine, pearls rhinestones & adhesive.

Project Instruction: 
Take a 4 1/2" x 7 1/2" piece of white cardstock & score at 7". Take another piece of 4 1/2" x 10 1/2" cardstock & score at 1/2", 7 1/2" & 8". Glue the 1/2" tabs to make the cover of the album. Attach the magnets to the overlapping flaps.

Take 4 pieces of 4 1/4" x 11" white cardstock & score them at 5 1/2" to make the pages of the album. Decorate the cover & the pages with papers from Festive Holly Paper Collection. Make the pockets for the pages using  Delicate Border Basics Die & Classic Border Basics Die

Make the tabs to the pages & cover using the decorative die from Festive Holiday Die. Attach the pages to the album using red twine wrapped around the spine of the album. Add some pearls to the die cut on the cover to add finishing touch to the album. Hide the red twine knot on the spine by gluing down a rhinestone on it.


 Hope you like this album...
Thank you for visiting today... :)

Nupur
Disclosure : Compensated affiliate links used when possible  at NO additional cost to you.. Thank you! 

Friday, 14 October 2016

Wedding Gift Tutorial

Hello friends,
Today I have a tutorial for a quick and easy gift.
This tutorial can be used to make a gift for any occasion.
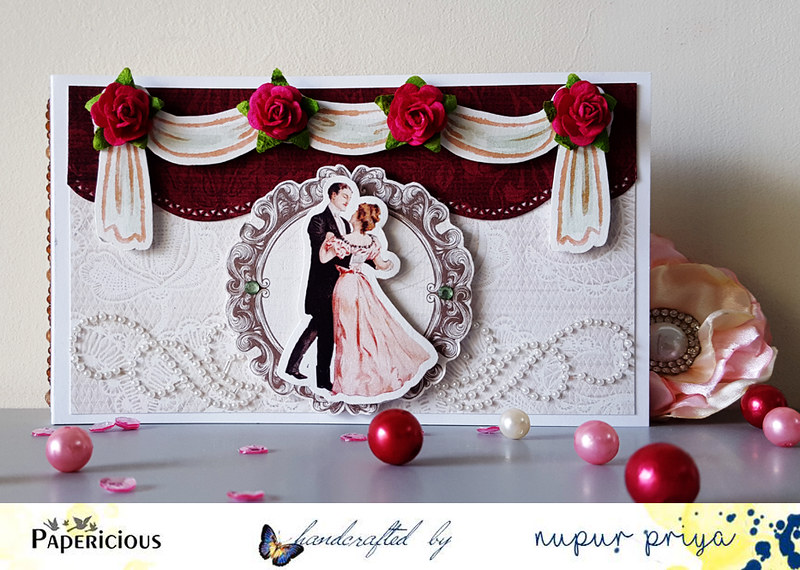
I have to used the Wedding Collection Kit for this post...
20161007_100644
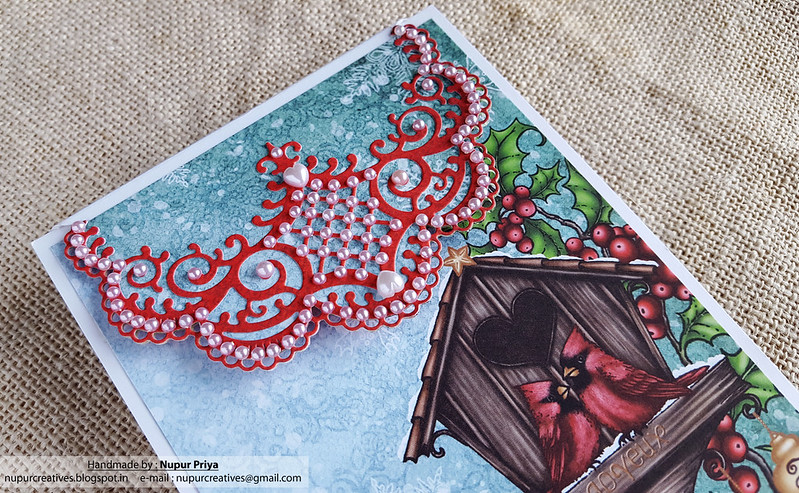
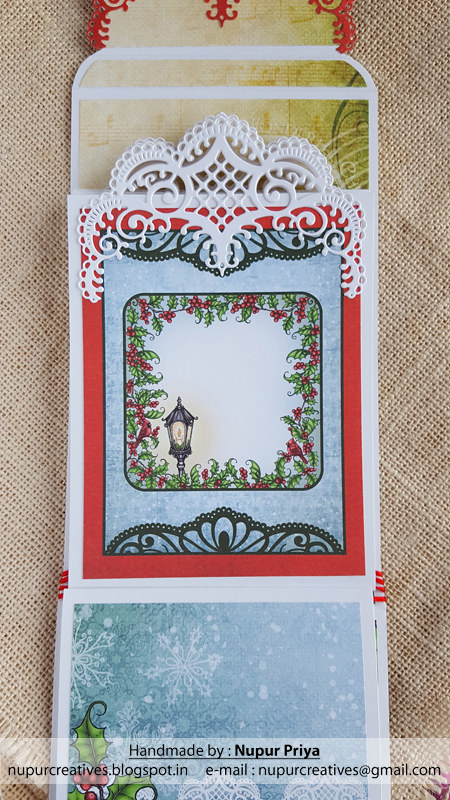
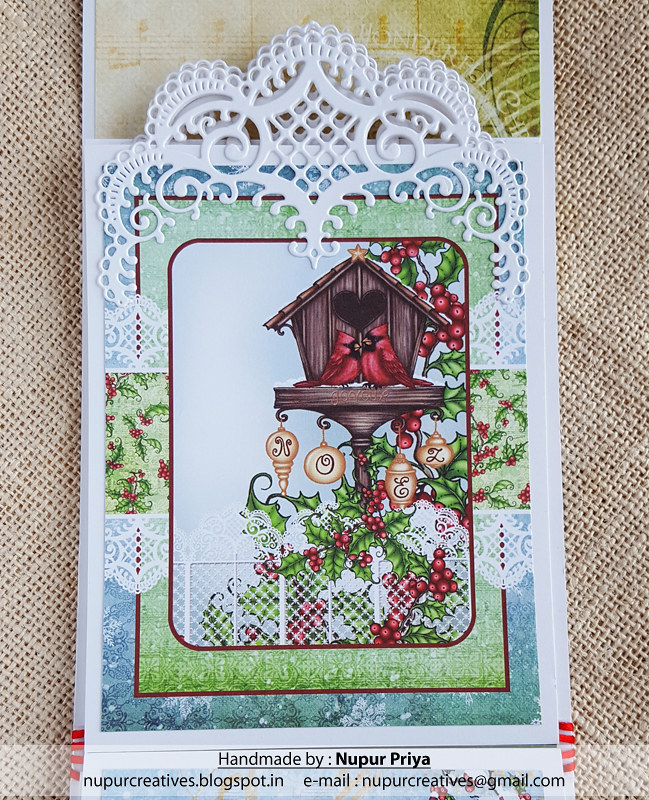
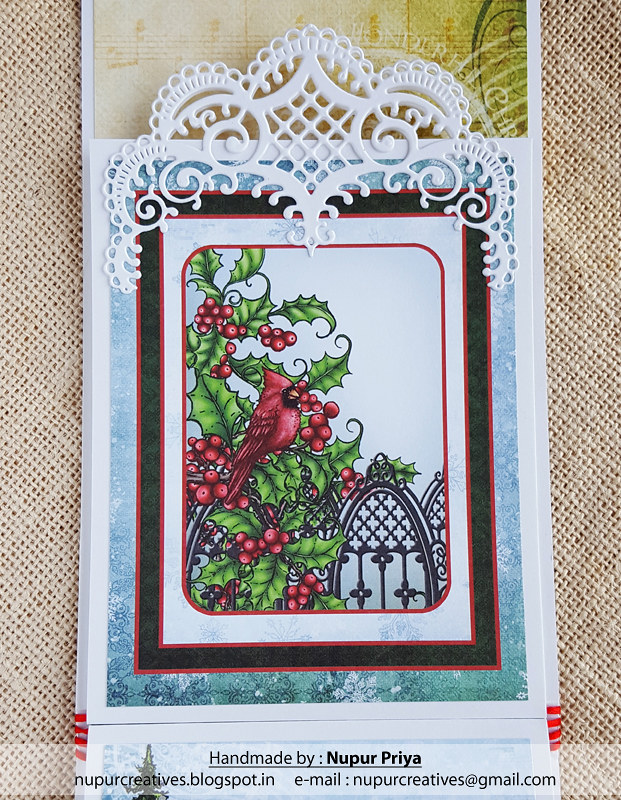
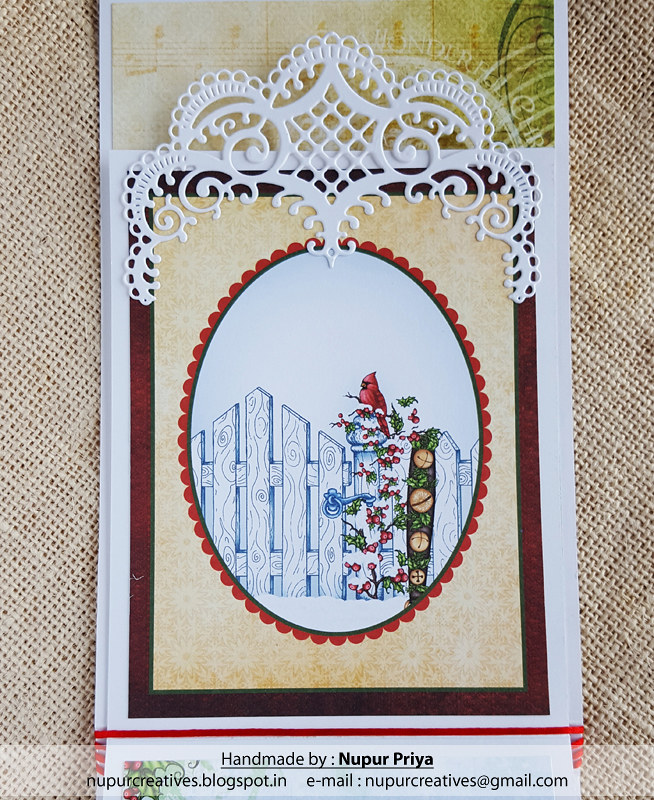
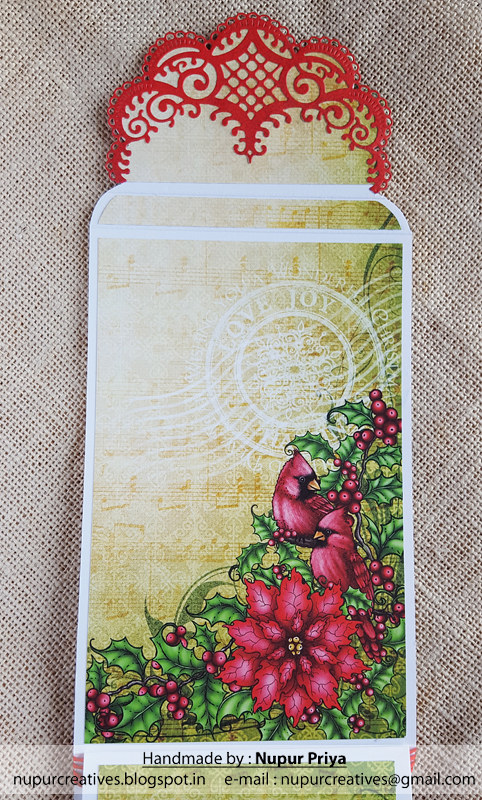
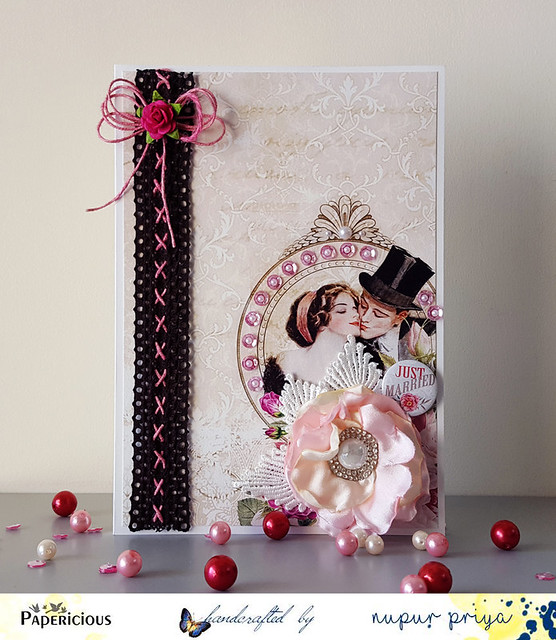
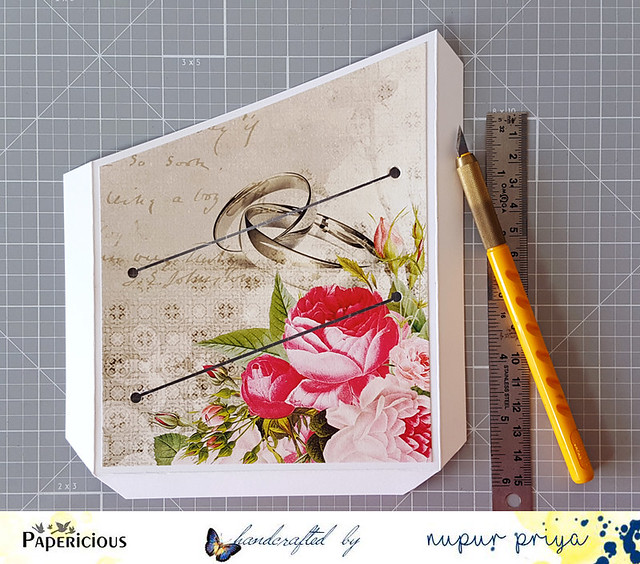
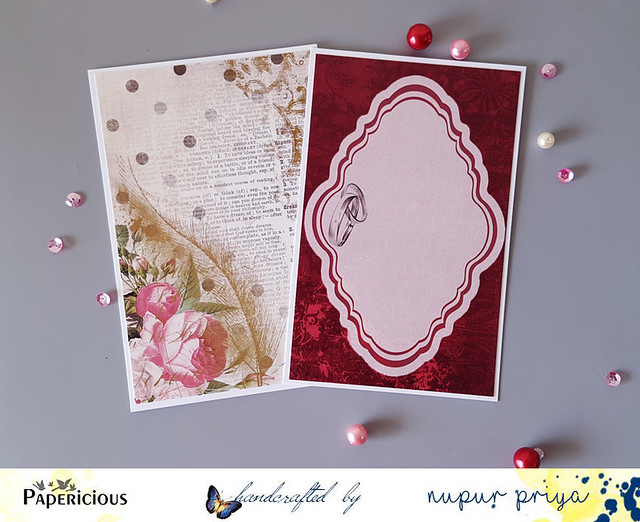
This is the front...
20161007_100831

20161007_101400
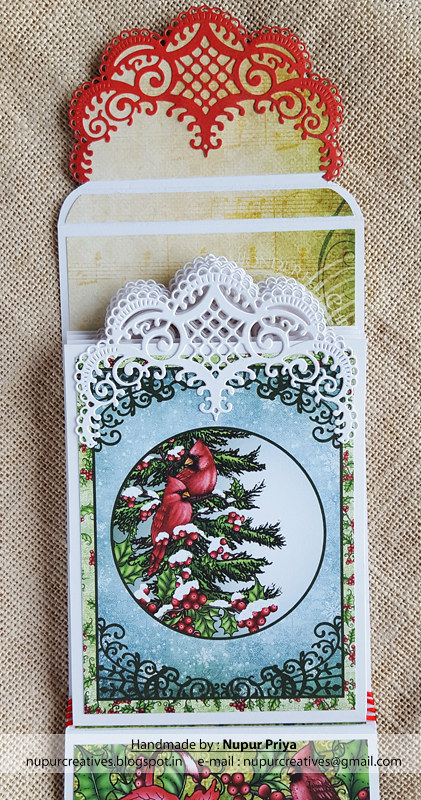
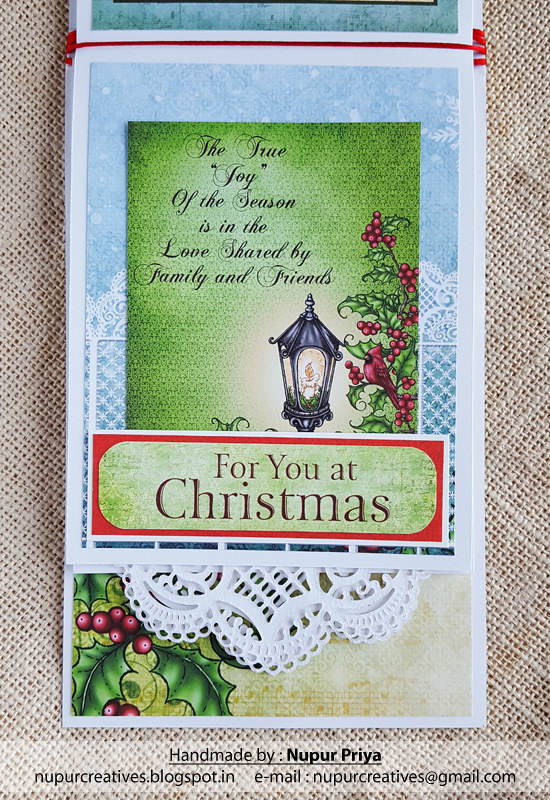
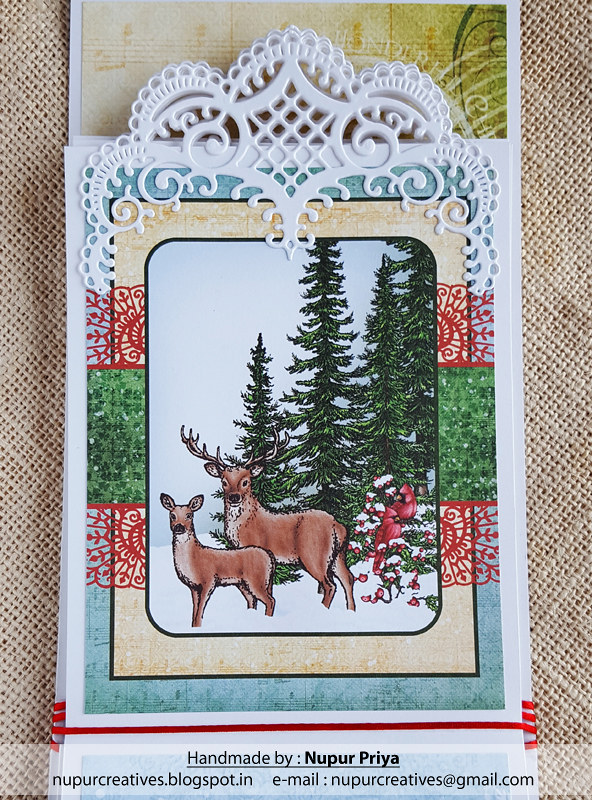
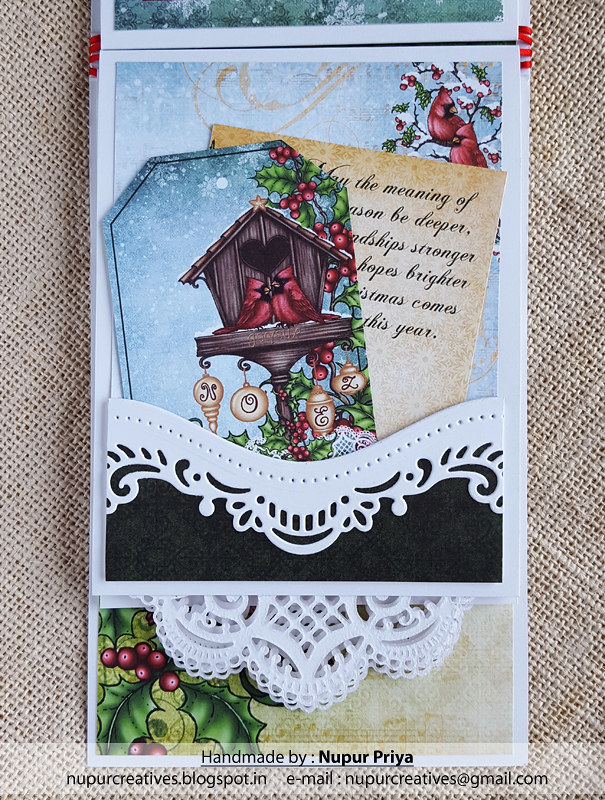
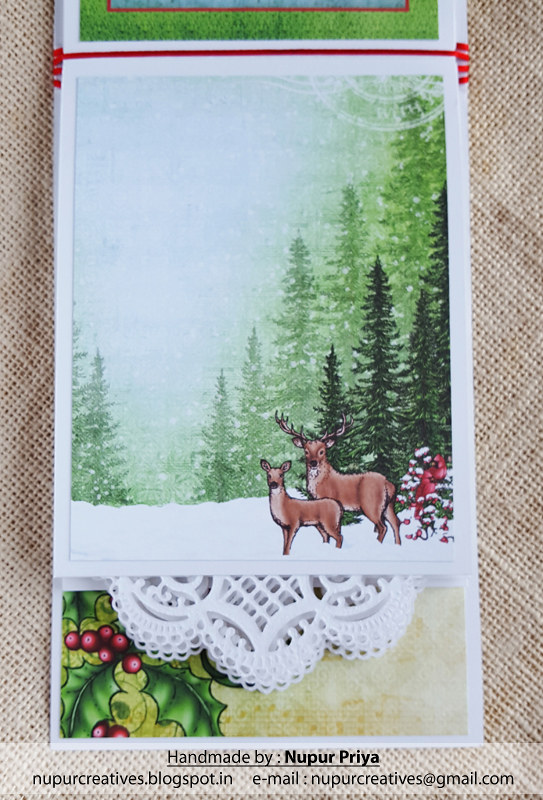
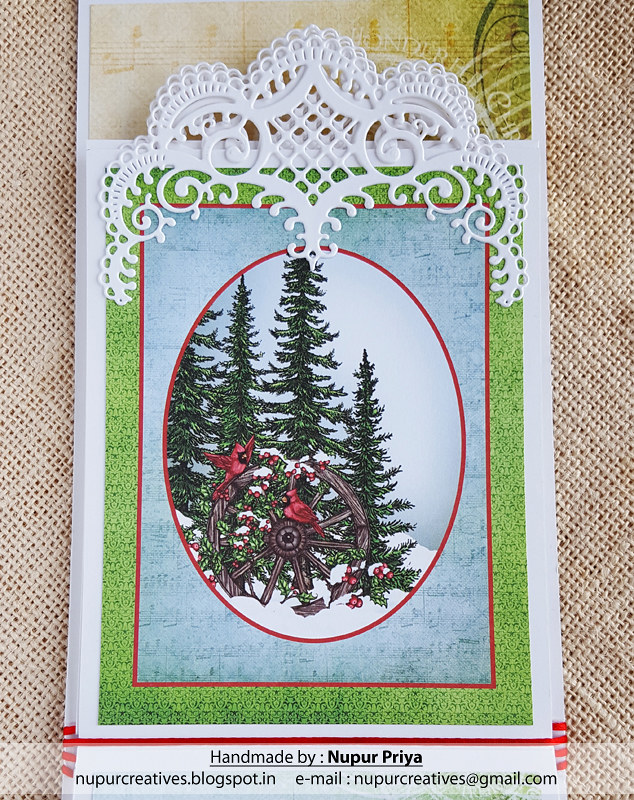
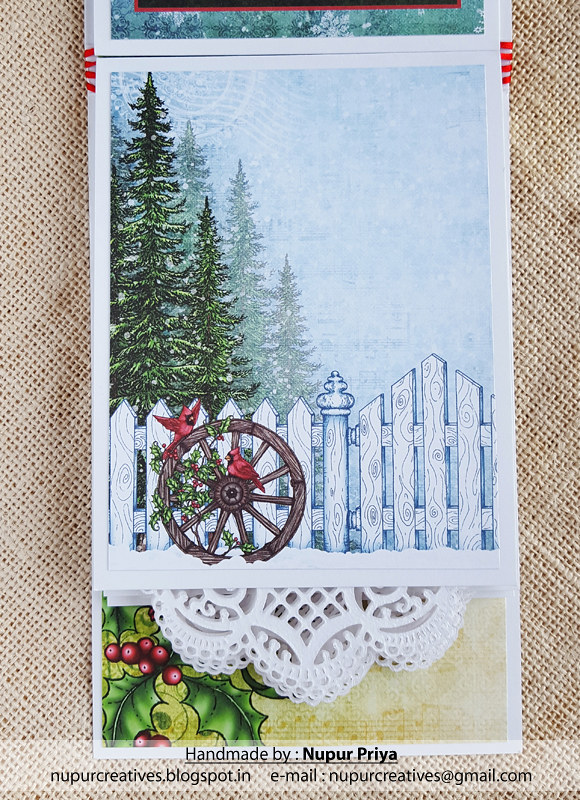
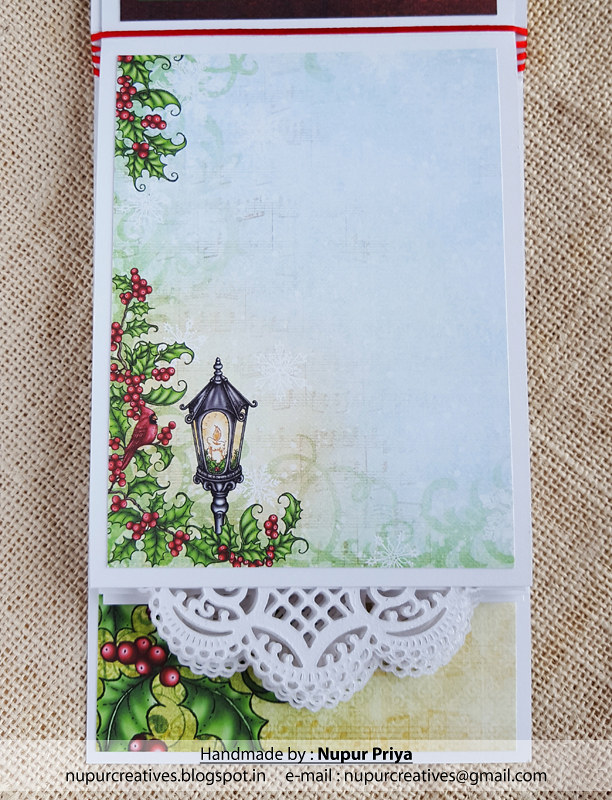
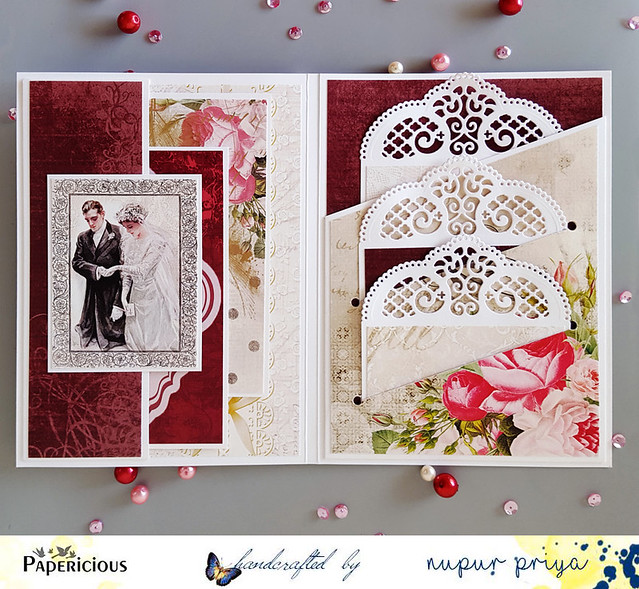
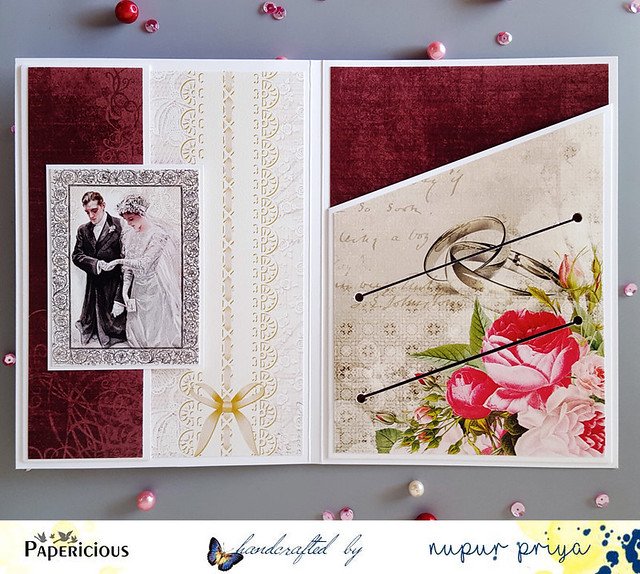
And here is the inside... It has 4 pockets for tags... Theses tags can be used as photomats as well as a messages & giftcards.
20161006_153155
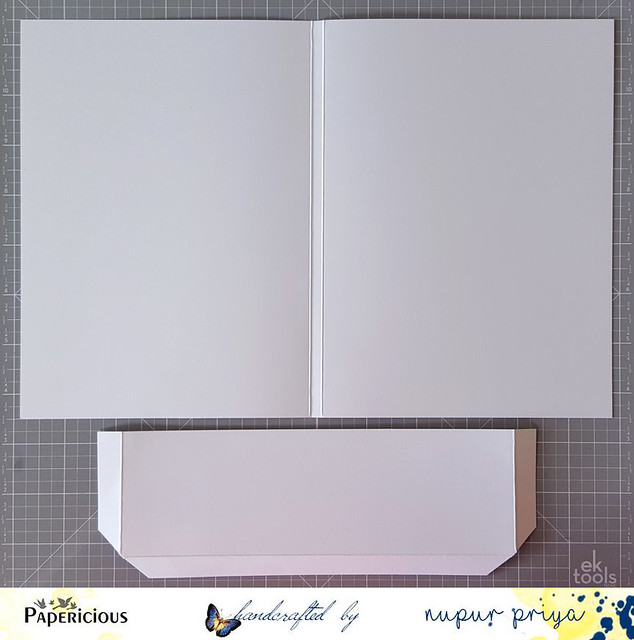
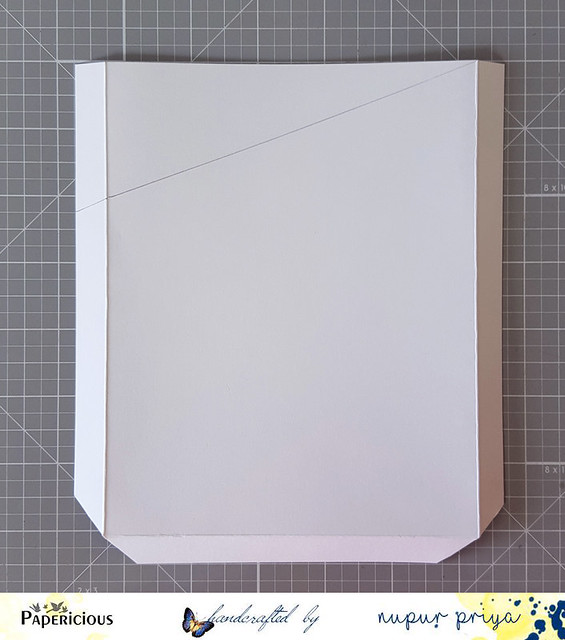
I started with creating the base for this pocket card.
Take a 11 3/4" x 8" piece of white cardstock & score at 5 3/4" & 6". Fold on the score lines.
Take another piece of 8 3/4" x 3" piece of white cardstock & score at 1/2" & 8 1/4", rotated it & scored at 1/2". Fold the score lines & cut the corners as shown. This will be our pocket for the left side.
20161006_151918
Now for the right side pocket take a white cardstock measuring 6 1/2" x 7 1/2"
Then I scored it at 1/2" & 6", rotated it & scored at 1/2".
Fold the score lines & cut the corners as shown.
Now measure 2" from the top on the left score line & draw a line till the top of right score line.
Cut off the resulting triangle.
20161006_154652

Adhere the pattern paper of your choice and mark 2" & 4" from the top on both sides.
punch a hole on all 4 marks keeping them in a straight line on both sides.
cut a sliver of paper out between 2 holes to make an opening as shown .
20161007_101508
Adhere both the pockets to the base & decorate with pattern papers.
20161007_101610
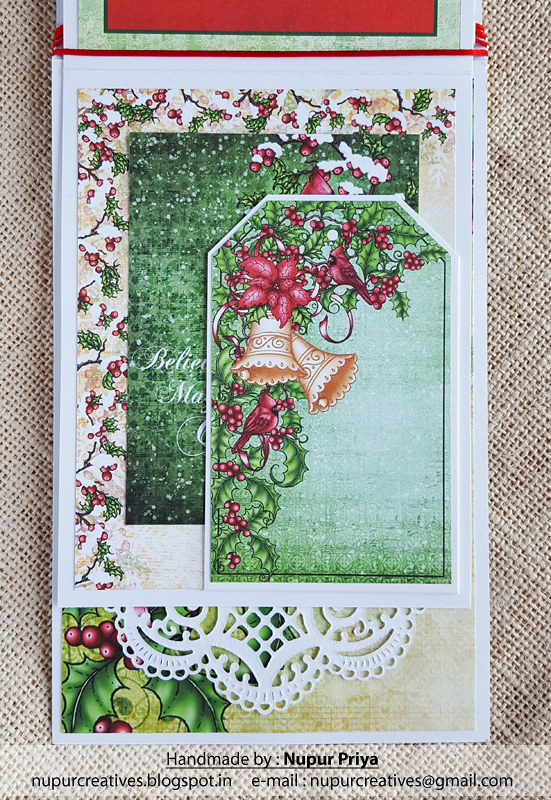
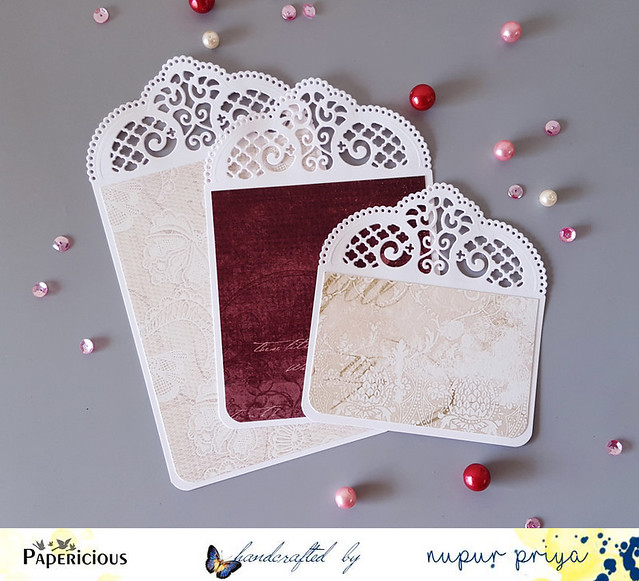
For the right pocket tags I took 3 lengths of cardstock all with a width of 4".
I used a decorative die to make the top tab of all 3 tags & decorated them with beautiful pattern papers from the Wedding Collection.
20161007_101628
For the left pocket tag I used the journaling cards from the Wedding Collection matted them on white cardstock.
20161007_100644
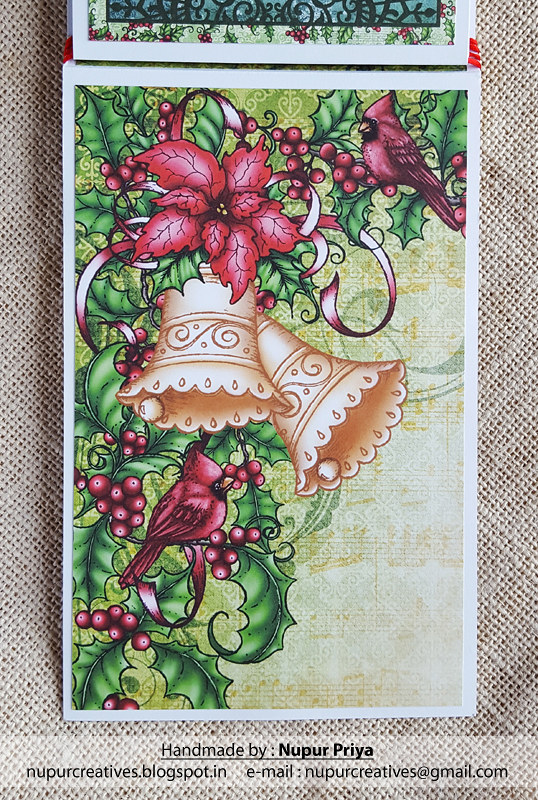
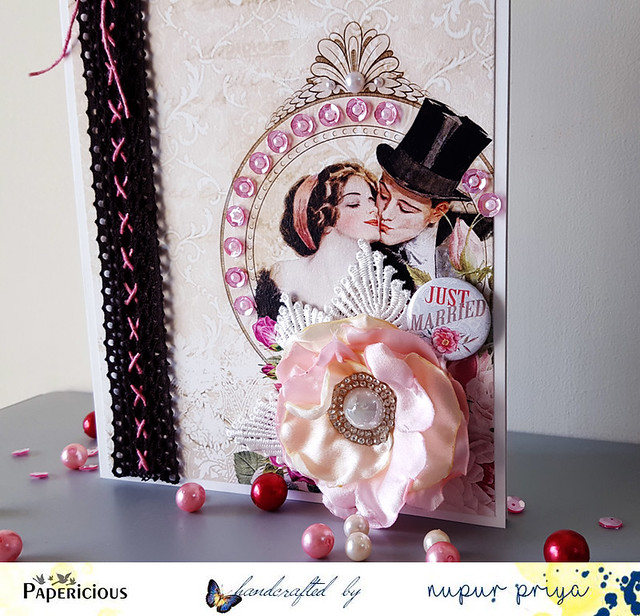
To decorate the caver I choose the paper with the beautiful bride & groom image.
I glued the pink sequins in the Wedding Kit to decorate the frame around the couple. I also glued some white pearls. Then I adhered the leaf lace, fabric flower & adhesive button as shown.
Next I took a lace from my stash & weaved the pink jute twine through it & adhered on the left side. Lastly I added a jute bow & flower to finish it.

Hope you like it...
Thank you for visiting today :)
nupur
Materials Used:
Wedding Collection Paper Stack
Fabric Flowers
Jute Twines

Sequins

Laces

Adhesive Buttons


Friday, 7 October 2016

Wedding Gift Tutorial

Hello friends,

I am over at Papericious blog with a tutorial for a quick and easy gift.
This tutorial can be used to make a gift for any occasion.
Head over at Papericious Blog to see the full tutorial.
20161007_100644

20161007_100831

20161007_101400
Hope you like it...
Thank you for visiting today :)
nupur
Materials Used:
Wedding Collection Paper Stack
Fabric Flowers
Jute Twines

Sequins

Laces
Adhesive Buttons

Friday, 23 September 2016

Our Love Story

Hello friends,
I am over at Papericious blog with a mini album
Click HERE to view the entire post
20160923_114021

I hope you like it...
Thank you for visiting today :)
Nupur

Friday, 13 June 2014

A Birthday Mini

Hello Friends...

For today's post I have made a cute little birthday theme pocket mini using lots of IBS stamps...
For the cover I have used the pinwheels  from the Swirling Pinwheels stamp set & the sentiment from the Fancy Circles stamp set...  I drew some wavy lines with my black pen to make the frames...


On the inside I have used sentiments from Fancy Labels 3Vintage FramesPetite Banners & Birthday Greetings...
There is 1 tag in each of the 3 pockets for photographs...

Hope you like it...