Today I am sharing a birthday card that I made for Miss Suzy's Birthday Blog Hop but I had a little accident & so couldn't post on 20th :(
Better late than never... right!
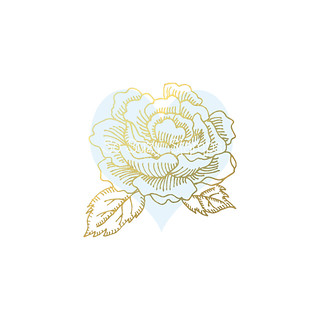
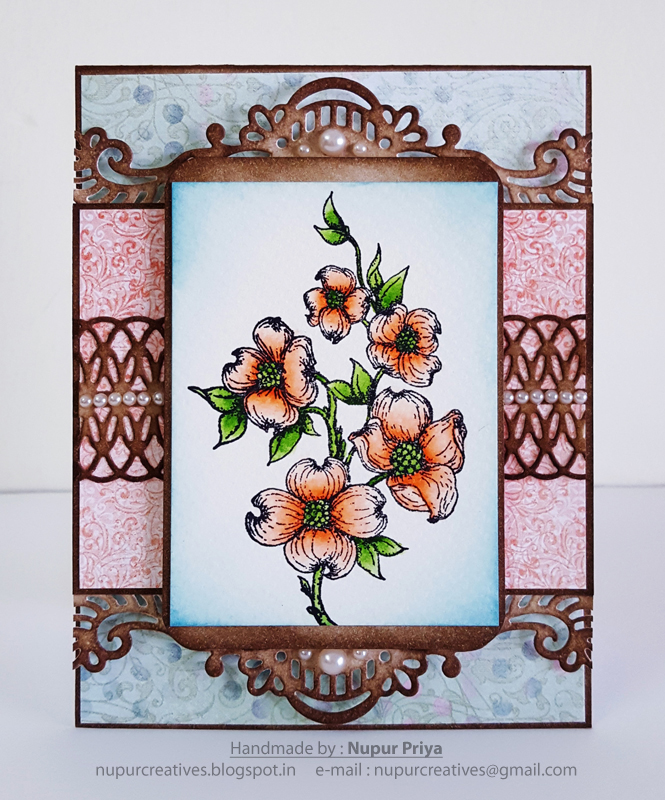
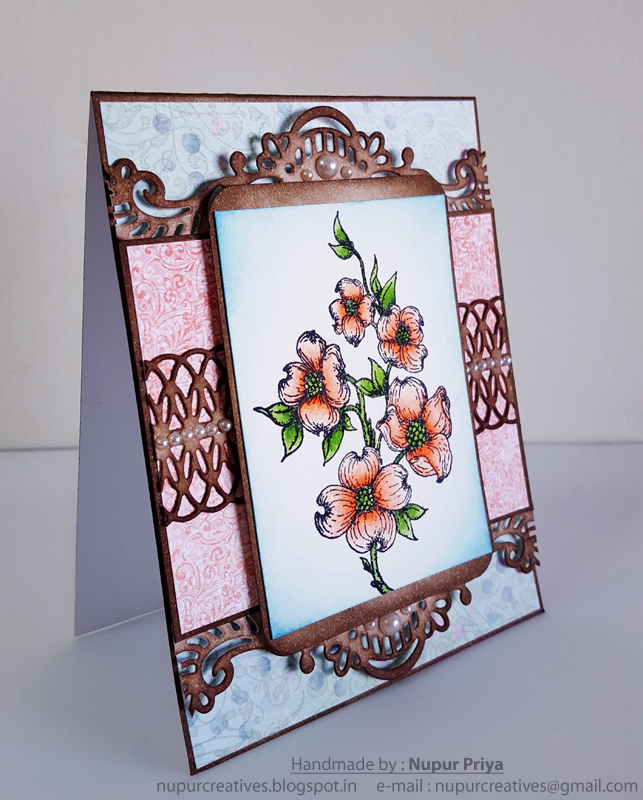
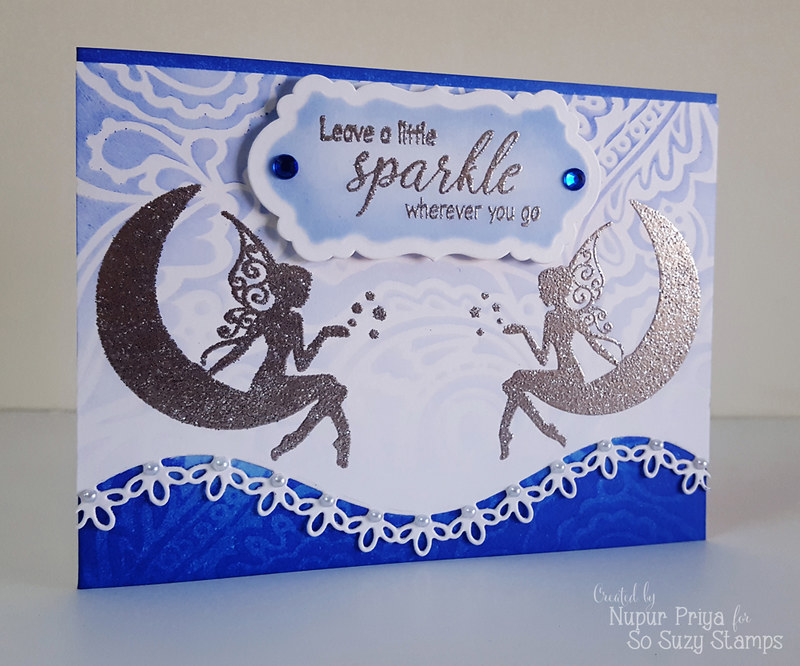
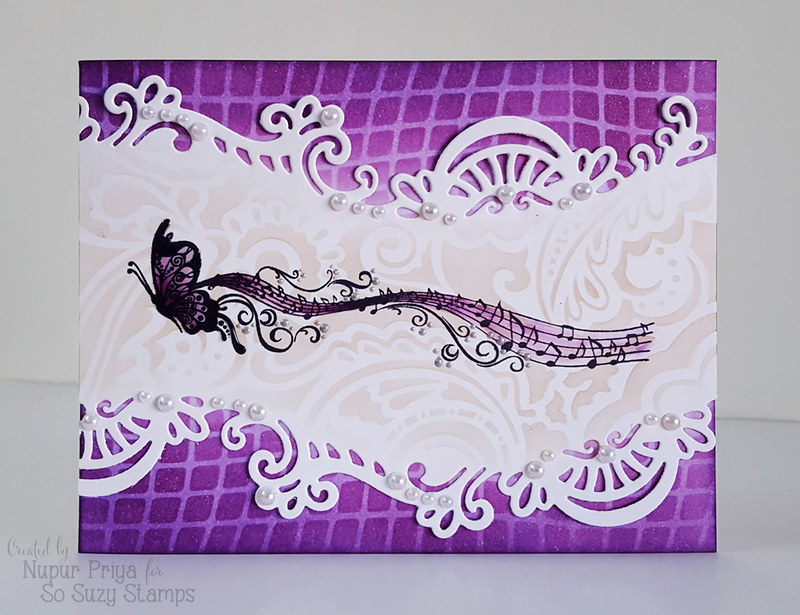
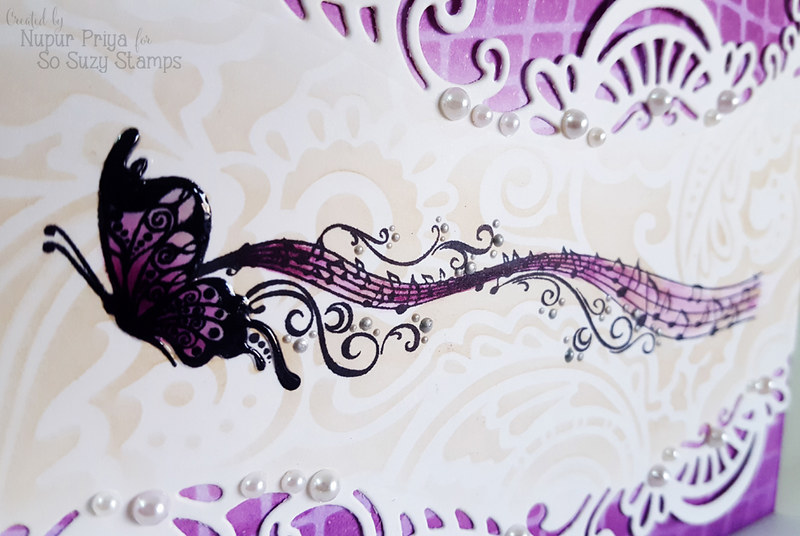
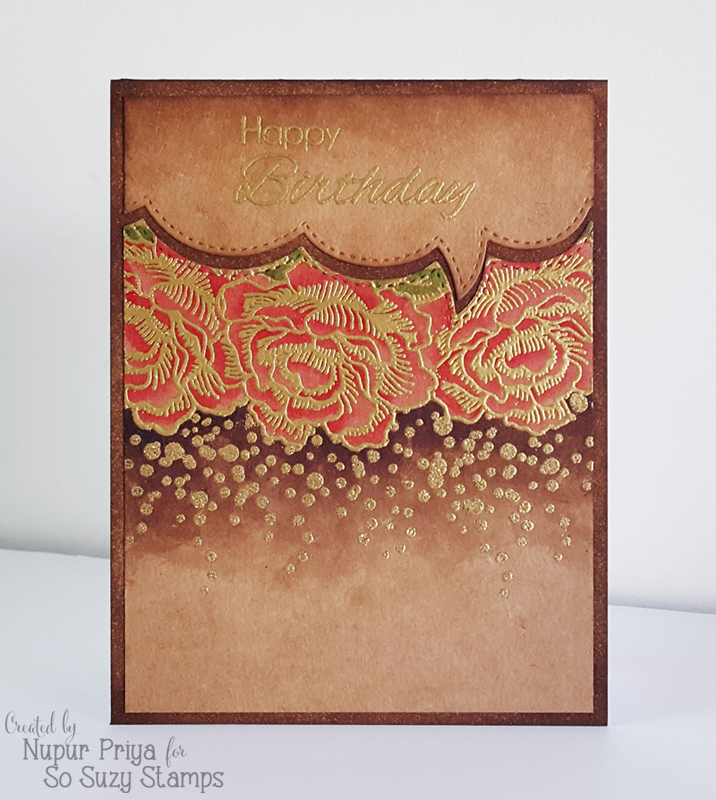
So here I am sharing the card... with roses, confetti & a lot of gold...
So here I am sharing the card... with roses, confetti & a lot of gold...
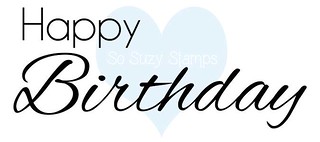
A Very- Very Happy Birthday Miss Suzy!!!
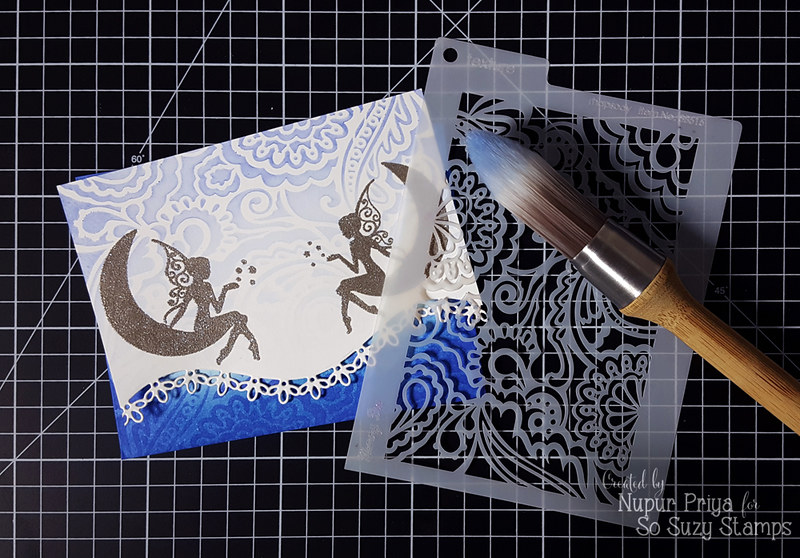
Scroll down for the tutorial...
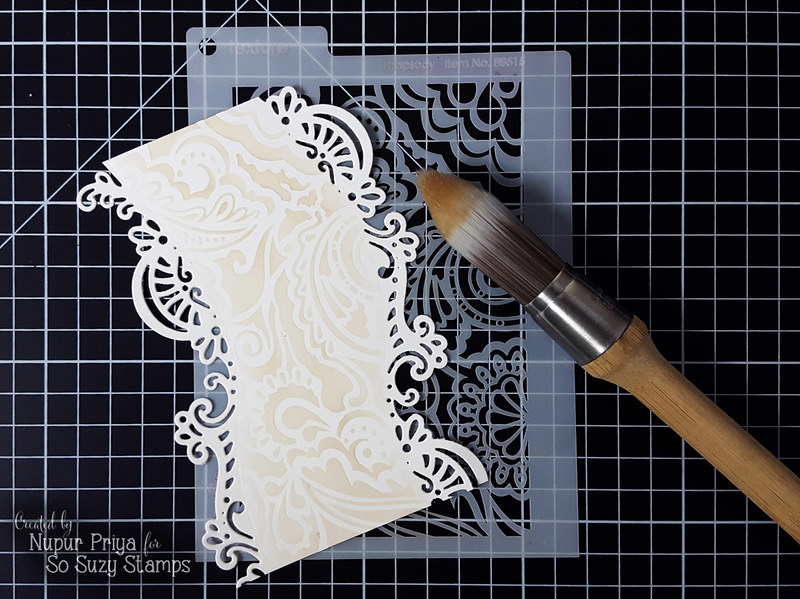
I have used Kraft cardstock for my card today...
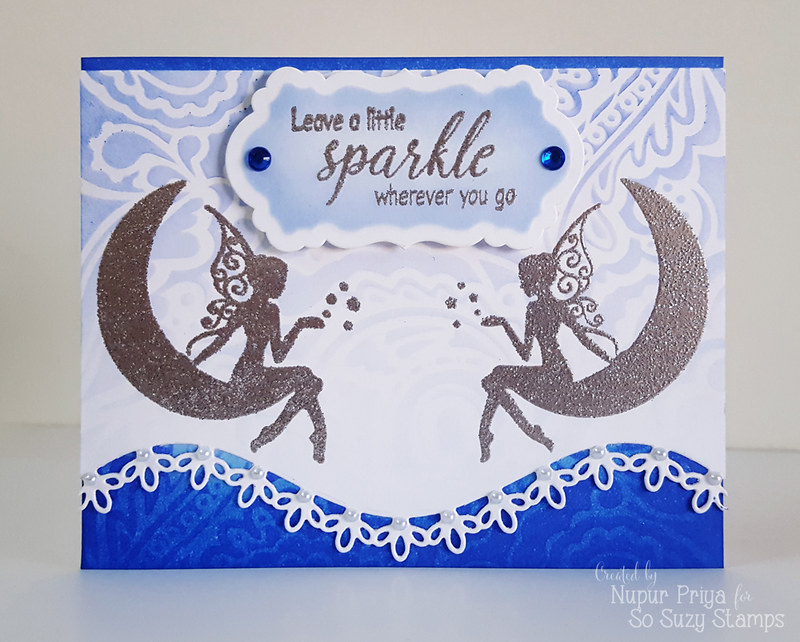
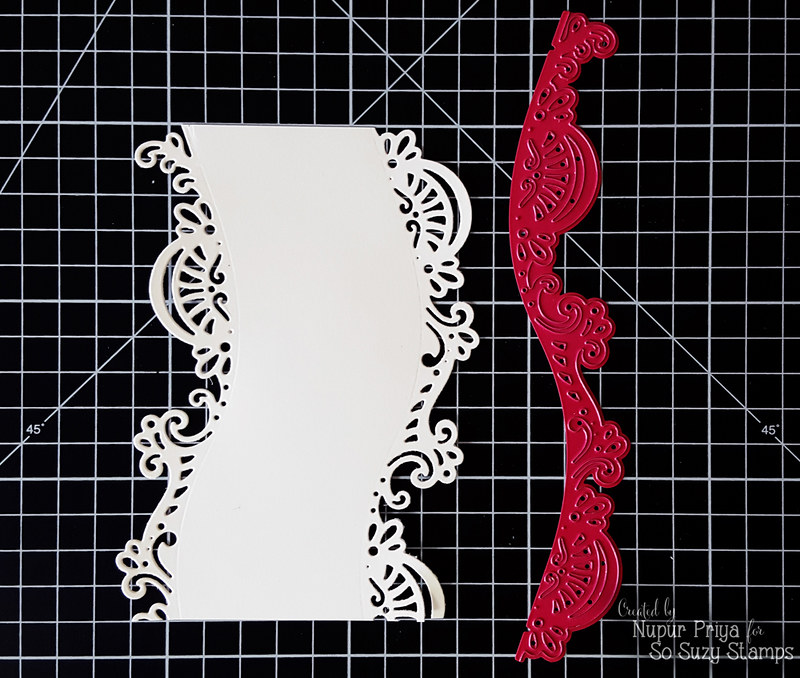
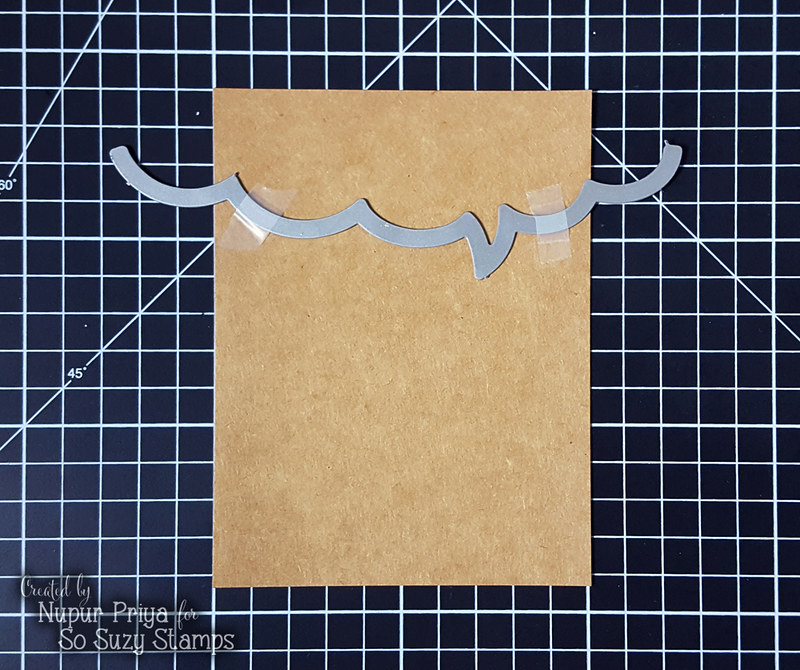
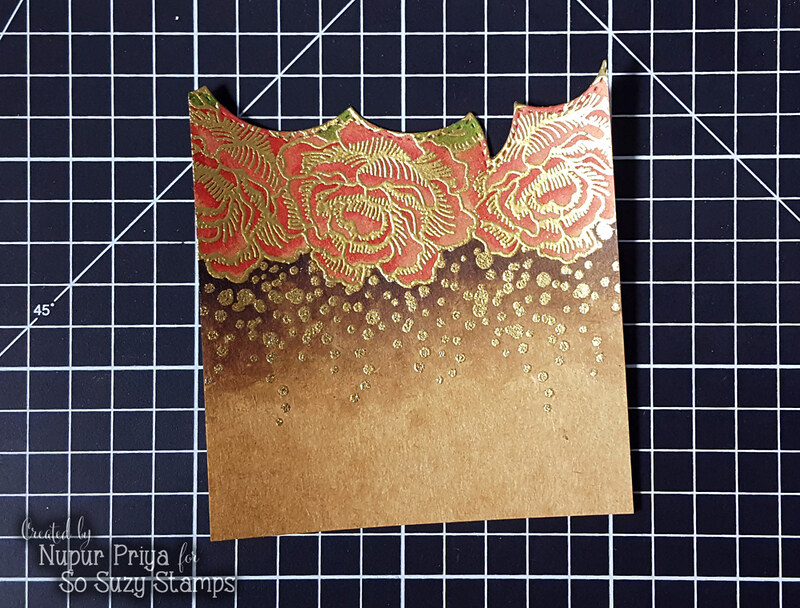
I started with die cutting the top of my front panel with a speech bubble die
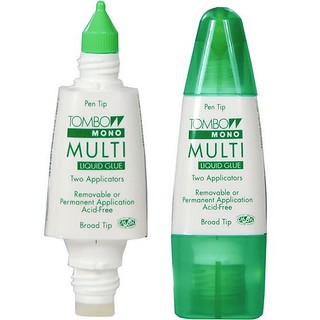
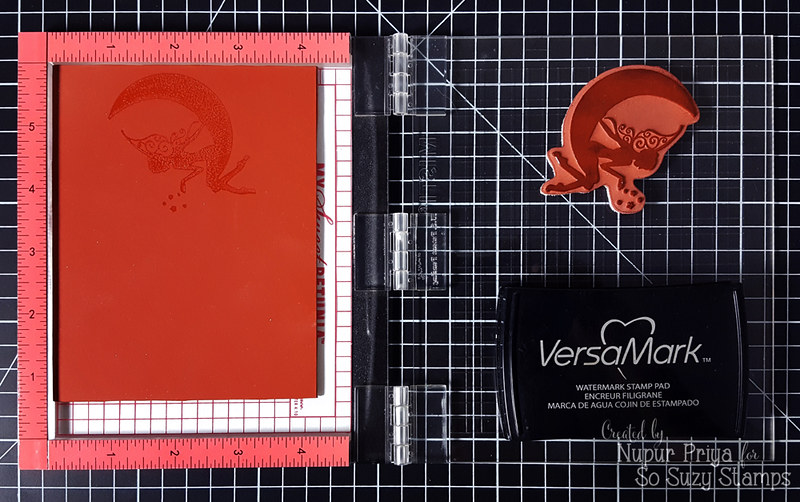
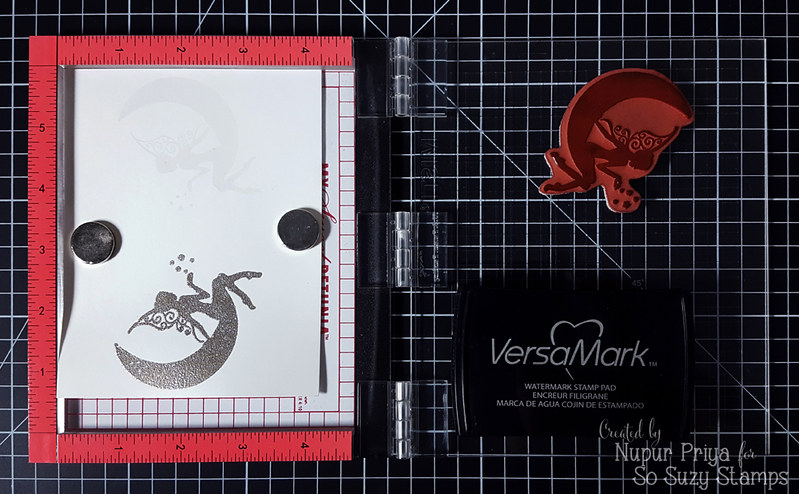
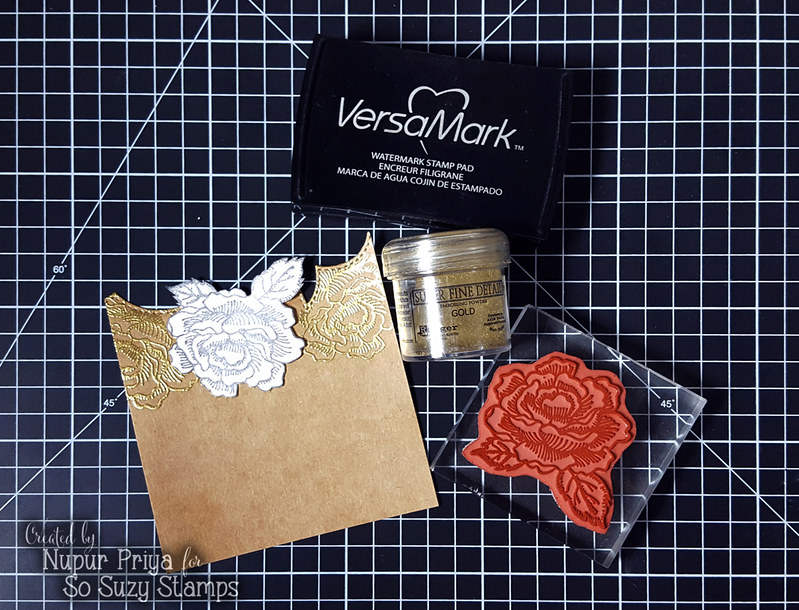
Then I used masking & heat embossing the Rose Bloom stamp just below the die cut on the bottom part of the 2 parts that I got from the previous step. I have used Ranger's superfine detail gold embossing powder for this.
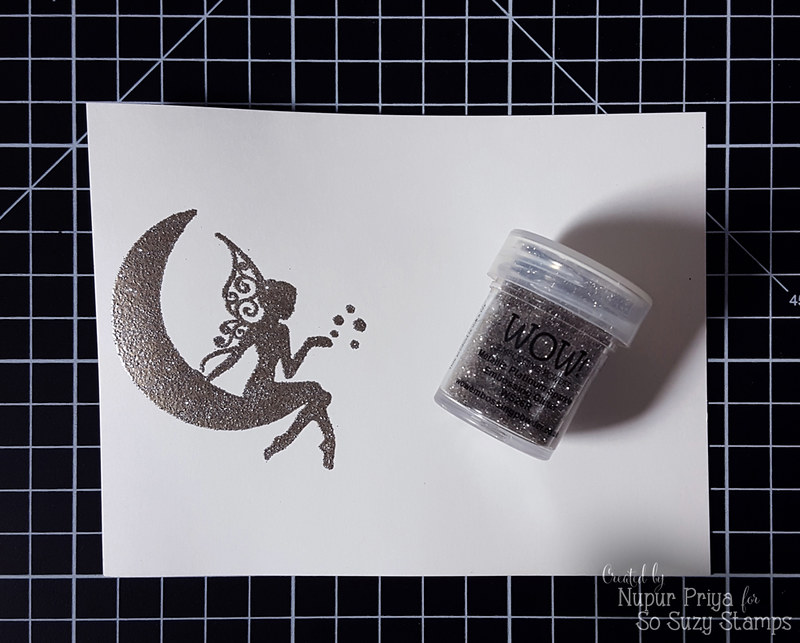
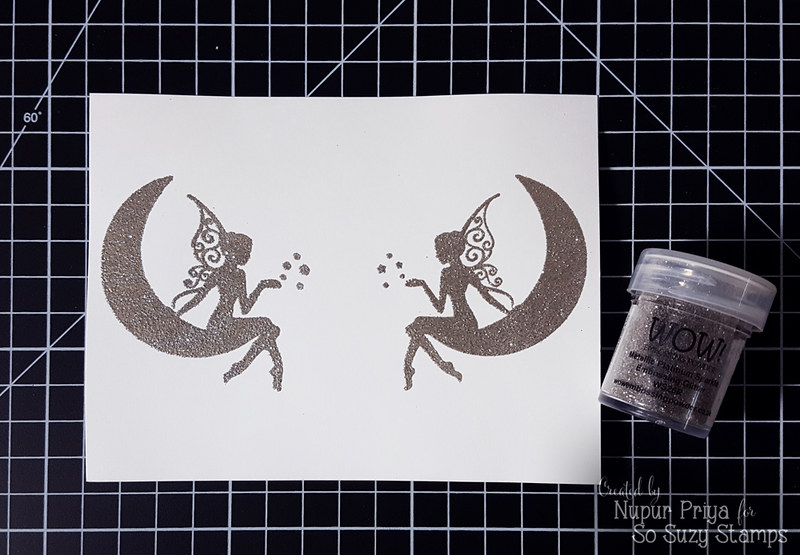
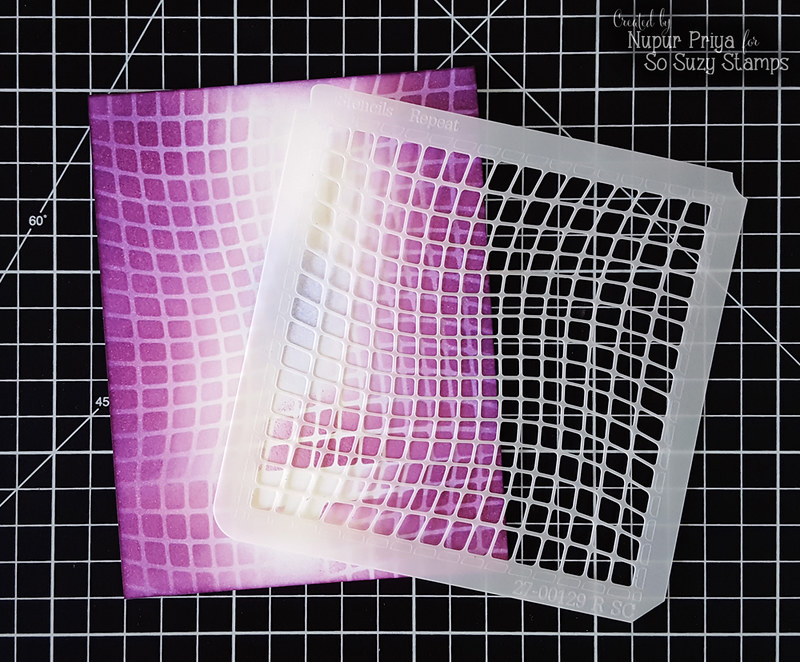
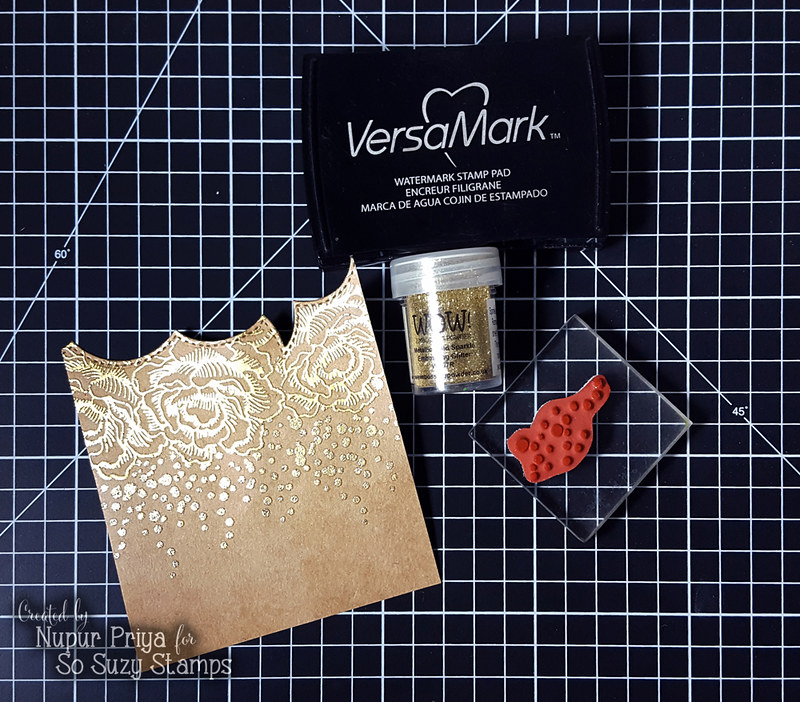
Once it was heat embossed I used Dot Splatter stamp & masking to create the confetti below the roses. This time I used WOW metallic gold sparkle embossing powder to heat emboss as I wanted the confetti with glitter & sparkle...
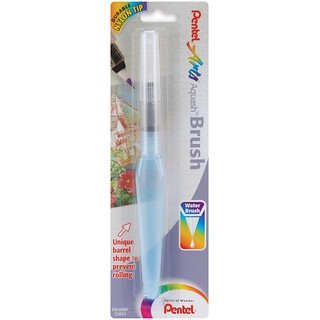
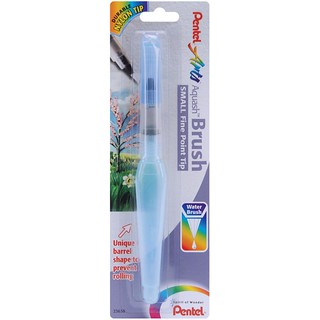
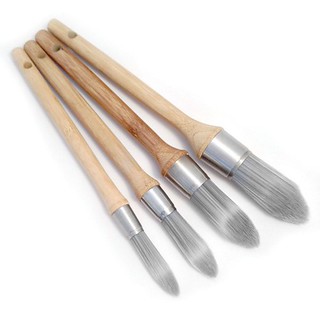
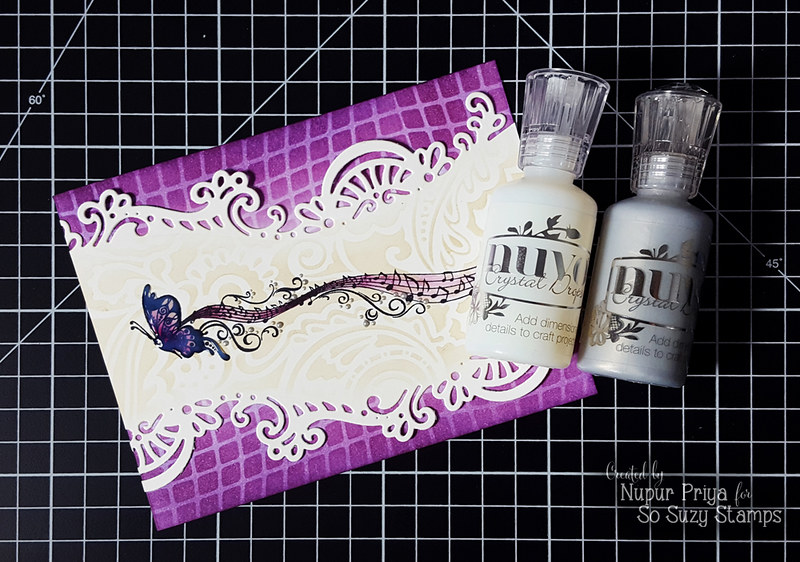
I also wanted some color in my card so I used my waterbrush to do quick watercoloring on the heat embossed images...
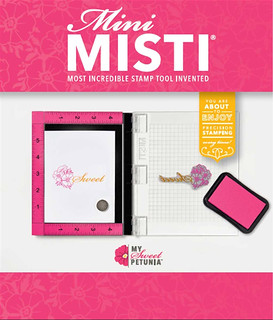
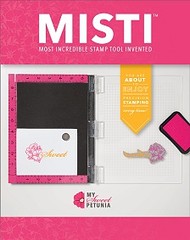
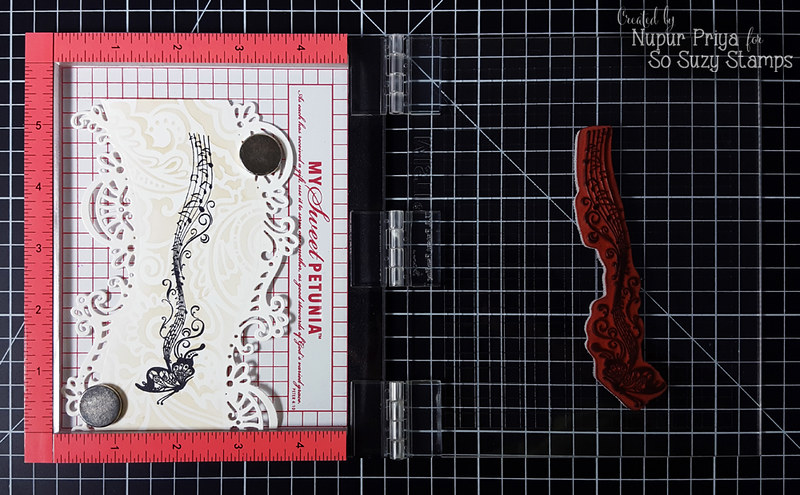
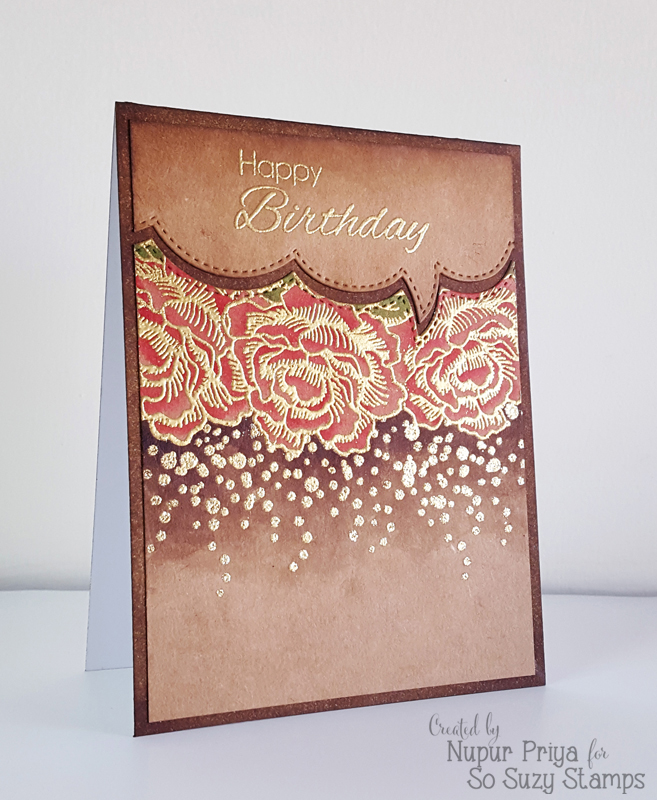
Then I used my used Mini MISTI to stamp Simple Birthday stamp on the top par of the die cut speech bubble & heat embossed it using Ranger's superfine detail gold embossing powder.

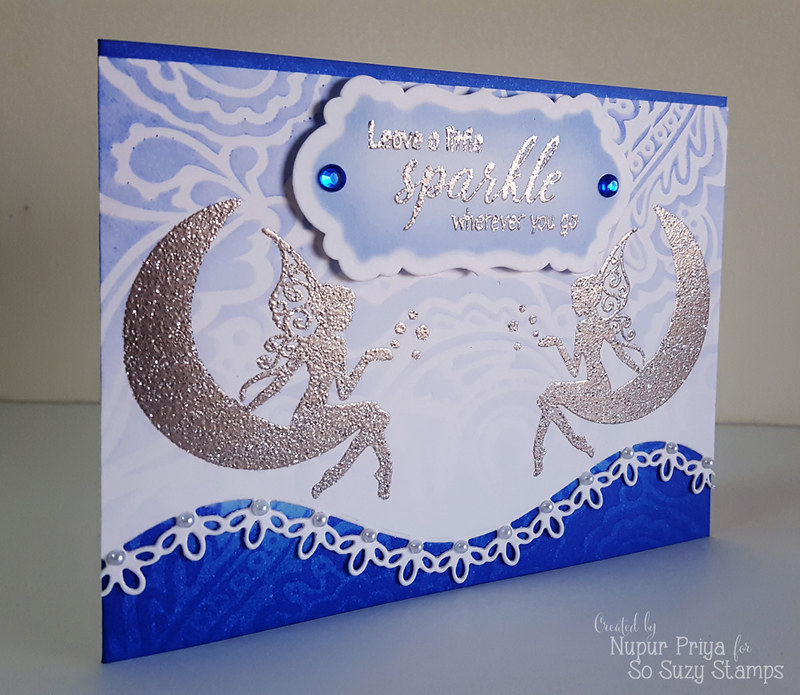
Here is my finished card after both the front pieces were glued to the card base... the gold looks so pretty...
Hope you like my card...
Thank you for visiting today....