Hello and welcome to Heartfelt inspiration post...
As some of you might know that Heartfelt Creations DT call was going on... and that also means that the current team will also undergo the voting process before continuing with the next term... and so I need your help so that I can continue for another year... Today is the last day for voting
So if you like my work then please click on the link below and vote for me along with 4 more designers. Thank you all for the support :)
Design Team Voting
Moving on to my project for today...
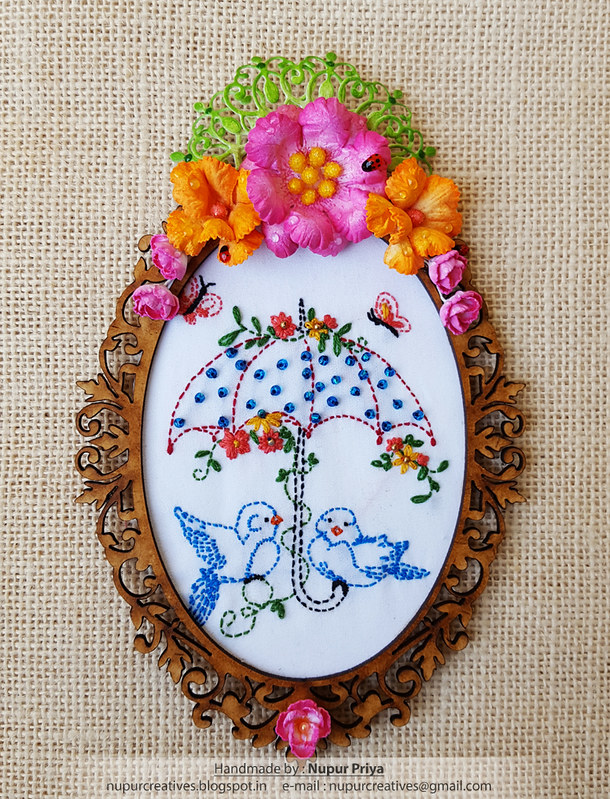
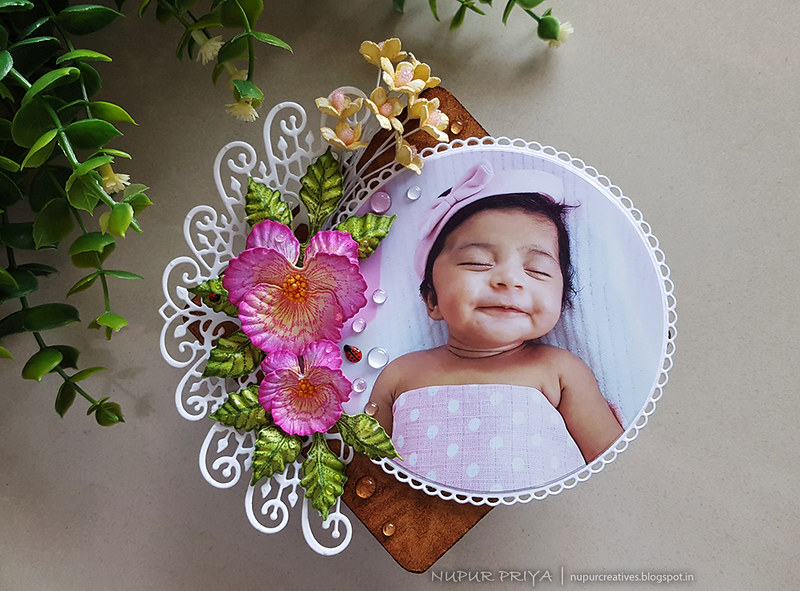
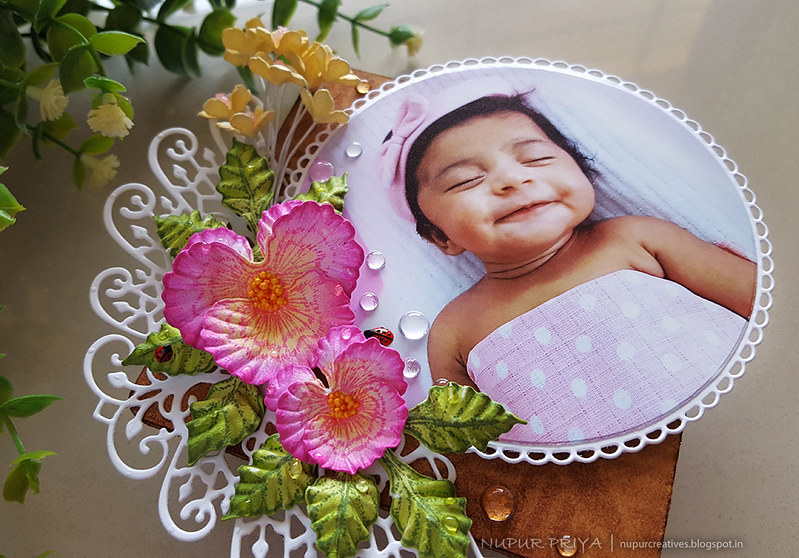
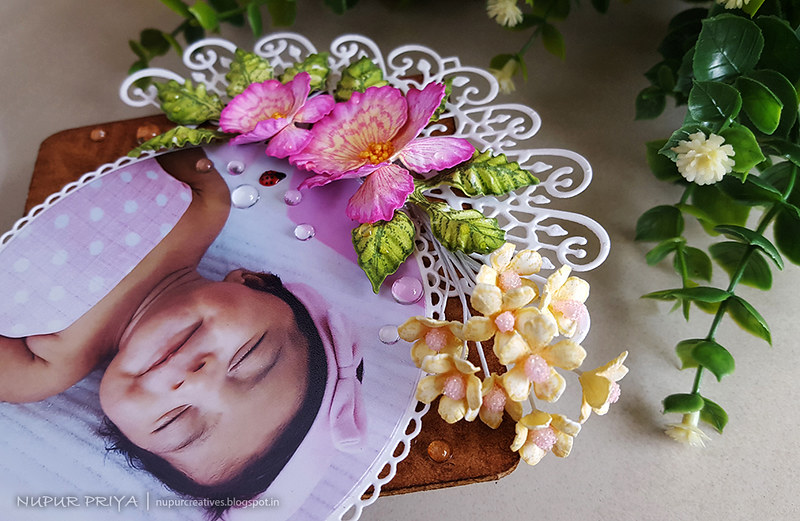
I have made a fridge magnet using the Pansy from latest Burst of spring release by Heartfelt Creations and I think this is also the first time I am posting the photograph of my daughter on my blog...I took this photograph when she was just 1 month old .... I still can't believe she will turn 2 year old in less than 2 months!!!
This is my favorite photograph of my little princess...I clicked 50-60 photographs in this photo session but I loveeee this one... something about her smile while sleeping melts my heart and calms me everytime I look at it.... I have it as my wallpaper on my PC and a BIIIIIG canvas in my living room and now I made this fridge magnet too....
Enough of my rambling... I won't bore you more with my love for this pic... hehehe
Scroll down for more close-ups, full supply list and insrtuctions...
Heartfelt Creations Products:
HCPC-3855 Floral Fashionista Cling Stamp Set
HCPC-3862 Cheery Pansy Cling Stamp Set
HCD1-7144 Decorative Medallion Die
HCD1-754 Eyelet Circle and Basics Small Dies
HCD1-7155 Circle Basics Large Dies
HCD1-7215 Floral Fashionista Die
HCD1-7222 Cheery Pansy Die
HCPP3-452 12 x 12 Cardstock Pack of 25 - White
RACP451 Ranger Archival Ink Pad - Coffee
RACP614 Ranger Archival Ink Pad - Magenta Hue
RACP632 Ranger Archival Ink Pad - Buttercup
RACP482 Ranger Archival Ink Pad - Olive
RACP436 Ranger Archival Ink Pad - Leaf Green
NU650 Nuvo Crystal Drops - Ebony Black
NU667 Nuvo Crystal Drops - Red Berry
ANC852 Bright Ideas Prills - Go ManGo
HCS1-457-3 Pastel Bead Stamens-Medium
352854 Metal Tip for Adhesive Bottles
159723 Designer Dries Clear Adhesive
D120601 Darice Adhesive Foam Strips
486490 Bottle Cap Inc Vintage Magnets .5 Inch
HCFB1-473 3D Pansy Shaping Mold
HCST1-401 Deluxe Flower Shaping Kit
HCDA2-450 Stack and Store Daubers-Pack of 30
359848 Spellbinders Tool N' One
411231 5pc. Acrylic Block Set
Other Products:
4" x 4" MDF coaster, Dew drops crystal, Mudra Warli Pattern Stencil, Photograph and Morning Dew Nuvo Crystal Drops.
Instructions:
Ink the MDF coaster lightly with Coffee Ranger Archival Ink Pad and then use the Mudra Warli Pattern stencil and ink the coaster again with the same ink to create a subtle pattern on the coaster.
Die cut a piece of white cardstock using the die from Decorative Medallion Die and adhere it to one of the corners of the coaster as shown. Die cut the photograph using the largest die from Circle Basics Large Dies and adhere it to the white die cut made using the eyelet die from Eyelet Circle and Basics Small Dies. Adhere pieces of Darice Adhesive Foam Stripsto the back of this piece and adhere another piece of white die cut made using the same die we used to die cut the photograph. Adhere the final piece to the coaster as shown using Designer Dries Clear Adhesive.
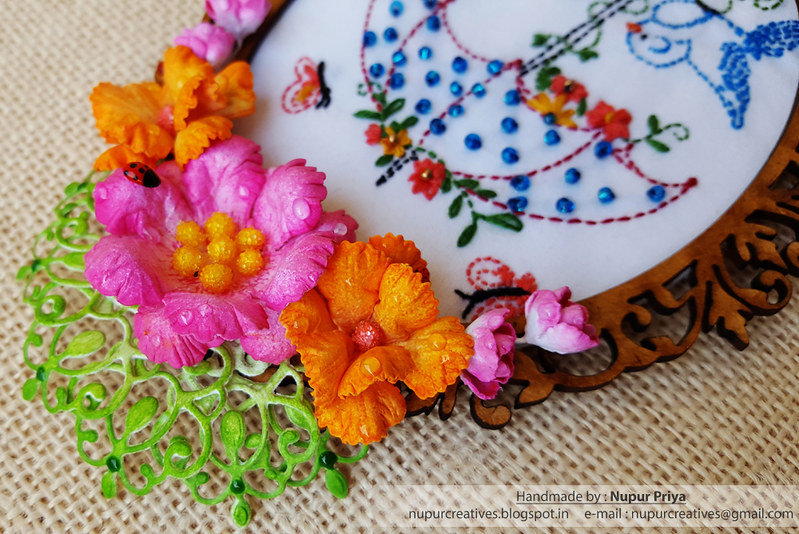
Stamp the pansy image from the Cheery Pansy Cling Stamp Set on a piece of white cardstock with Magenta Hue Archival Ink Pad and color it with the same ink on the edges and Buttercup Archival Ink in the center using Stack and Store Daubers. Stamp the leaves from the same set with Olive Archival Ink Pad and color with Leaf Green Archival Ink . Die cut them using the matching dies from Cheery Pansy Die. Shape them using 3D Pansy Shaping Mold and Deluxe Flower Shaping Kit. Add a little Go ManGo Prills to the Pansy centers.
Stamp the smallest size flowers from Floral Fashionista Cling Stamp Set on a piece of white cardstock with Buttercup Archival Ink Pad and color it with the same ink using Stack and Store Daubers. Shape the flowers using Deluxe Flower Shaping Kit. Add a pastel pink stamen from Pastel Bead Stamens to the flower centers and form them into a bunch.
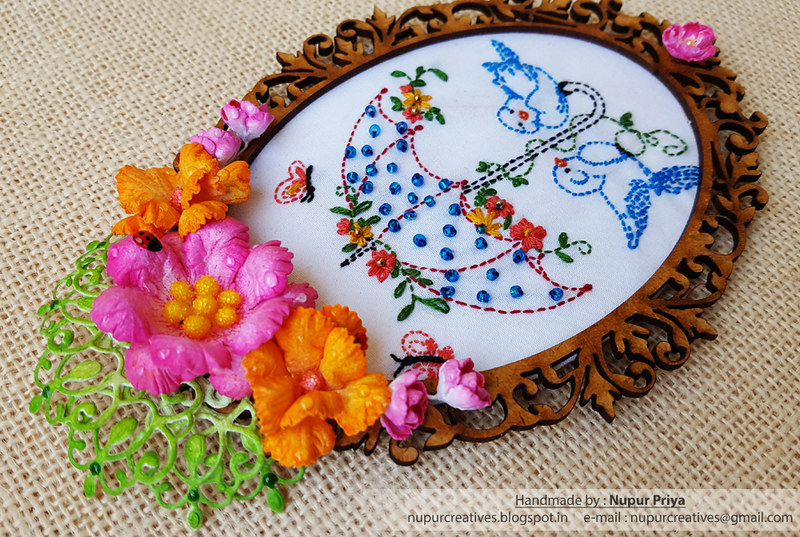
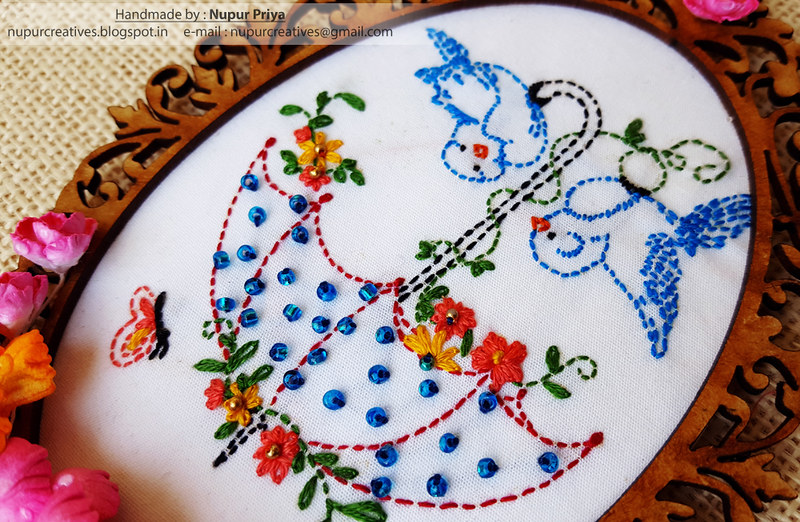
Arrange and adhere all the flowers and leaves on the coaster as shown. Add few drops of Morning Dew Nuvo Crystal Drops to the flowers and leaves. Glue few ladybugs made using Ebony Black and Red Berry Nuvo Crystal Drops on the floral arrangement. Add few dew drops crystals around the floral arrangement to add finishing touch. Glue the Bottle Cap Inc Vintage Magnets on the back of the coaster to convert it to a fridge magnet.
Hope you like it...
As some of you might know that Heartfelt Creations DT call was going on... and that also means that the current team will also undergo the voting process before continuing with the next term... and so I need your help so that I can continue for another year... Today is the last day for voting
Design Team Voting
Moving on to my project for today...
I have made a fridge magnet using the Pansy from latest Burst of spring release by Heartfelt Creations and I think this is also the first time I am posting the photograph of my daughter on my blog...I took this photograph when she was just 1 month old .... I still can't believe she will turn 2 year old in less than 2 months!!!
This is my favorite photograph of my little princess...I clicked 50-60 photographs in this photo session but I loveeee this one... something about her smile while sleeping melts my heart and calms me everytime I look at it.... I have it as my wallpaper on my PC and a BIIIIIG canvas in my living room and now I made this fridge magnet too....
Enough of my rambling... I won't bore you more with my love for this pic... hehehe
Scroll down for more close-ups, full supply list and insrtuctions...
Heartfelt Creations Products:
HCPC-3862 Cheery Pansy Cling Stamp Set
HCD1-7144 Decorative Medallion Die
HCD1-754 Eyelet Circle and Basics Small Dies
HCD1-7155 Circle Basics Large Dies
HCD1-7215 Floral Fashionista Die
HCD1-7222 Cheery Pansy Die
HCPP3-452 12 x 12 Cardstock Pack of 25 - White
RACP451 Ranger Archival Ink Pad - Coffee
RACP614 Ranger Archival Ink Pad - Magenta Hue
RACP632 Ranger Archival Ink Pad - Buttercup
RACP482 Ranger Archival Ink Pad - Olive
RACP436 Ranger Archival Ink Pad - Leaf Green
NU650 Nuvo Crystal Drops - Ebony Black
NU667 Nuvo Crystal Drops - Red Berry
ANC852 Bright Ideas Prills - Go ManGo
HCS1-457-3 Pastel Bead Stamens-Medium
352854 Metal Tip for Adhesive Bottles
159723 Designer Dries Clear Adhesive
D120601 Darice Adhesive Foam Strips
486490 Bottle Cap Inc Vintage Magnets .5 Inch
HCFB1-473 3D Pansy Shaping Mold
HCST1-401 Deluxe Flower Shaping Kit
HCDA2-450 Stack and Store Daubers-Pack of 30
359848 Spellbinders Tool N' One
411231 5pc. Acrylic Block Set
Other Products:
4" x 4" MDF coaster, Dew drops crystal, Mudra Warli Pattern Stencil, Photograph and Morning Dew Nuvo Crystal Drops.
Instructions:
Ink the MDF coaster lightly with Coffee Ranger Archival Ink Pad and then use the Mudra Warli Pattern stencil and ink the coaster again with the same ink to create a subtle pattern on the coaster.
Die cut a piece of white cardstock using the die from Decorative Medallion Die and adhere it to one of the corners of the coaster as shown. Die cut the photograph using the largest die from Circle Basics Large Dies and adhere it to the white die cut made using the eyelet die from Eyelet Circle and Basics Small Dies. Adhere pieces of Darice Adhesive Foam Stripsto the back of this piece and adhere another piece of white die cut made using the same die we used to die cut the photograph. Adhere the final piece to the coaster as shown using Designer Dries Clear Adhesive.
Stamp the pansy image from the Cheery Pansy Cling Stamp Set on a piece of white cardstock with Magenta Hue Archival Ink Pad and color it with the same ink on the edges and Buttercup Archival Ink in the center using Stack and Store Daubers. Stamp the leaves from the same set with Olive Archival Ink Pad and color with Leaf Green Archival Ink . Die cut them using the matching dies from Cheery Pansy Die. Shape them using 3D Pansy Shaping Mold and Deluxe Flower Shaping Kit. Add a little Go ManGo Prills to the Pansy centers.
Stamp the smallest size flowers from Floral Fashionista Cling Stamp Set on a piece of white cardstock with Buttercup Archival Ink Pad and color it with the same ink using Stack and Store Daubers. Shape the flowers using Deluxe Flower Shaping Kit. Add a pastel pink stamen from Pastel Bead Stamens to the flower centers and form them into a bunch.
Arrange and adhere all the flowers and leaves on the coaster as shown. Add few drops of Morning Dew Nuvo Crystal Drops to the flowers and leaves. Glue few ladybugs made using Ebony Black and Red Berry Nuvo Crystal Drops on the floral arrangement. Add few dew drops crystals around the floral arrangement to add finishing touch. Glue the Bottle Cap Inc Vintage Magnets on the back of the coaster to convert it to a fridge magnet.
Hope you like it...
Thank you for visiting today... :)