Hello and welcome to Heartfelt Wednesday
February is the month of love and so today I am here to share a love theme card with you all...
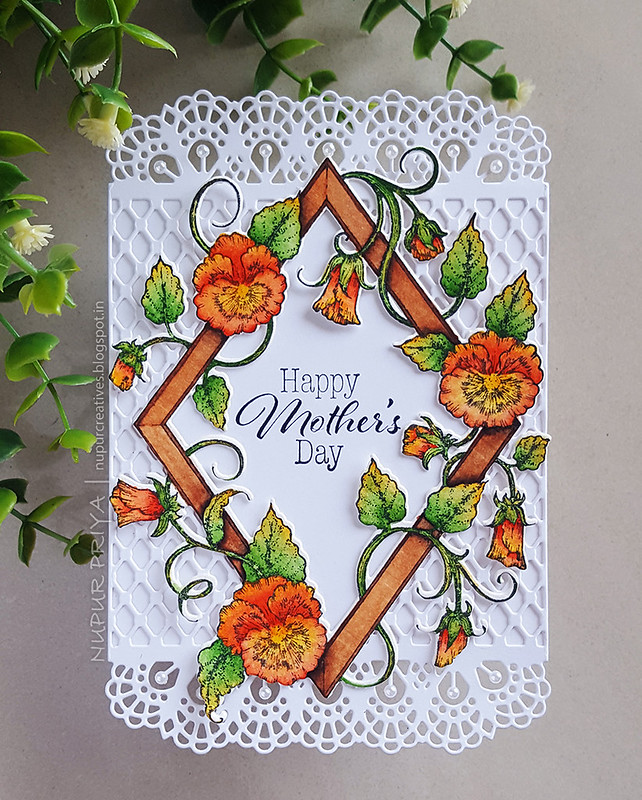
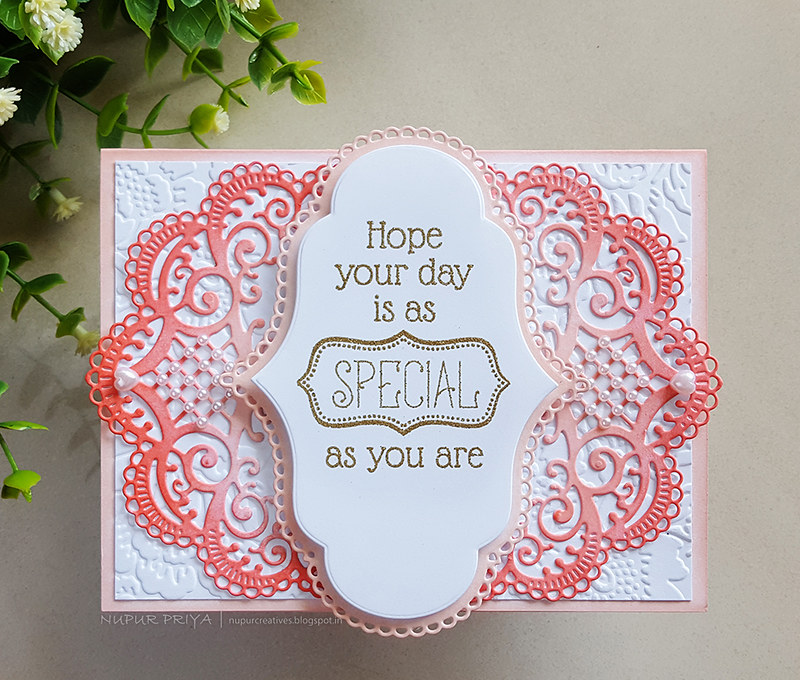
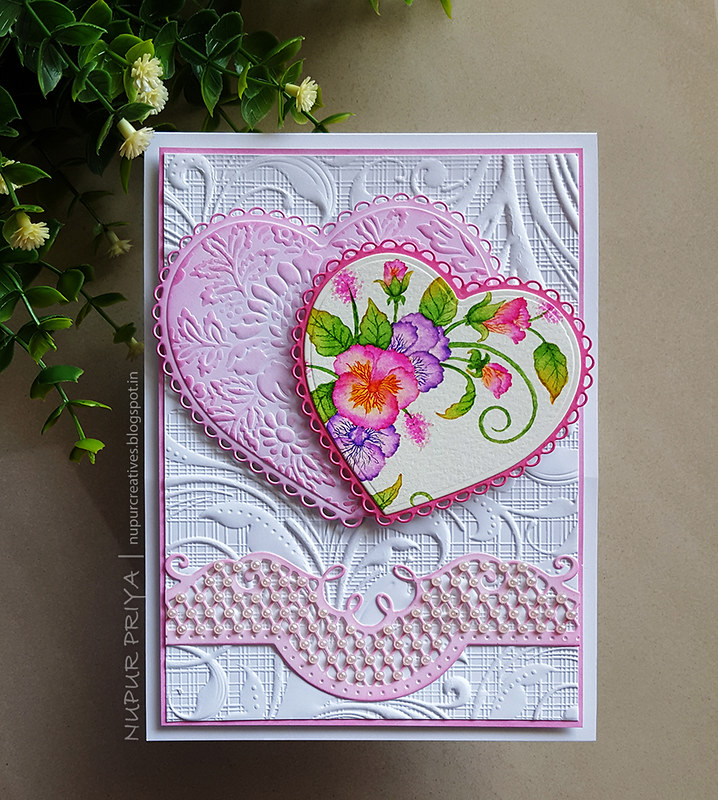
I love the traditional pinks and reds when it comes to love cards so the card is pretty pink with white.
But before we move on to the card I have a small request...
As some of you might know that Heartfelt Creations DT call is going on... and that also means that the current team will also undergo the voting process before continuing with the next term... and so I need your help so that I can continue for another year... So if you like my work then please click on the link below and vote for me along with 4 more designers. Thank you all for the support :)
Design Team Voting
And if you want to join the DT then there is still time to apply for the Heartfelt Creations DT Call
(the deadline is 27th Feb 2019)
Coming back to my card for today...read till the end for the full supply list and instructions for this card
Heartfelt Creations Products:
HCPC-3864 Delicate Pansy Spray Cling Stamp Set
HCD1-7162 Eyelet Hearts Die
HCD1-7212 Petite Pocket Accents Die
Zig Clean Color Real Brush Markers
HCDA2-450 Stack and Store Daubers-Pack of 30
359848 Spellbinders Tool N' One
411231 5pc. Acrylic Block Set
HCPP3-452 12 x 12 Cardstock Pack of 25 - White
D120601 Darice Adhesive Foam Strips
Other Products:
Antique Linen Distress ink, Picked Raspberry Distress Oxide ink, Spellbinders Tan Embossing Mat, Crafter's Companion Regency Swirls 3D Embossing Folder, Cuttlebug Anna Griffin Juliet Damask Embossing Folder, watercolor cardstock and pearls.
Instructions:
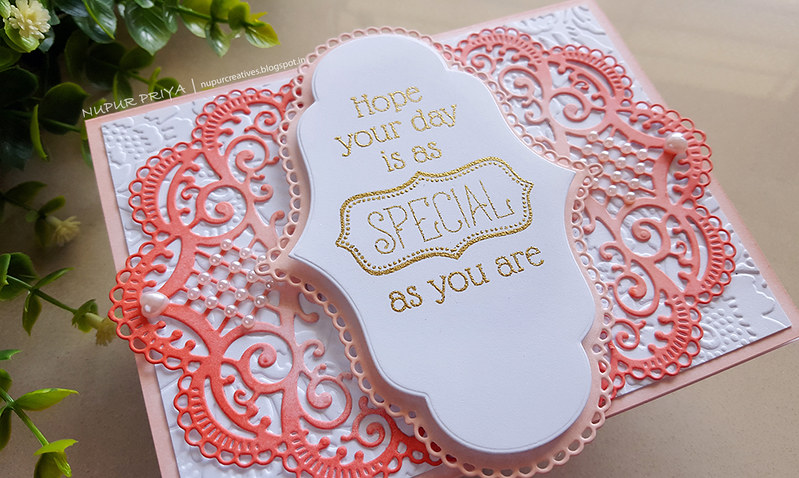
Emboss a piece of 4 1/2" x 6 1/2" piece of white cardstock using Crafter's Companion Regency Swirls 3D Embossing Folder and glue it to a slightly bigger piece of white cardstock inked lightly with Picked Raspberry Distress Oxide ink. Adhere it to a white cardbase using Darice Adhesive Foam Strips.
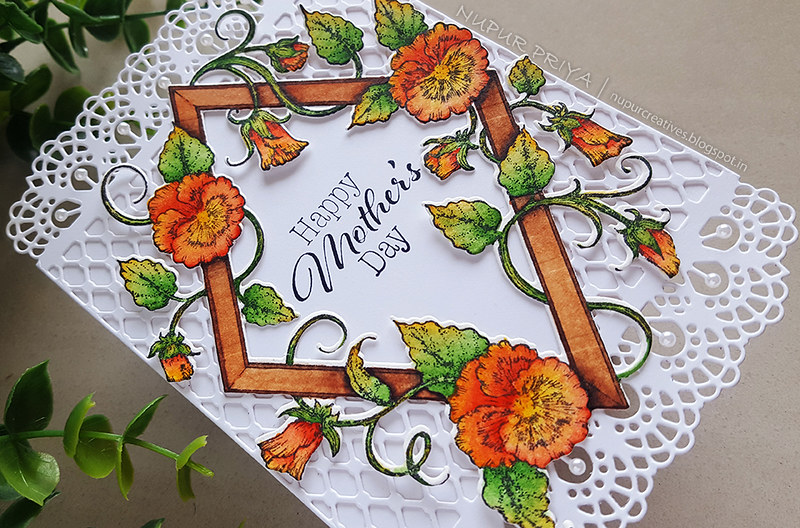
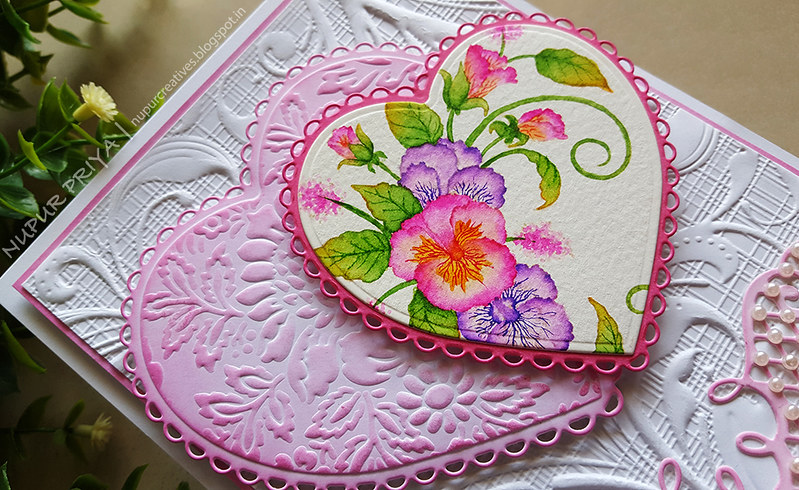
Stamp the image from Delicate Pansy Spray Cling Stamp Set on a piece of watercolor cardstock using Antique Linen Distress ink and color it using Zig Clean Color Real Brush Markers. Die cut it using the heart die from Eyelet Hearts Die.
Die cut 2 pieces of white cardstock using the 2 largest eyelet heart die from Eyelet Hearts Die. Ink the smaller one with Picked Raspberry Distress Oxide ink with heavy pressure to get a darker shade. Adhere the colored image from previous step on this die cut.
Open the Cuttlebug Anna Griffin Juliet Damask Embossing Folder and put the bigger eyelet heart die cut face down on one side of the embossing folder without taking it out of the die and put the Spellbinders Tan Embossing Mat on top then run it through the die cutting machine to emboss the design on the die cut. Now ink the die cut with Picked Raspberry Distress Oxide ink lightly. Adhere both the heart pieces to the card front as shown using Darice Adhesive Foam Strips.
Die cut a piece of white cardstock using the die from Petite Pocket Accents Die. Ink it lightly with Picked Raspberry Distress Oxide ink, trim it down to 4 1/2" and glue it to the card front as shown. Add few pearls to the die cut to add finishing touch.
Hope you like it...
February is the month of love and so today I am here to share a love theme card with you all...
I love the traditional pinks and reds when it comes to love cards so the card is pretty pink with white.
But before we move on to the card I have a small request...
As some of you might know that Heartfelt Creations DT call is going on... and that also means that the current team will also undergo the voting process before continuing with the next term... and so I need your help so that I can continue for another year... So if you like my work then please click on the link below and vote for me along with 4 more designers. Thank you all for the support :)
Design Team Voting
And if you want to join the DT then there is still time to apply for the Heartfelt Creations DT Call
(the deadline is 27th Feb 2019)
Coming back to my card for today...read till the end for the full supply list and instructions for this card
Heartfelt Creations Products:
HCPC-3864 Delicate Pansy Spray Cling Stamp Set
HCD1-7162 Eyelet Hearts Die
HCD1-7212 Petite Pocket Accents Die
Zig Clean Color Real Brush Markers
HCDA2-450 Stack and Store Daubers-Pack of 30
359848 Spellbinders Tool N' One
411231 5pc. Acrylic Block Set
HCPP3-452 12 x 12 Cardstock Pack of 25 - White
D120601 Darice Adhesive Foam Strips
Other Products:
Antique Linen Distress ink, Picked Raspberry Distress Oxide ink, Spellbinders Tan Embossing Mat, Crafter's Companion Regency Swirls 3D Embossing Folder, Cuttlebug Anna Griffin Juliet Damask Embossing Folder, watercolor cardstock and pearls.
Instructions:
Emboss a piece of 4 1/2" x 6 1/2" piece of white cardstock using Crafter's Companion Regency Swirls 3D Embossing Folder and glue it to a slightly bigger piece of white cardstock inked lightly with Picked Raspberry Distress Oxide ink. Adhere it to a white cardbase using Darice Adhesive Foam Strips.
Stamp the image from Delicate Pansy Spray Cling Stamp Set on a piece of watercolor cardstock using Antique Linen Distress ink and color it using Zig Clean Color Real Brush Markers. Die cut it using the heart die from Eyelet Hearts Die.
Die cut 2 pieces of white cardstock using the 2 largest eyelet heart die from Eyelet Hearts Die. Ink the smaller one with Picked Raspberry Distress Oxide ink with heavy pressure to get a darker shade. Adhere the colored image from previous step on this die cut.
Open the Cuttlebug Anna Griffin Juliet Damask Embossing Folder and put the bigger eyelet heart die cut face down on one side of the embossing folder without taking it out of the die and put the Spellbinders Tan Embossing Mat on top then run it through the die cutting machine to emboss the design on the die cut. Now ink the die cut with Picked Raspberry Distress Oxide ink lightly. Adhere both the heart pieces to the card front as shown using Darice Adhesive Foam Strips.
Die cut a piece of white cardstock using the die from Petite Pocket Accents Die. Ink it lightly with Picked Raspberry Distress Oxide ink, trim it down to 4 1/2" and glue it to the card front as shown. Add few pearls to the die cut to add finishing touch.
Hope you like it...
Thank you for visiting today... :)