Hello Friends,
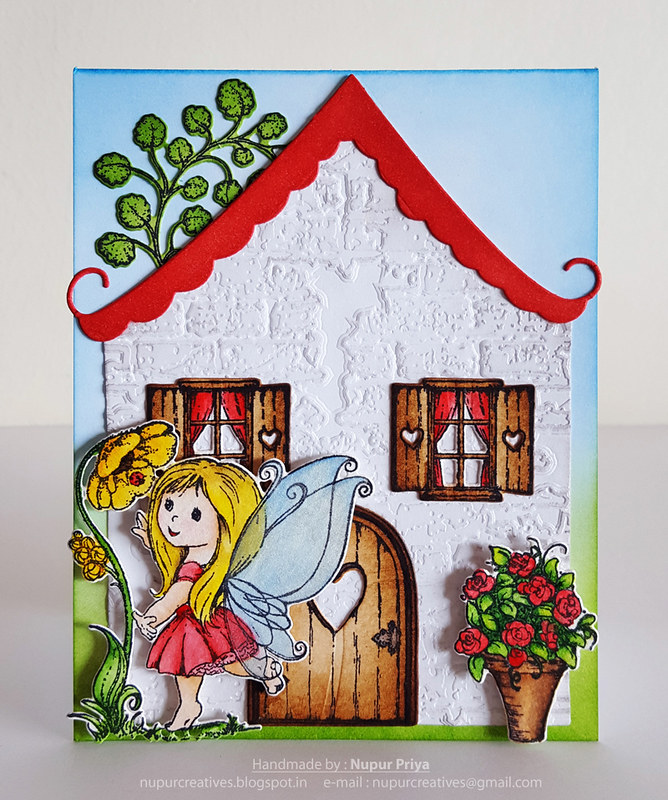
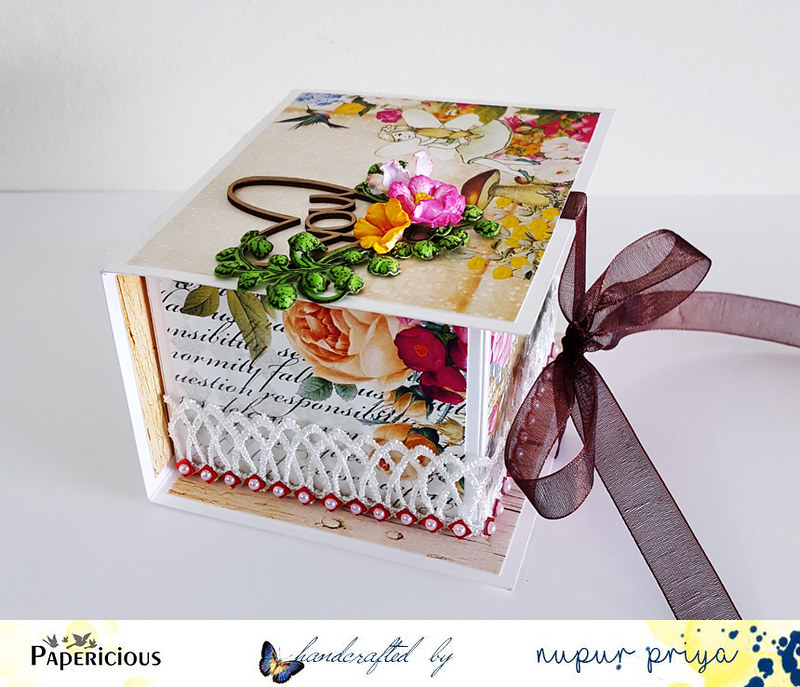
Today I am sharing a tutorial for a gift box made
with The Fairy Pack…
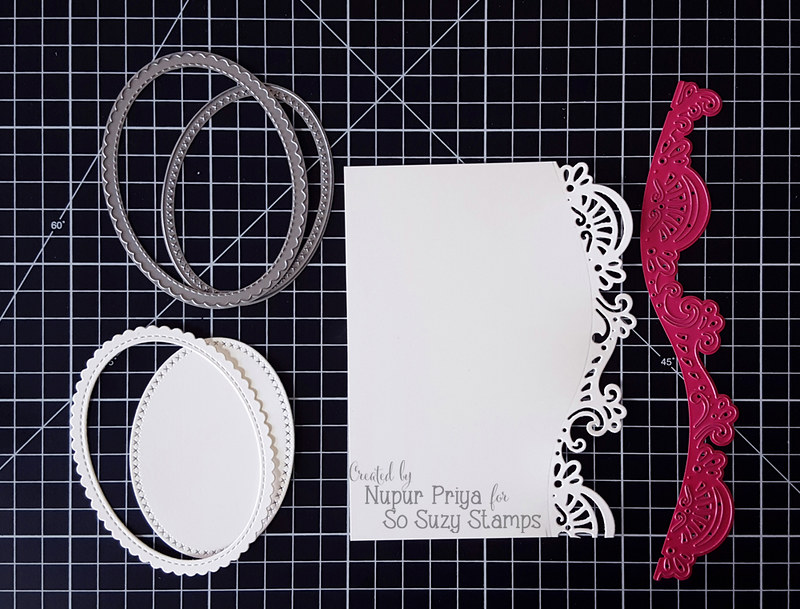
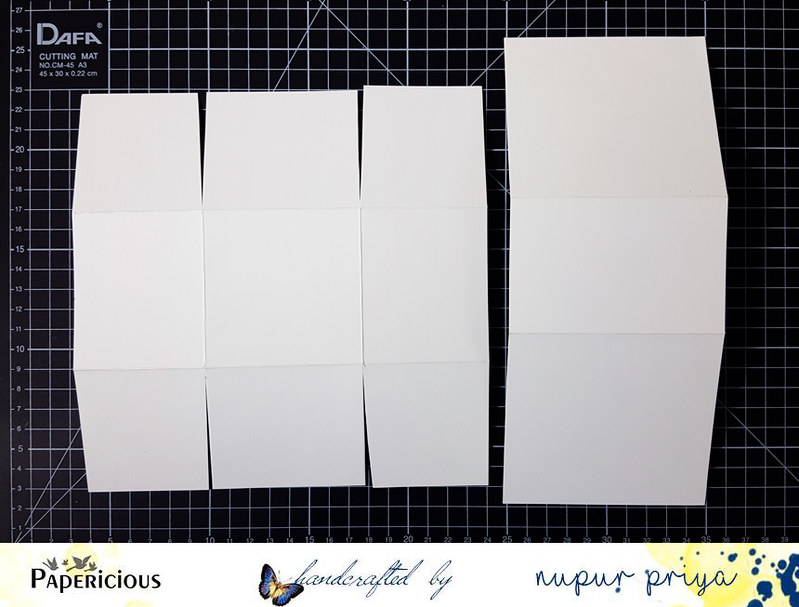
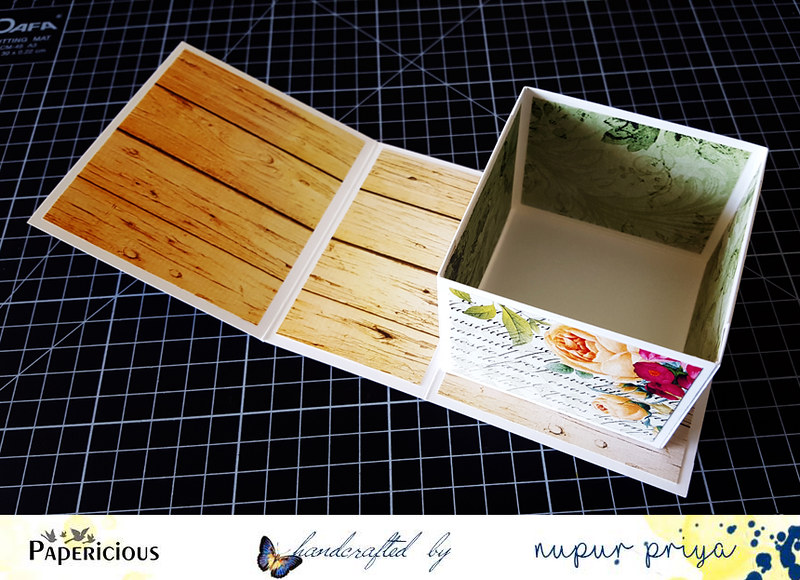
First of all I took 2
pieces of cardstock measuring 8” x 8”
& 9 ½” x 4”
Score the square
cardstock at 2.5” on all sides, cut on the 2 score lines on both sides till the
horizontal score line as shown above & fold on the score lines. For the
long cardstock score at 3 ½” on both sides & fold.
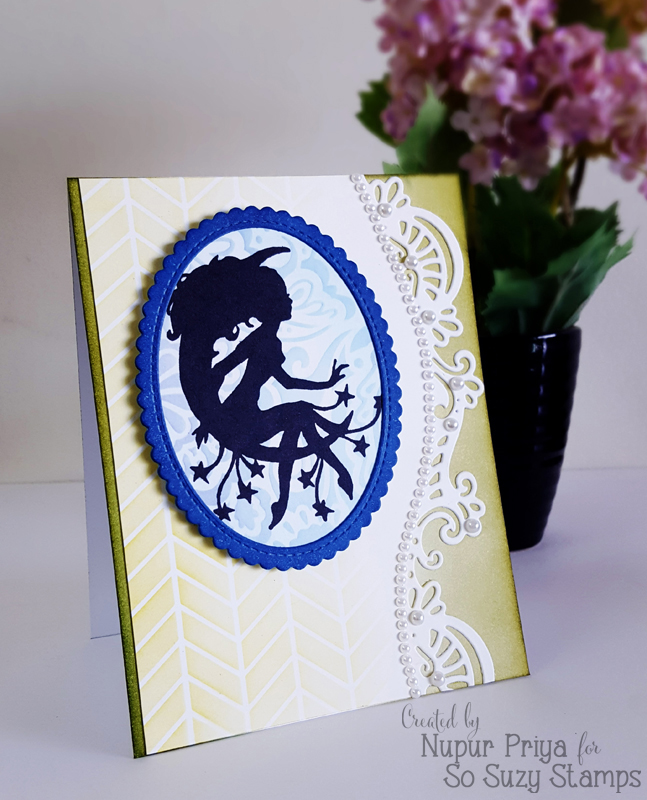
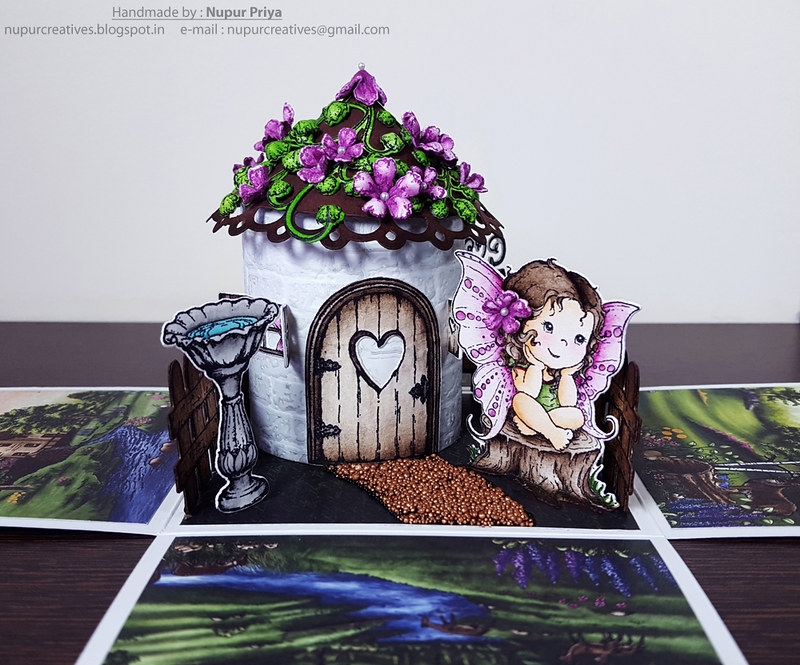
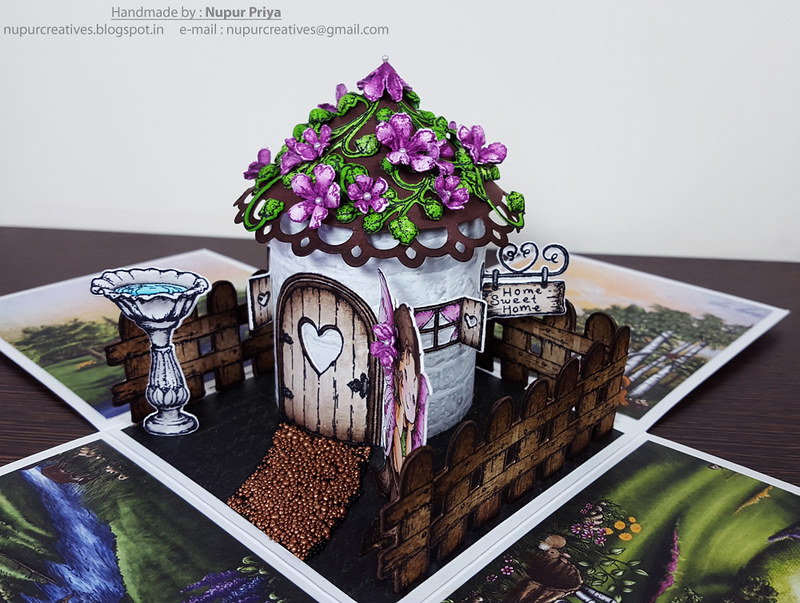
Next I folded the box piece & decorated both the
pieces with pattern paper from the Fairy Pack.
Glue down the box to one side of the long piece as
shown.
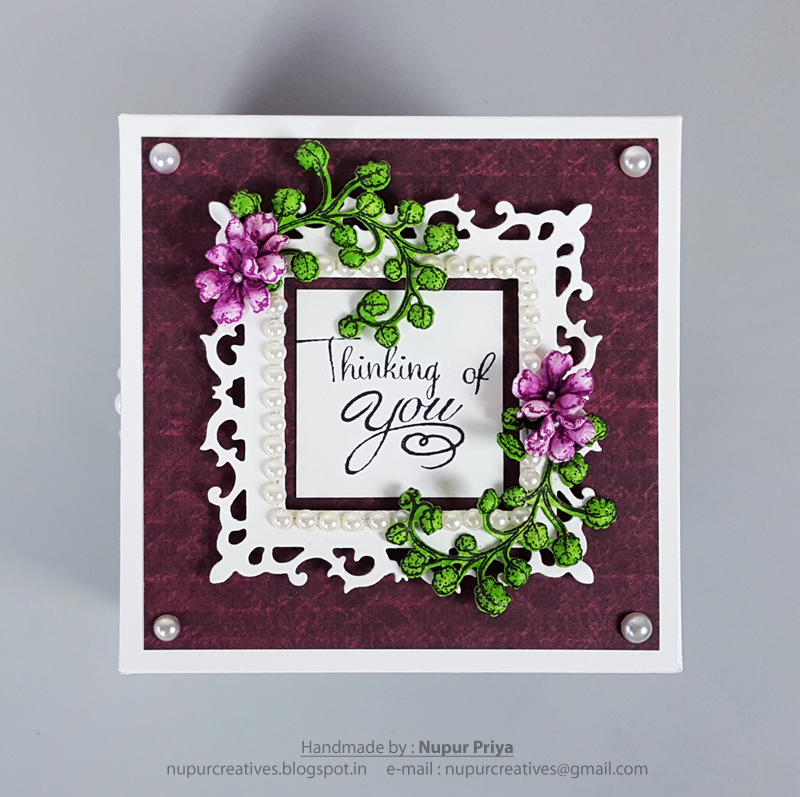
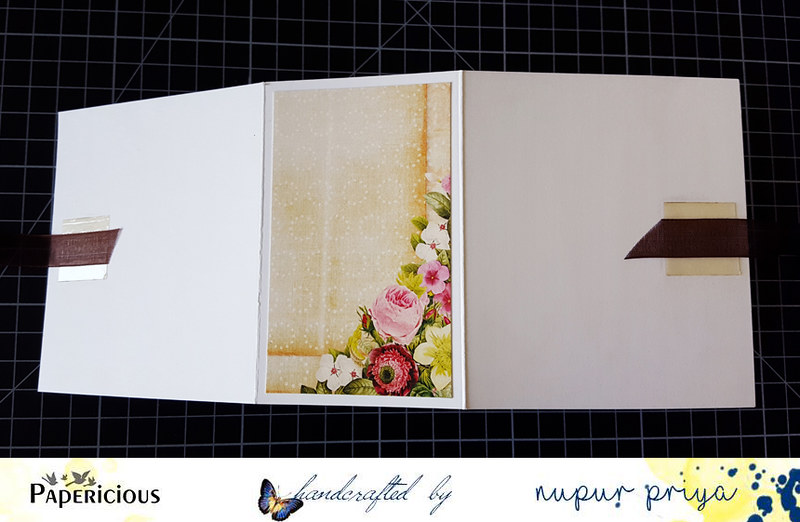
Now to make the
closure attach a piece of ribbon on the top & bottom of the lid with strong
adhesive & then decorate with pattern papers.
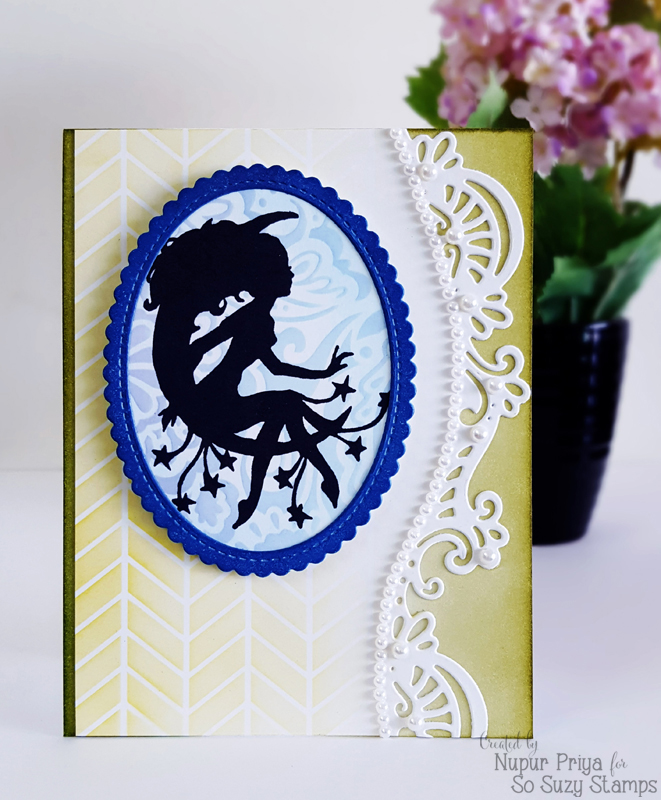
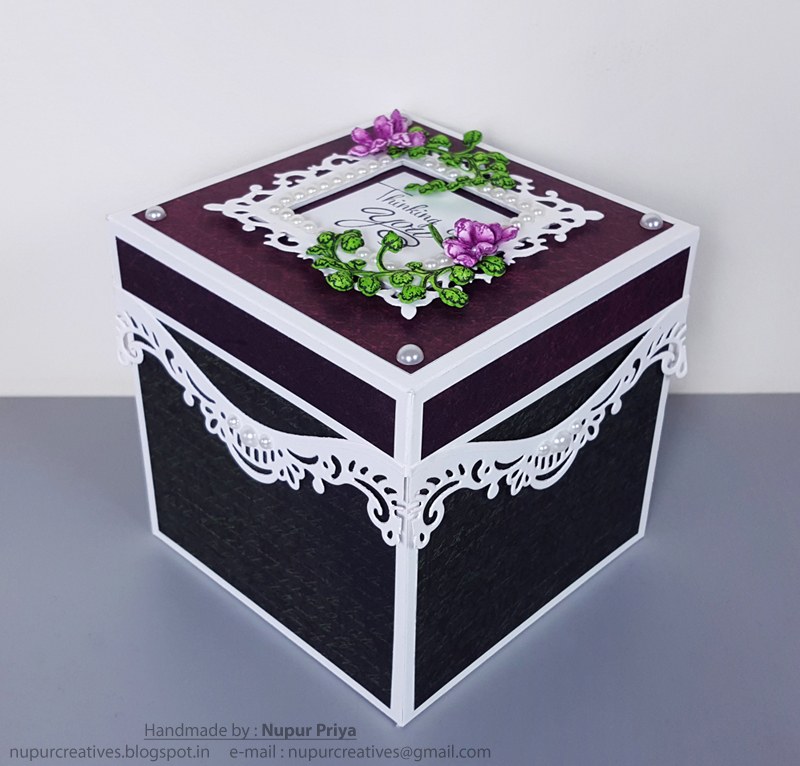
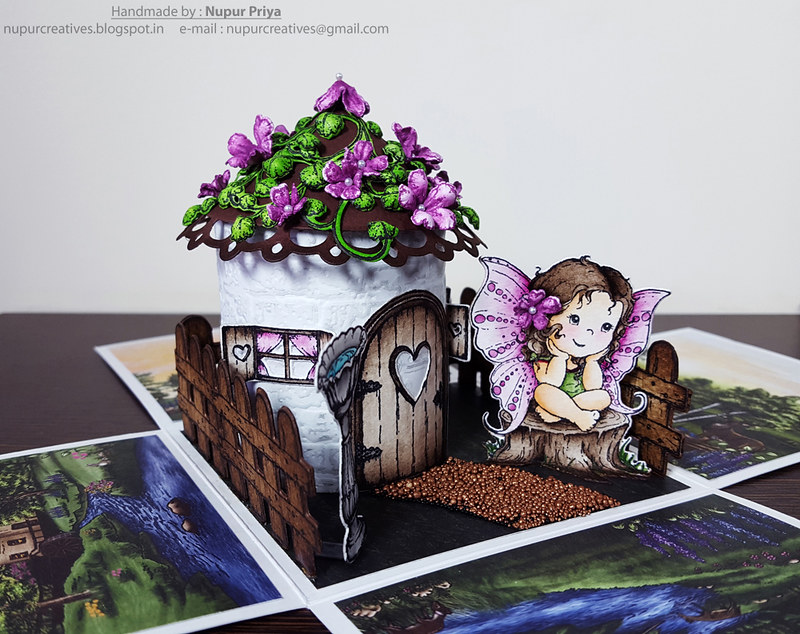
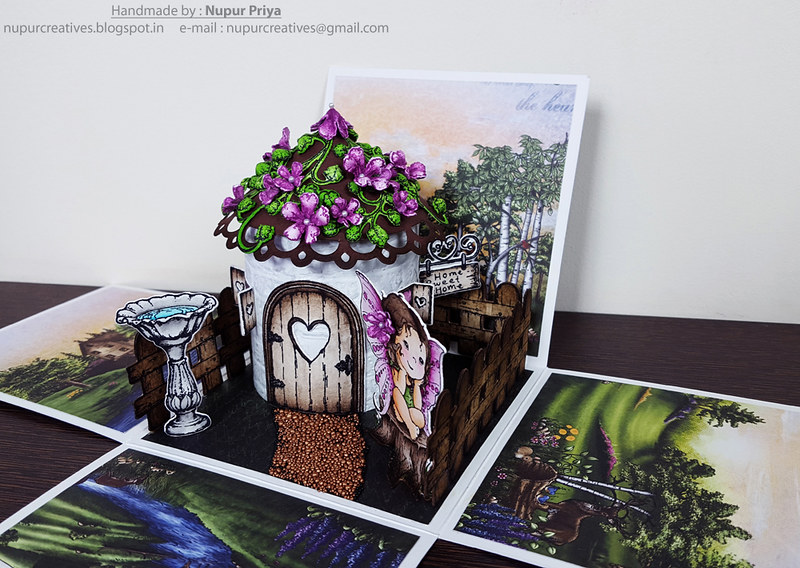
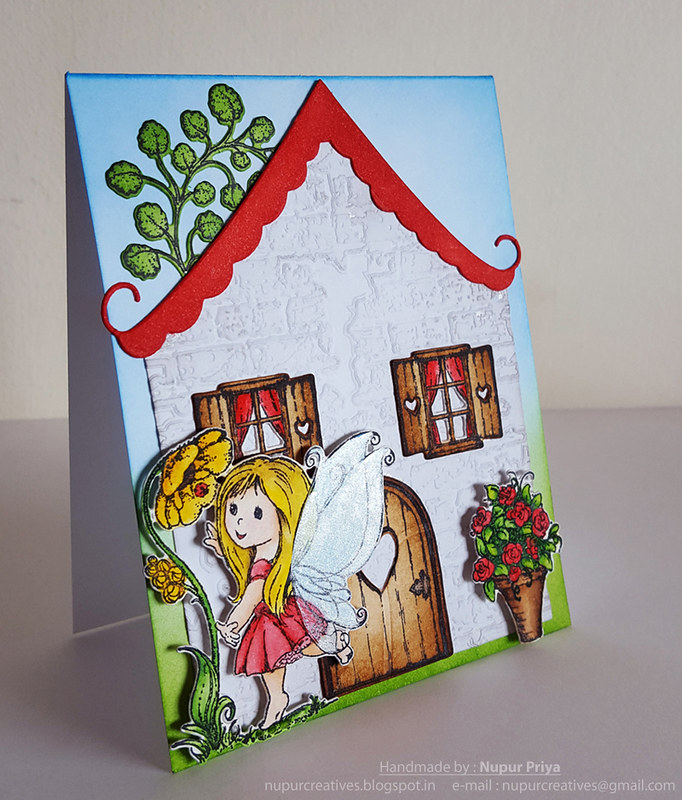
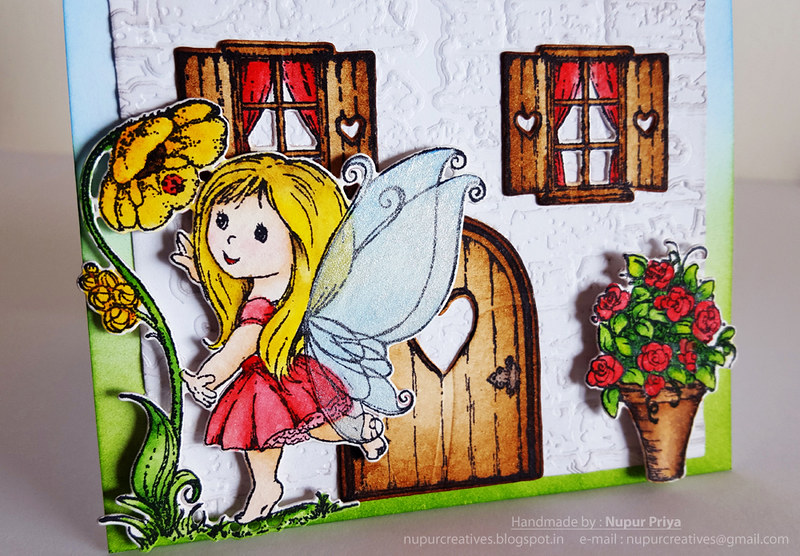
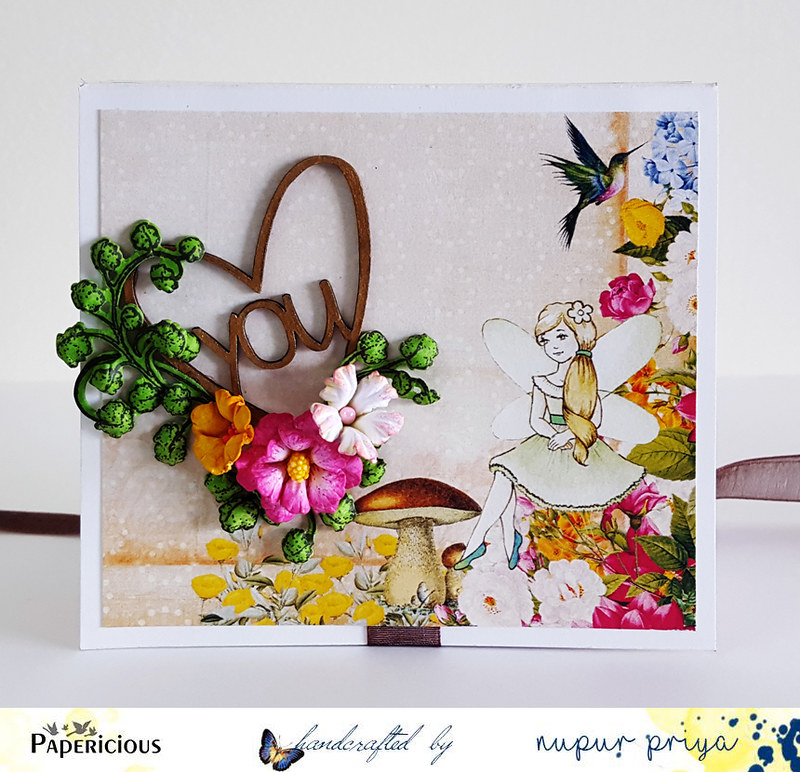
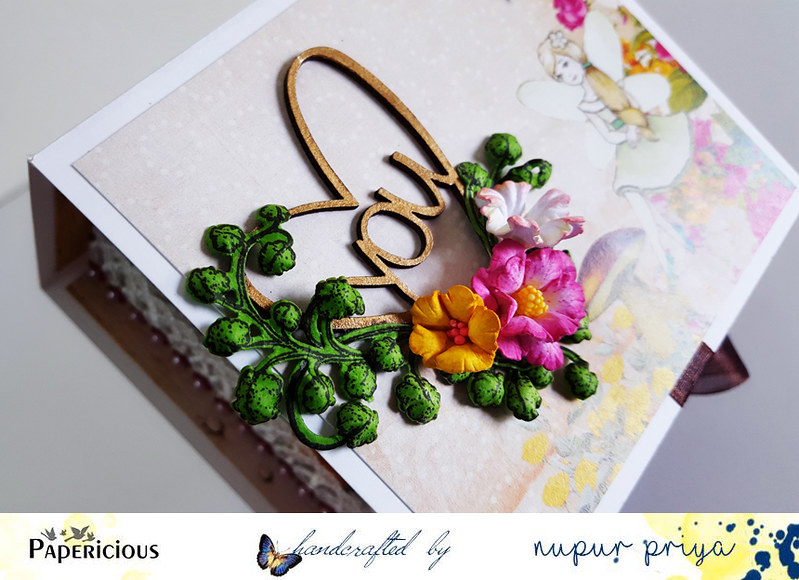
I decorated the box
with chipboards, lace trim & handmade flowers.
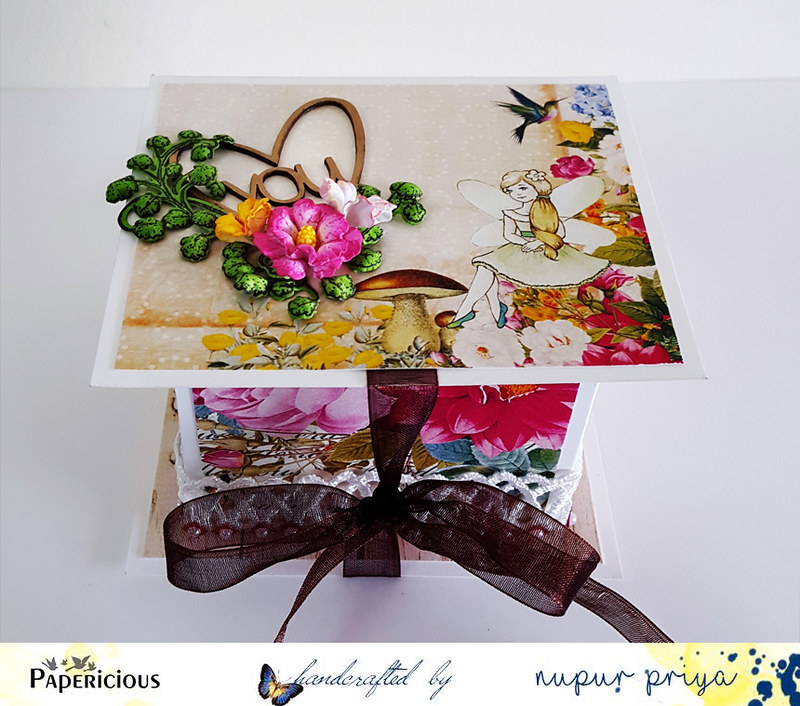
I colored the
chipboard piece with metallic copper watercolor from gansai tambi watercolor
set. You can see the lovely shine in the picture below.
Hope you like my
tutorial & will give it a try…
Thanks for
visiting… J