Layered Cards, Shadowboxes and the layered dies
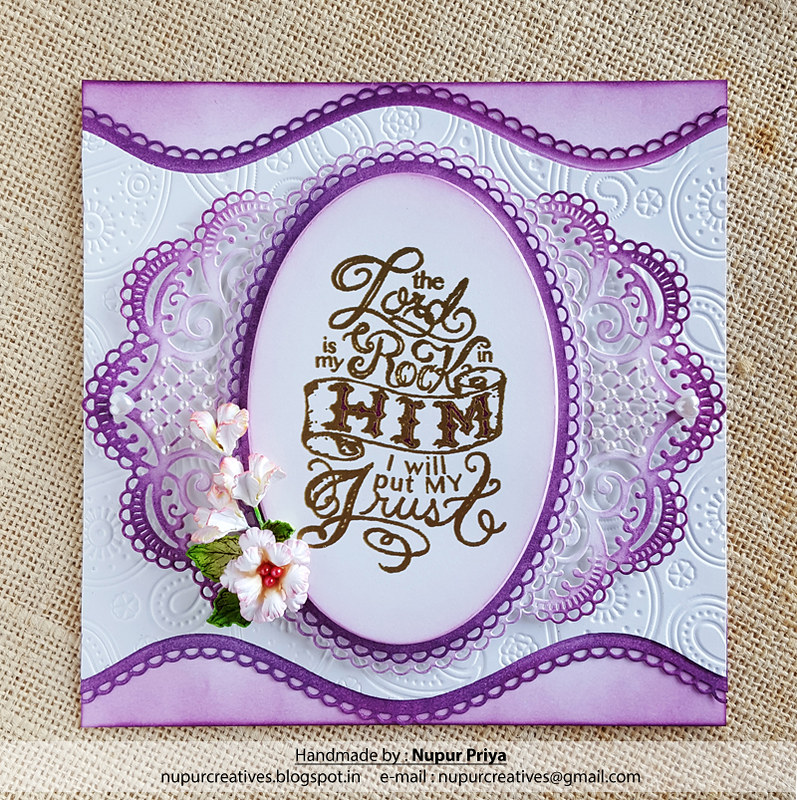
I have made a card for today's inspiration using Eyelet Oval and Basics Small Dies & Eyelet Oval and Basics Large Dies...
I have made a card for today's inspiration using Eyelet Oval and Basics Small Dies & Eyelet Oval and Basics Large Dies...
Stay with me till the end to see all the supply list & instructions for this card...
Heartfelt Creations Products:
HCD1-756 Eyelet Oval and Basics Small Dies
HCD1-757 Eyelet Oval and Basics Large Dies
HCST1-401 Deluxe Flower Shaping Kit
HCD1-757 Eyelet Oval and Basics Large Dies
HCST1-401 Deluxe Flower Shaping Kit
Other Products:
Seedless Preserve, Worn Lipstick, Squeezed Lemonade, Forest Moss & Mowed Lawn Distress inks, Versamark ink, Ranger Gold Embossing Powder, Ranger Heat-it Tool, Paisely Embossing Folder, Ebosser, Martha Stewart scoreboard, paint brush, white cardstock, Pick me Up, pollen, pearls & adhesive.
Project Instruction:
Take a 6" x 6" card base & ink it lightly with Seedless Preserve distress ink. Take 2 pieces of 6" x 6" & 6" x 5 3/4" white cardstock & die cut the top & bottom edges using the dies from Classic Border Basics Die. Ink the die cut edges of the larger piece using Seedless Preserve distress ink. Emboss the smaller piece using paisely embossing folder. Layer & adhere both the pieces as shown on the card base.
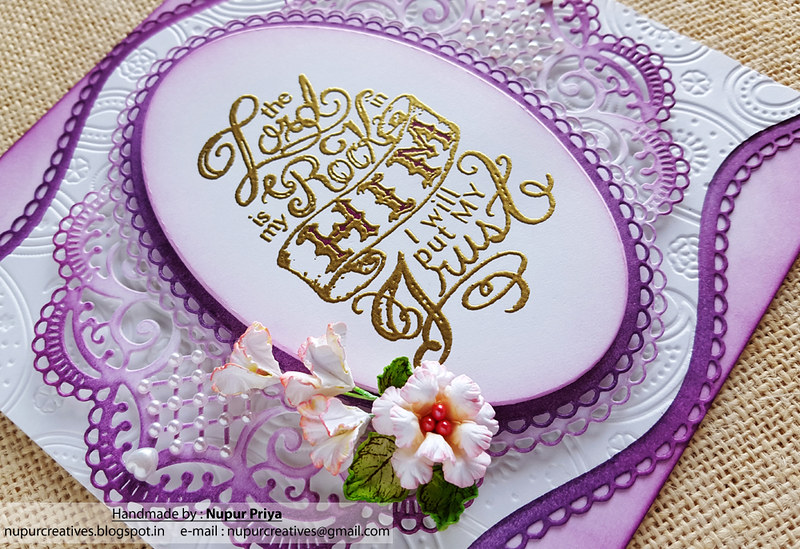
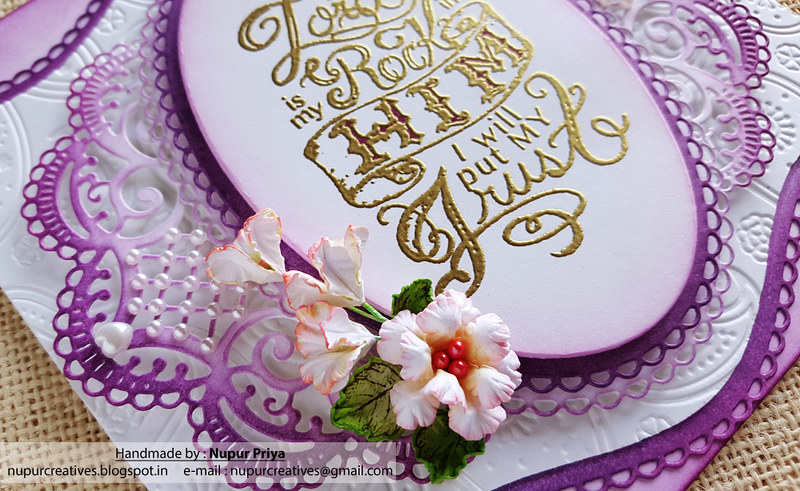
Die cut 2 eyelet ovals & a plain oval using white cardstock & the dies from Eyelet Oval and Basics Small Dies & Eyelet Oval and Basics Large Dies. Ink the larger eyelet oval & plain oval die cut lightly & the smaller eyelet oval die cut heavily using Seedless Preserve distress ink. Stamp the sentiment from All Things are Possible Cling Stamp Set using Versamark ink & heat emboss it using Ranger Gold Embossing Powder & Ranger Heat-it Tool. Color the word 'HIM' with Seedless Preserve distress ink & a paint brush. Layer & adhere all the three pieces using foam adhesive.
Die cut 2 pieces of white cardstock using the decorative die from Festive Holiday Die. Ink them with Seedless Preserve distress ink. Glue them to both the sides of the oval arrangement & adhere them to the card front.
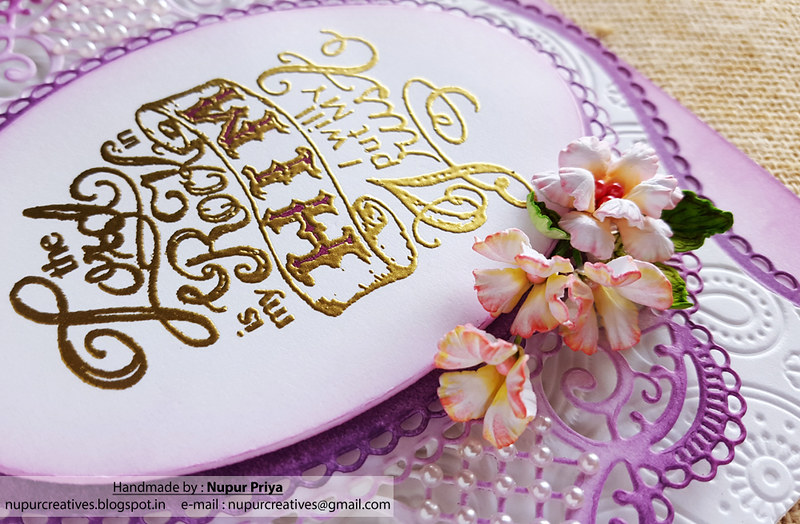
Stamp the flowers from Classic Rose Cling Stamp Set using Worn Lipstick Distress ink & die cut using matching dies from Classic Rose Die. Ink them using Worn Lipstick & Squeezed lemonade Distress ink. Stamp the leaves from Open Leaf Cling Stamp Set using Forest Moss Distress Ink, die cut them using matching dies from Classic Leaf Die & ink them using Mowed Lawn Distress ink. Shape the flowers & leaves using Deluxe Flower Shaping Kit. Add pollens to the flower centers. Arrange & adhere them on the card as shown. Add some pearls using Pick me Up to the die cuts for finishing touch.
Hope you like this card...
Thank you for visiting today... :)


Absolutely Gorgeous!!!
ReplyDeleteBeautiful Nupur!
ReplyDeleteStunning and Elegant!!!!! LOVE the colors and the pearls!!!! The design is great, and the flowers on the corner adds a great finishing touch!!!!
ReplyDeleteBeautiful!
ReplyDeleteGorgeous card!
ReplyDeleteYour card is totally elegant!
ReplyDelete