Showing posts with label Papericious. Show all posts

Friday, 3 February 2017

Gift Basket with Perfect Affair

Hello friends,
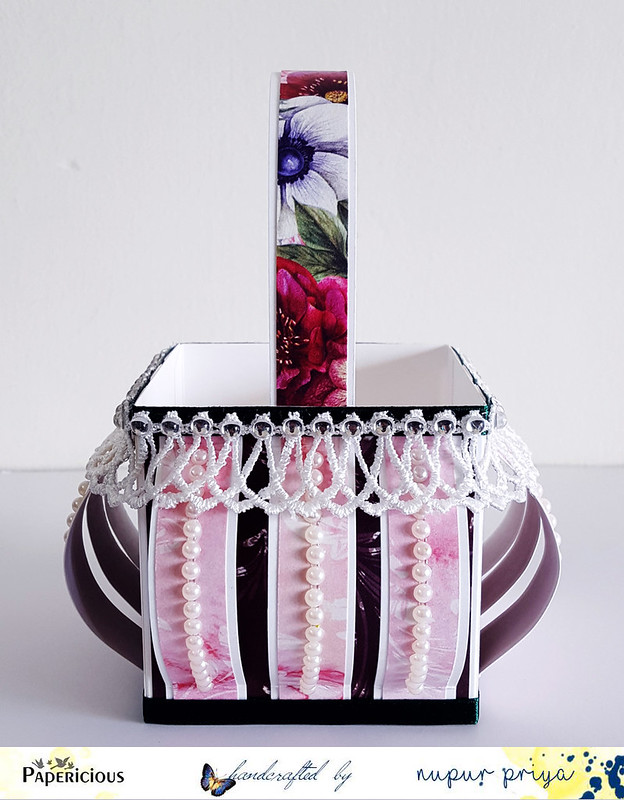
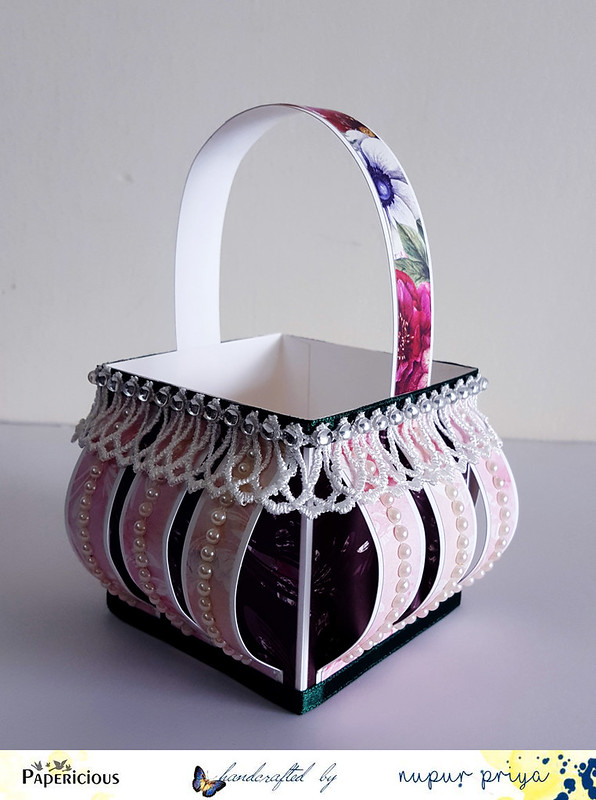
My latest inspiration for Papericious is up on the Papericious blog & today I am sharing a cute basket made with Perfect Affair paper pack...
This is a gorgeous paper pack with gorgeous floral images, hearts, swirls....And the color combination is just perfect...

20170203_103347
This is a simple & easy gift basket but the results are beautiful... I embellished it using Swirl Mesh Lace, satin ribbon, some pearls & rhinestones... & love how it turned out...
20170203_103425


If you would like a pictorial on how I created this let me know in the comments...
Thank you for visiting today :)
nupur

Tuesday, 31 January 2017

Fairy Gift Box + Tutorial

Hello Friends,

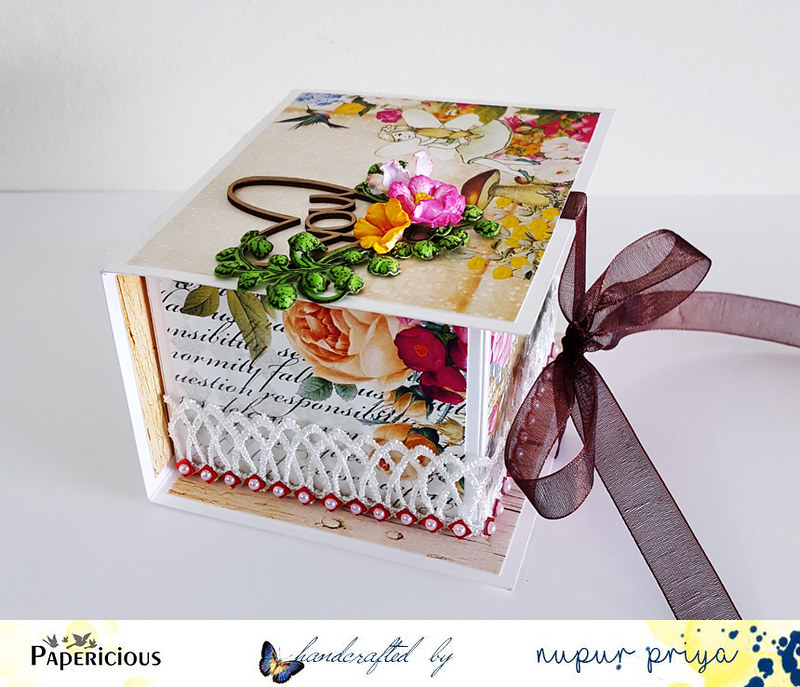
Today I am sharing a tutorial for a gift box made with The Fairy Pack…
20170124_131048
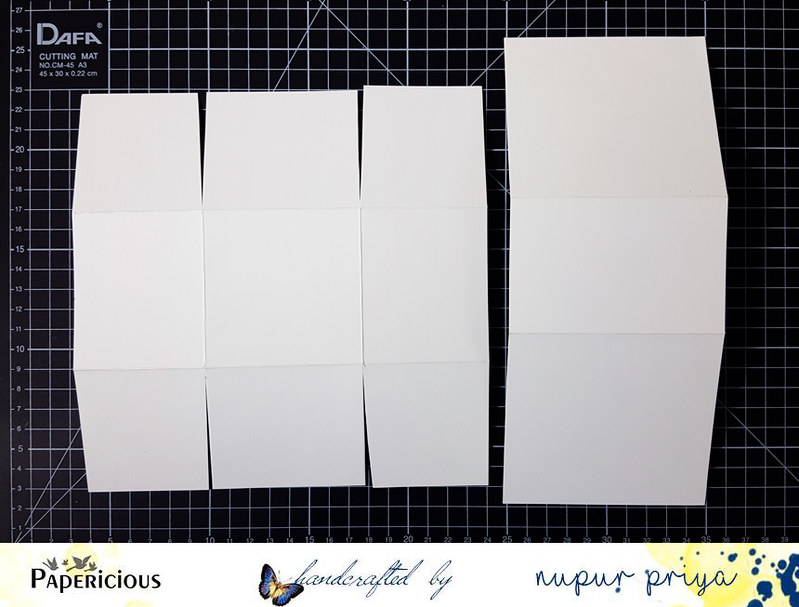
First of all I took 2 pieces of cardstock measuring 8” x  8” & 9 ½” x 4”

Score the square cardstock at 2.5” on all sides, cut on the 2 score lines on both sides till the horizontal score line as shown above & fold on the score lines. For the long cardstock score at 3 ½” on both sides & fold.
20170123_223129
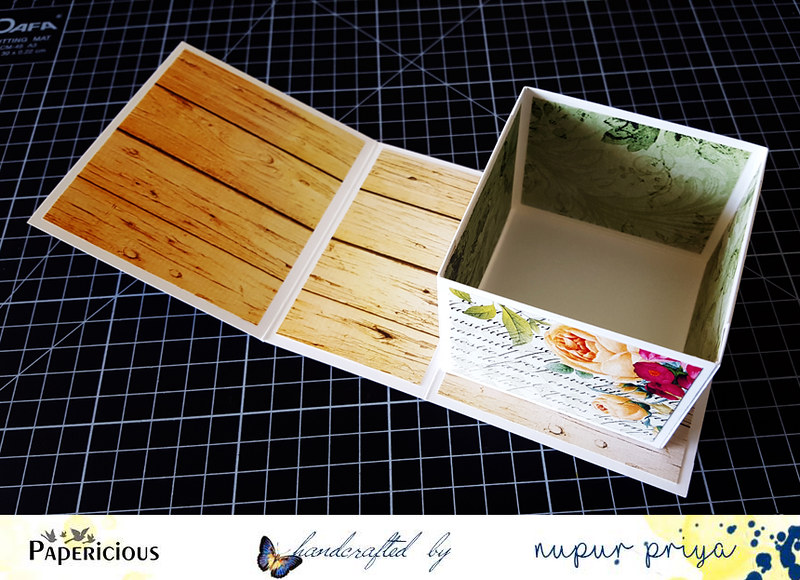
Next I folded the box piece & decorated both the pieces with pattern paper from the Fairy Pack.

Glue down the box to one side of the long piece as shown.
20170124_120933
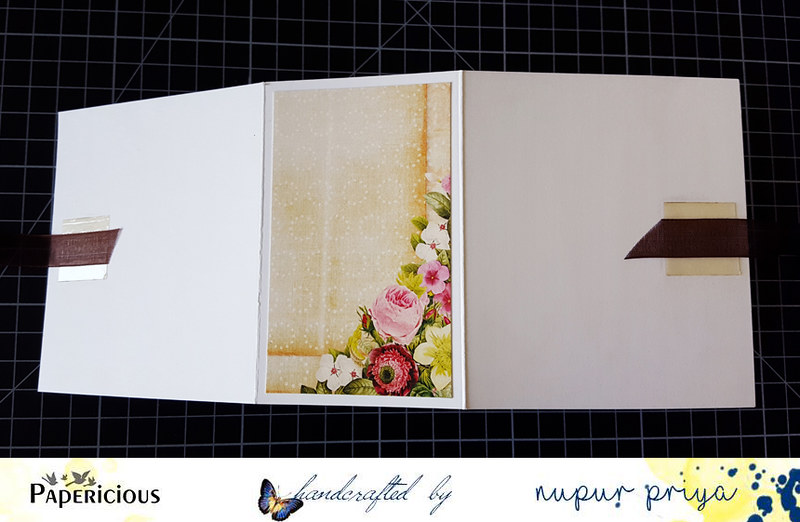
Now to make the closure attach a piece of ribbon on the top & bottom of the lid with strong adhesive & then decorate with pattern papers.
20170124_121450
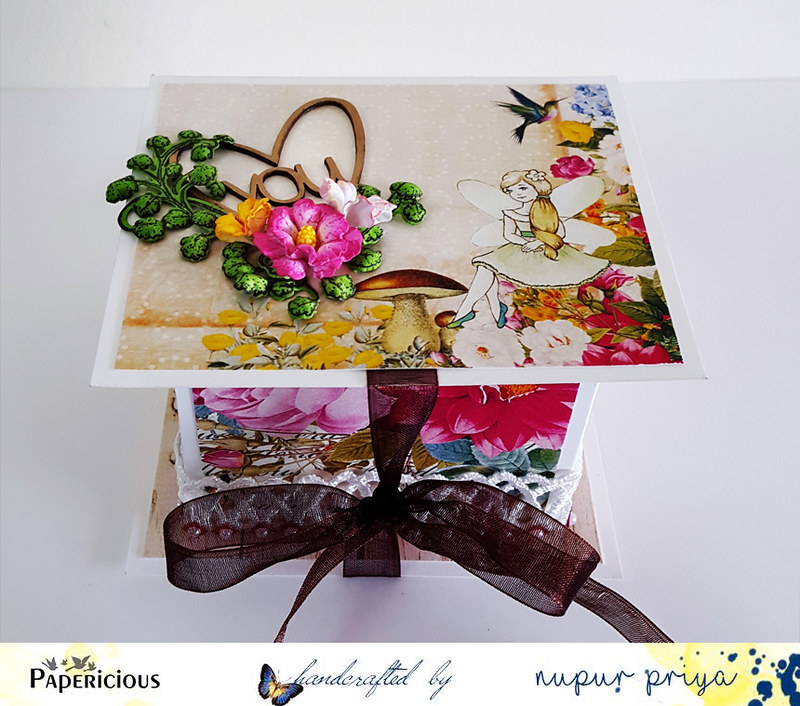
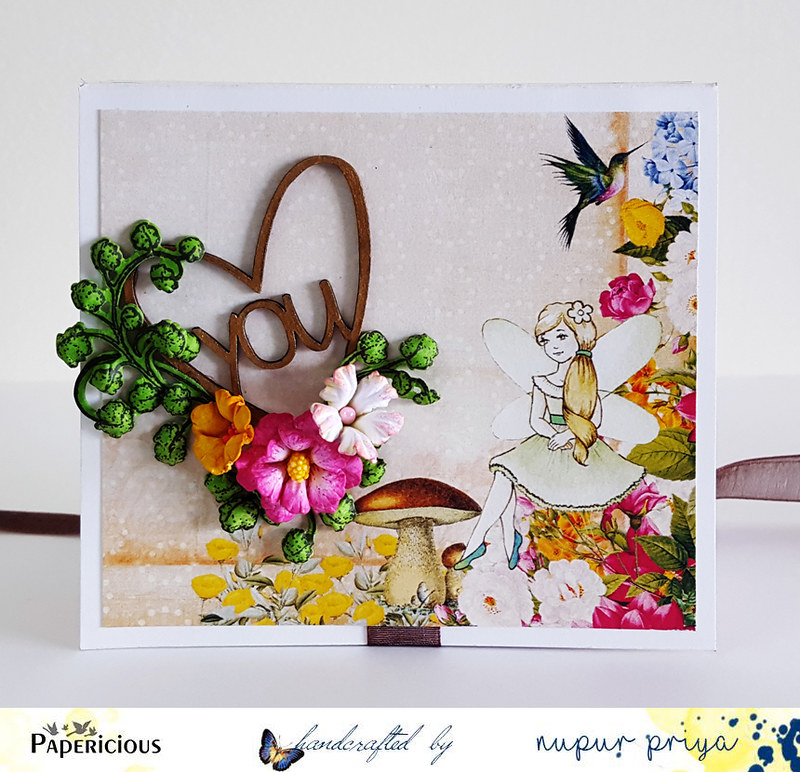
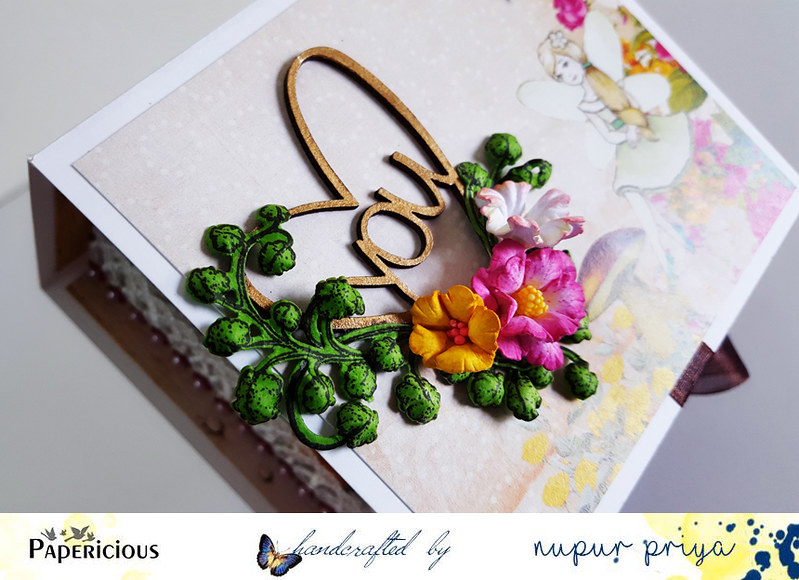
I decorated the box with chipboards, lace trim & handmade flowers.
20170124_131022
I colored the chipboard piece with metallic copper watercolor from gansai tambi watercolor set. You can see the lovely shine in the picture below.
20170124_131125

20170124_131227
Hope you like my tutorial & will give it a try…
Thanks for visiting…  J
Nupur


Monday, 9 January 2017

A Baby is on the Way


Hello friends,
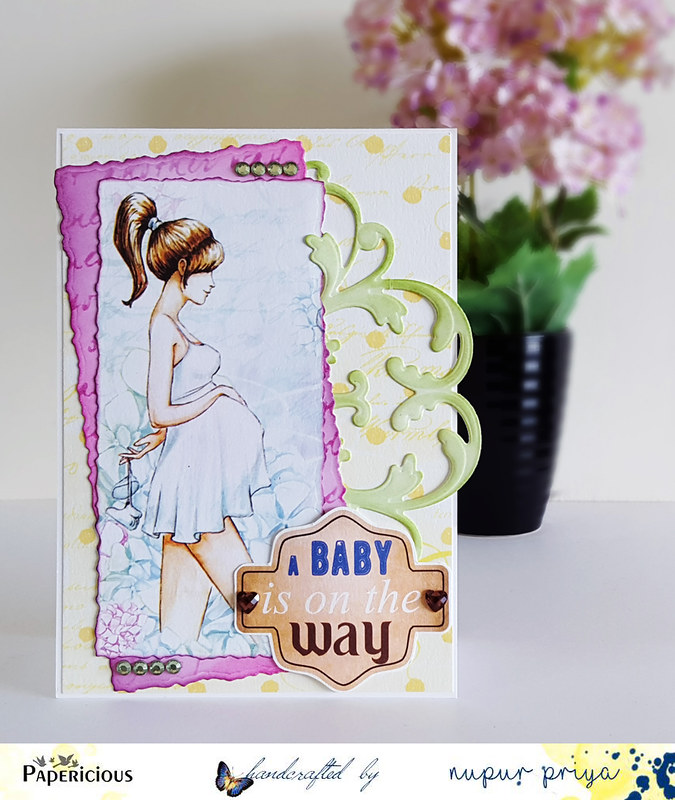
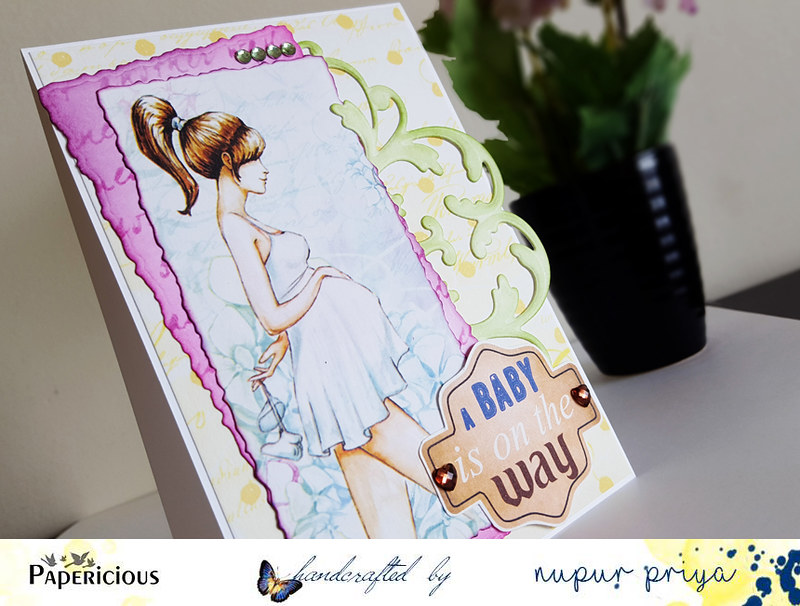
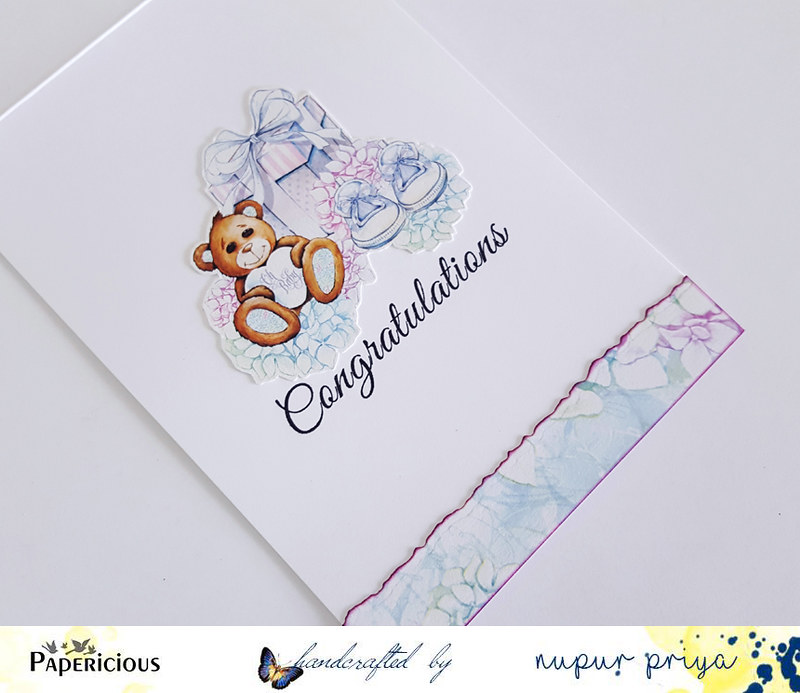
I am over at Papericious blog today sharing a cute card made with  Mom to be paper pack...

20170108_122128

20170108_122532

20170108_122707

Click HERE to see the full post... Hope you like it...
Thank you for visiting today :)
nupur
Materials Used:

Mom to be Paper Pack


Tuesday, 27 December 2016

Butterfly Shaker Card

Hello friends,
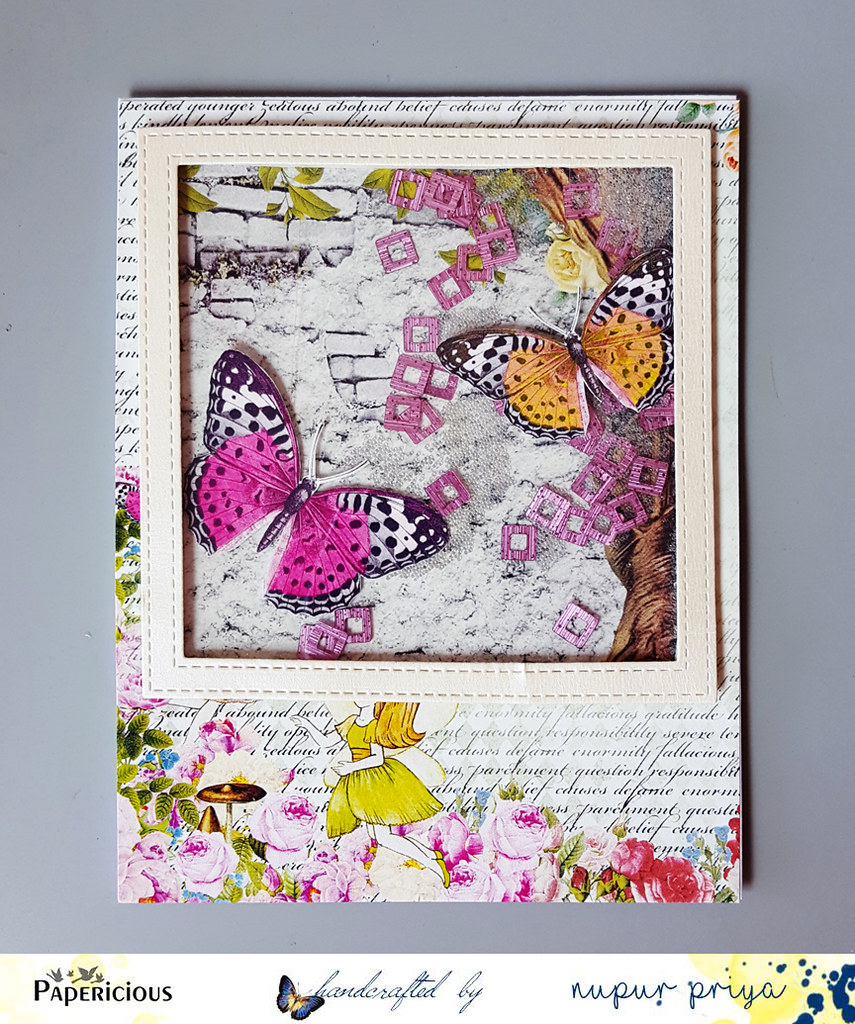
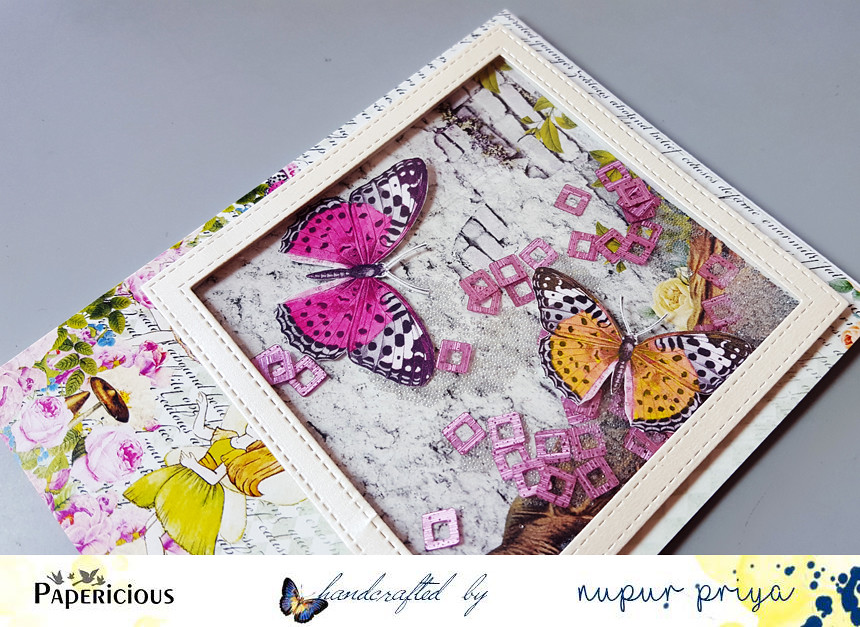
Today I am sharing a shaker card made with Fairy Land paper pack over at Papericious Blog...
I love shaker cards ....  They are so much fun to make & play with...So I also have a tutorial so that you can make your own shaker card with this beautiful paper collection...
20161227_105707


20161227_105720
Click HERE for the full tutorial...
Hope you like it...
Thank you for visiting today :)
nupur
Nupur

Monday, 12 December 2016

Purple Floral Card

Hello friends,
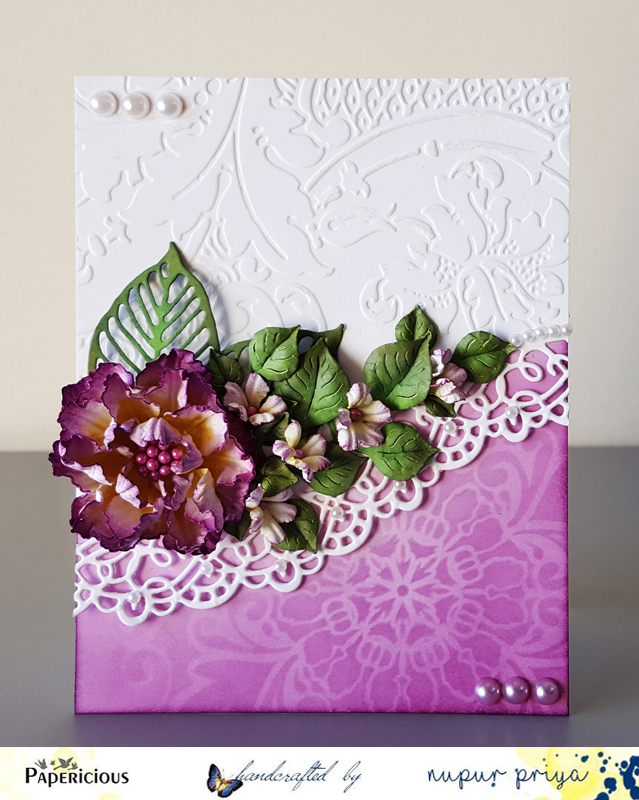
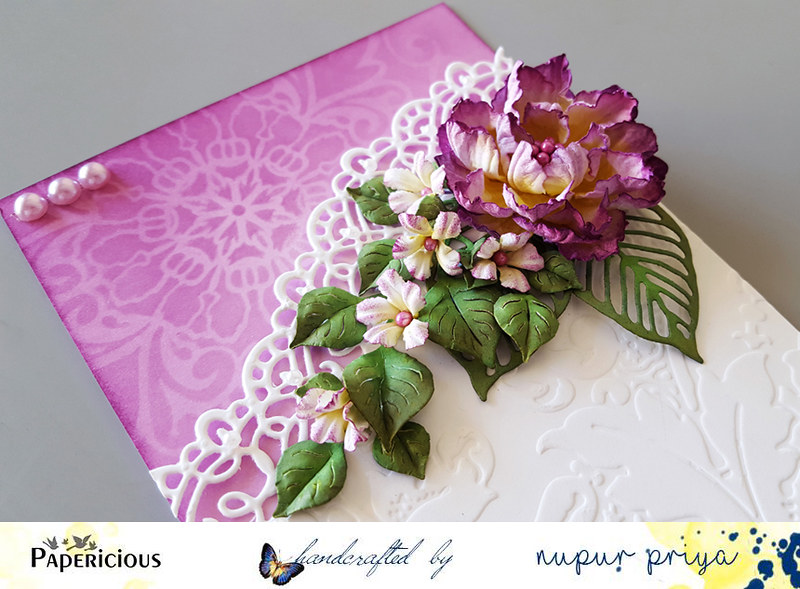
I am over at Papericious blog today sharing a card made with handmade flowers using Sigma Cardstock....
20161212_102810

20161212_102919
Click HERE to see the full post... Hope you like it...
Thank you for visiting today :)
nupur
Materials Used:
Sigma Cardstock


Thursday, 24 November 2016

Envelope Punch Board Gift Box Tutorial

Hello friends,
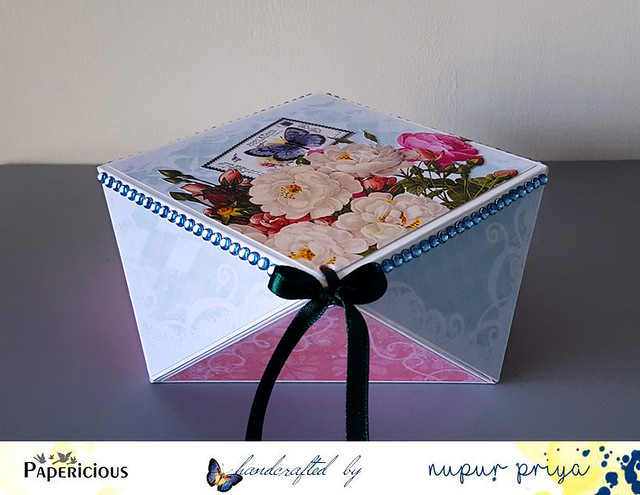
I am sharing a tutorial for a gift box today made using Envelope Punch Board.

20161118_153732

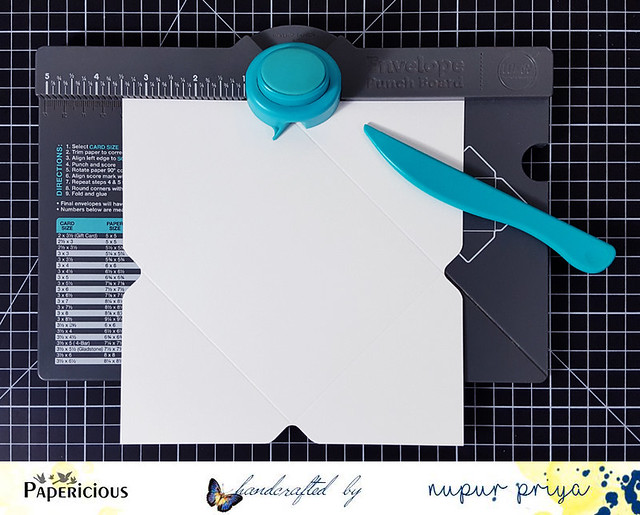
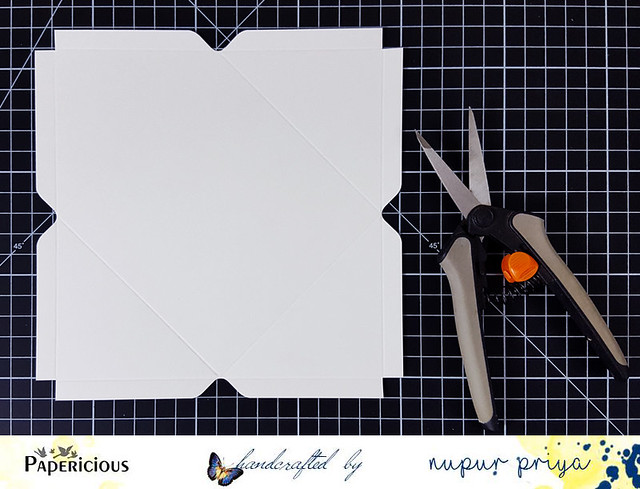
We need 2 pieces of 7" x 7" cardstock. Align all 4 sides of the cardsock at 3 1/2" mark, punch & score. Repeat this with both the pieces.
20161117_210500

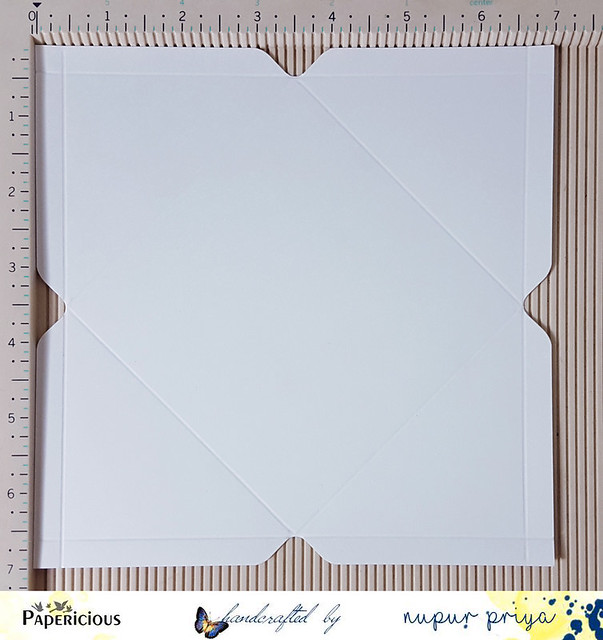
Now score all 4 sides of both the pieces at 3/8".
20161117_210940

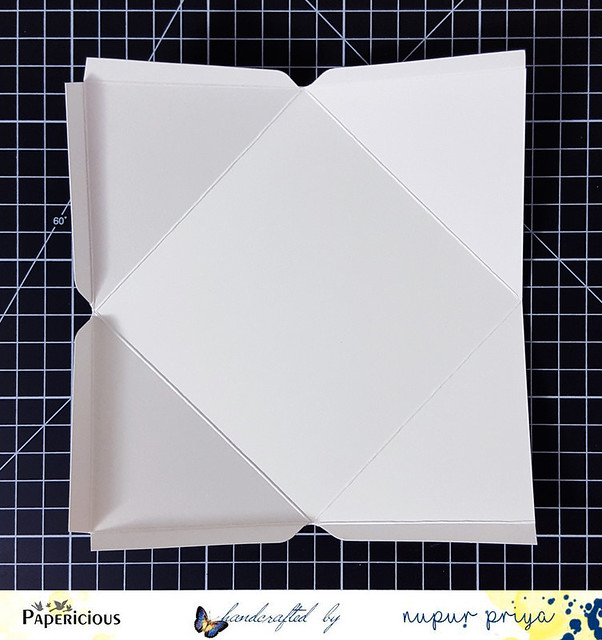
Cut off the corner squares as shown ( I later cut the corners in a straight line so the edges were 45 degrees to the score line). 
20161117_211217
For the top portion of the box cut off both flaps from one of the sides as shown. This will be the opening of the box.
20161117_211624


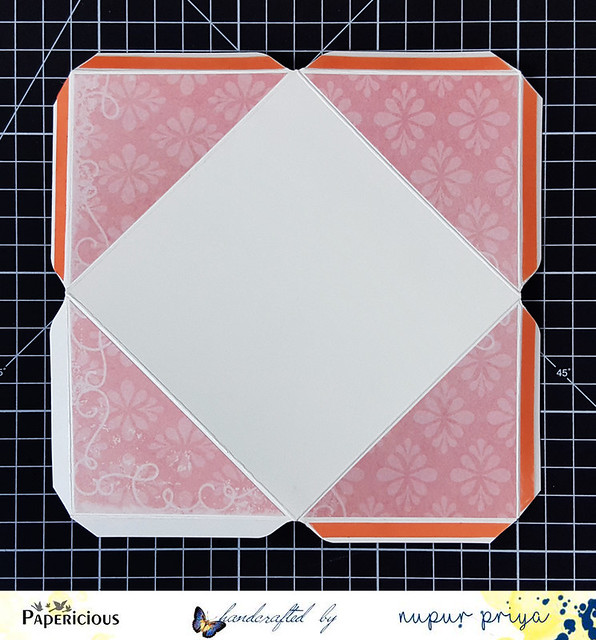
Apply tacky tape on the flaps of the bottom piece leaving 2 flaps on one of the triangle pieces. This will be the opening of the box.
20161117_214518

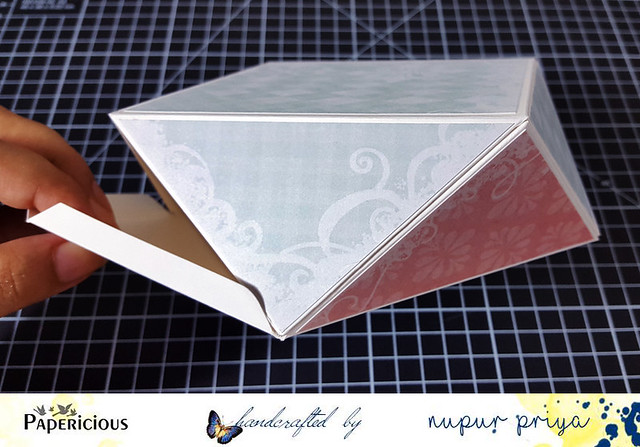
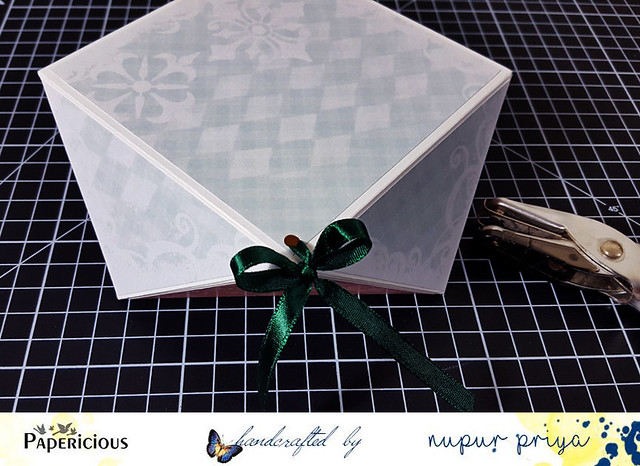
Carefully align and adhere the top & bottom pieces. The picture below shows how it will look like after the box is assembled.
20161117_215213
Make a hole in the top & bottom opening pieces & thread the ribbon through & tie a bow to close the box. Decorate the box with pattern papers & embellishments of your choice.
20161117_220524
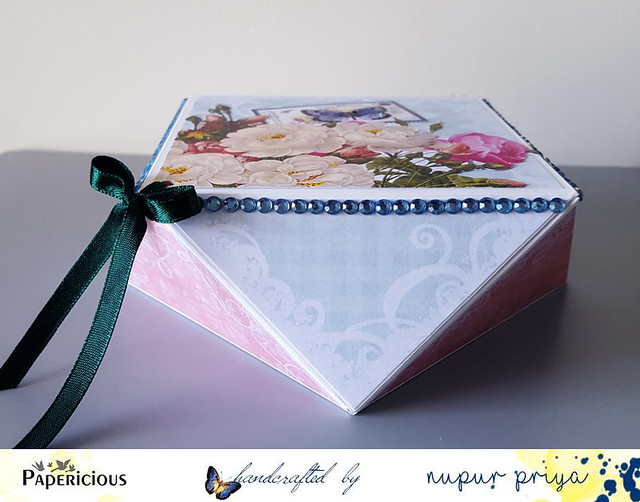
Here are few more pix of the decorated gift box... Side view
20161118_153742
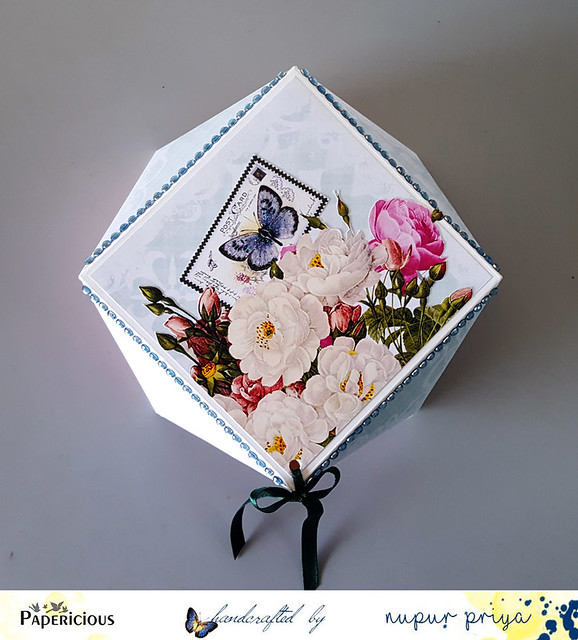
& top view...
20161118_153804
Hope you like it...
Thank you for visiting today :)

Materials Used:
Ephemera Paper Pack

Nupur

Friday, 18 November 2016

Envelope Punch Board Gift Box Tutorial

Today I am sharing a tutorial for a gift box today made using Envelope Punch Board on Papericious blog.

20161118_153732

Here are few more pix of the decorated gift box... Side view
20161118_153742
& top view...
20161118_153804
Click HERE to see the full tutorial...
Hope you like it...
Thank you for visiting today :)
nupur
Materials Used:
Ephemera Paper Pack

Wednesday, 2 November 2016

Incredible India Decoupaged Box

Hello friends,
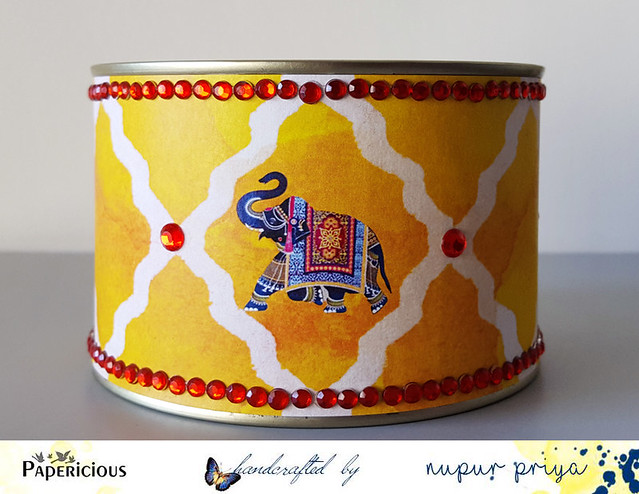
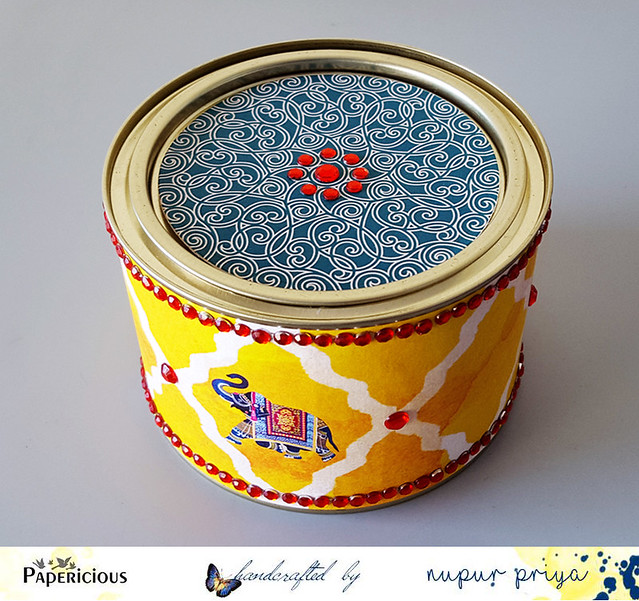
I am over at Papericious Blog today sharing a simple decoupaged box / tin. Click HERE to see more details
20161102_102238

20161102_102250
Hope you like it ...
Thank you for visiting today :)


nupur

Friday, 14 October 2016

Wedding Gift Tutorial

Hello friends,
Today I have a tutorial for a quick and easy gift.
This tutorial can be used to make a gift for any occasion.
I have to used the Wedding Collection Kit for this post...
20161007_100644
This is the front...
20161007_100831

20161007_101400
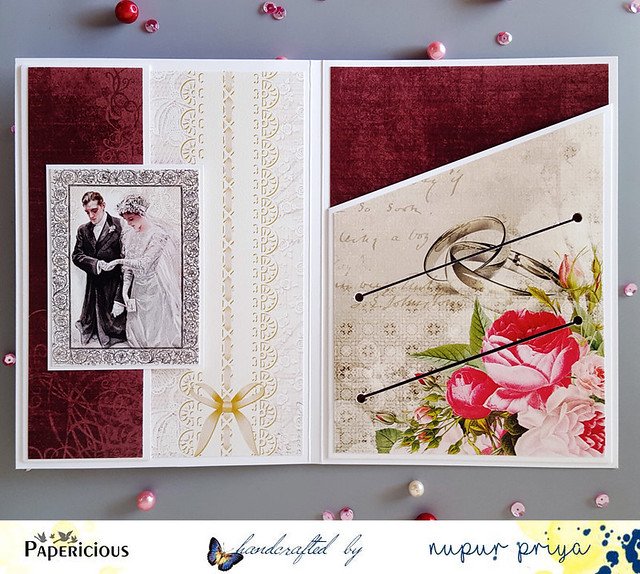
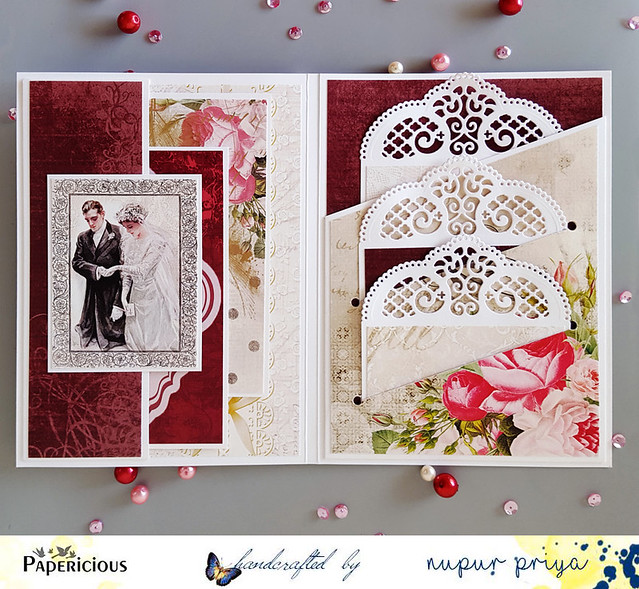
And here is the inside... It has 4 pockets for tags... Theses tags can be used as photomats as well as a messages & giftcards.
20161006_153155
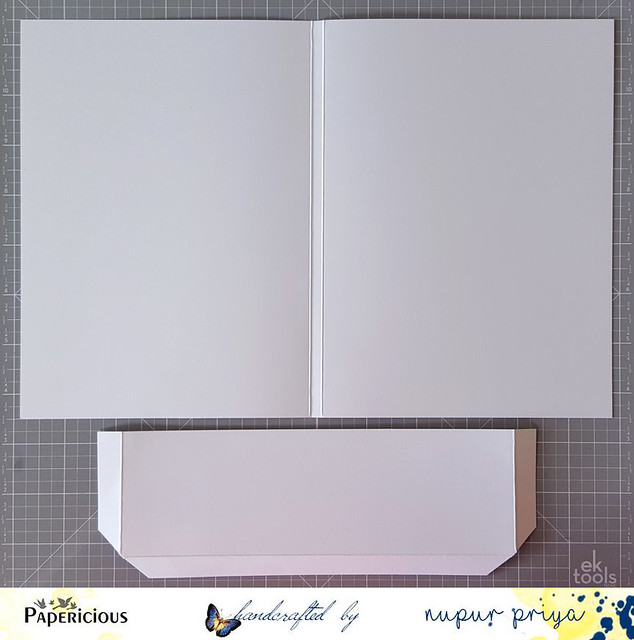
I started with creating the base for this pocket card.
Take a 11 3/4" x 8" piece of white cardstock & score at 5 3/4" & 6". Fold on the score lines.
Take another piece of 8 3/4" x 3" piece of white cardstock & score at 1/2" & 8 1/4", rotated it & scored at 1/2". Fold the score lines & cut the corners as shown. This will be our pocket for the left side.
20161006_151918
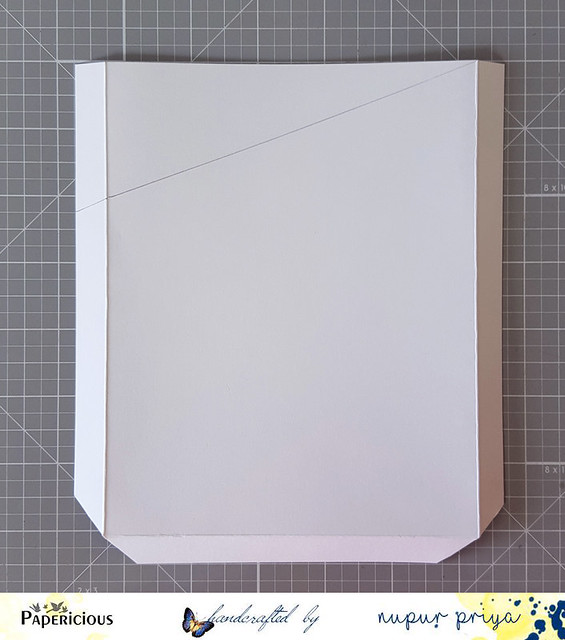
Now for the right side pocket take a white cardstock measuring 6 1/2" x 7 1/2"
Then I scored it at 1/2" & 6", rotated it & scored at 1/2".
Fold the score lines & cut the corners as shown.
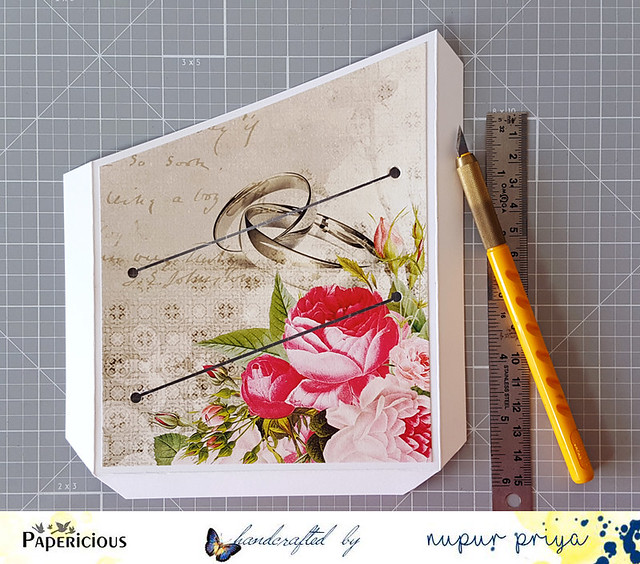
Now measure 2" from the top on the left score line & draw a line till the top of right score line.
Cut off the resulting triangle.
20161006_154652

Adhere the pattern paper of your choice and mark 2" & 4" from the top on both sides.
punch a hole on all 4 marks keeping them in a straight line on both sides.
cut a sliver of paper out between 2 holes to make an opening as shown .
20161007_101508
Adhere both the pockets to the base & decorate with pattern papers.
20161007_101610
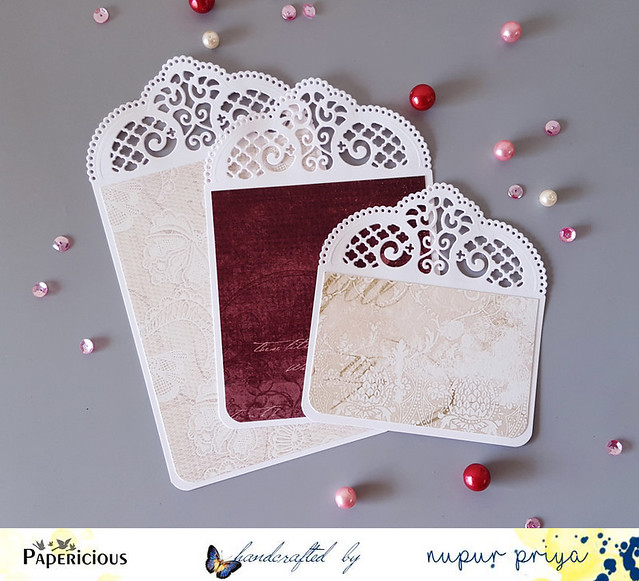
For the right pocket tags I took 3 lengths of cardstock all with a width of 4".
I used a decorative die to make the top tab of all 3 tags & decorated them with beautiful pattern papers from the Wedding Collection.
20161007_101628
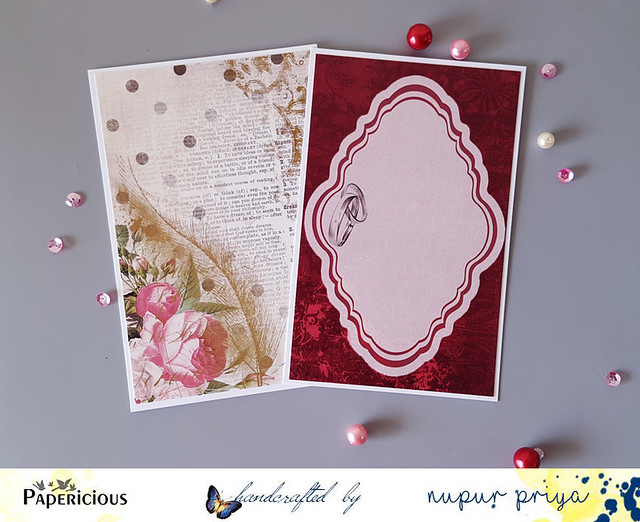
For the left pocket tag I used the journaling cards from the Wedding Collection matted them on white cardstock.
20161007_100644
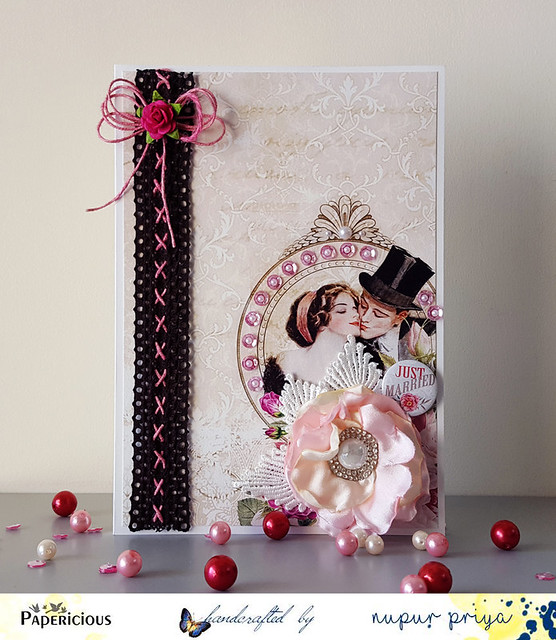
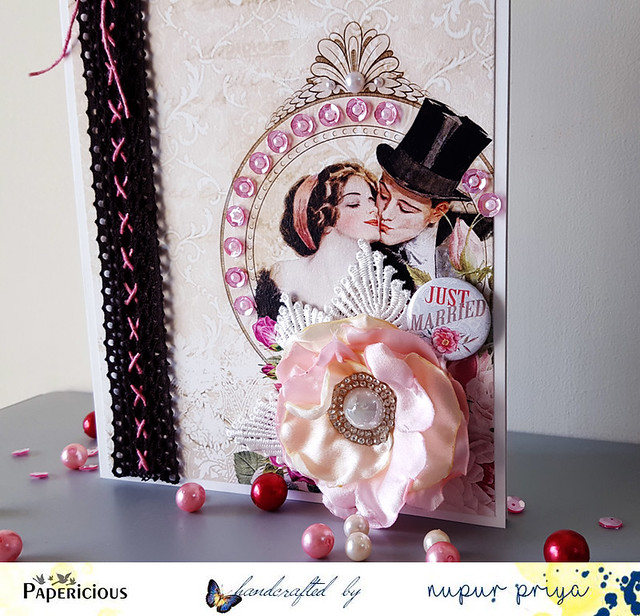
To decorate the caver I choose the paper with the beautiful bride & groom image.
I glued the pink sequins in the Wedding Kit to decorate the frame around the couple. I also glued some white pearls. Then I adhered the leaf lace, fabric flower & adhesive button as shown.
Next I took a lace from my stash & weaved the pink jute twine through it & adhered on the left side. Lastly I added a jute bow & flower to finish it.

Hope you like it...
Thank you for visiting today :)
nupur
Materials Used:
Wedding Collection Paper Stack
Fabric Flowers
Jute Twines

Sequins

Laces

Adhesive Buttons