Hello friends & welcome to Heartfelt inspiration post
It is a new release week...Woohoooo
And this month we have
Oakberry Lane Collection I Want It All is on 10% discount till 15th September or till supplies last so hurry!!!
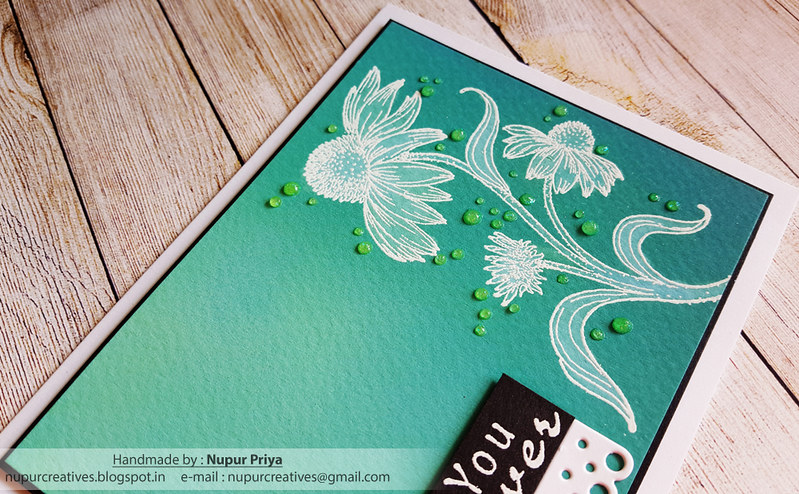
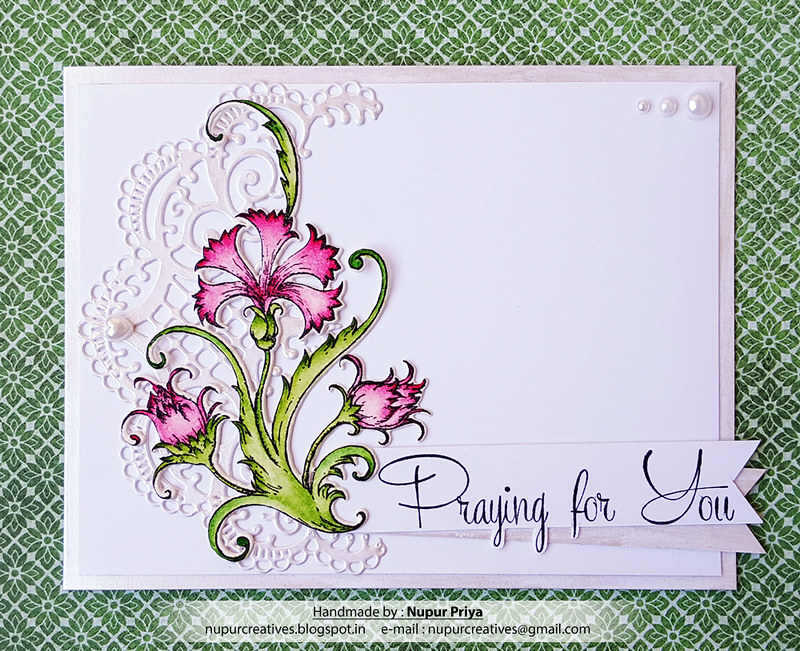
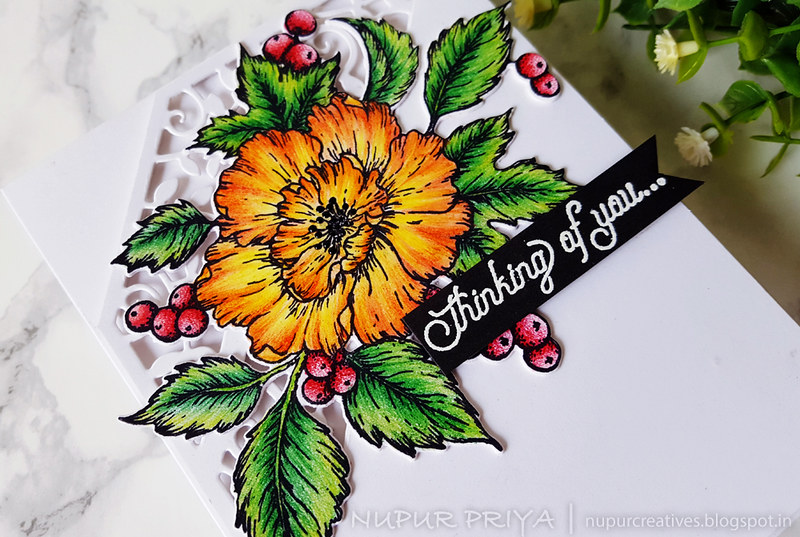
I have made a card with a gorgeous flower image from Oakberry Lane Antics Cling Stamp Set
I have also used Frame a Card Leafy Borders Die to create the background... Using it in a new way which is great to stretch the use of this die to get a different look...
Scroll down for the supply list & instructions on how to make this card....
But before we move on have you checked out the LIMITED EDITION section of Heartfelt Creations store??? They are retiring a lot of stamps, dies, papers and other products and the deals are very good... Dies are available for $14.99 instead of $29.99!
Journal Binder and Pages are also on 50% discount till 7/31/18 !
Heartfelt Creations Products:
HCPC-3840 Oakberry Cottage & Sentiments Cling Stamp Set
HCPC-3841 Oakberry Lane Antics Cling Stamp Set
HCD2-7190 Frame a Card Leafy Borders Die
HCD1-7199 Oakberry Lane Antics Die
RACP468 Ranger Archival Ink Pad - Jet Black
RPEJ685 Embossing Powder - White
HCPP1-438-1 Paper Pack of 10 - Black
HCPP3-452 12 x 12 Cardstock Pack of 25 - White
RAHT Heat It Craft Tool
D120601 Darice Adhesive Foam Strips
NU650 Nuvo Crystal Drops - Ebony Black
173842 Scor-Pal Measuring & Scoring Board
D110305 Stamp Mat Pad
359848 Spellbinders Tool N' One
411231 5pc. Acrylic Block Set
Other Products:
Versamark Ink, Pencil colors,
Stamp the sentiment from Oakberry Cottage & Sentiments Cling Stamp Set using Versamark Ink on a piece of black cardstock and heat emboss it using White Embossing Powder and Heat It Craft Tool. Adhere it to the card front slightly overlapping the colored image using Darice Adhesive Foam Strips.
I have 2 more cards made with this same stamp but with a different technique which resulted in a very different look... so watch out for them in the coming weeks...
Hope you like this card...
Thank you for visiting today... :)
It is a new release week...Woohoooo
And this month we have
Oakberry Lane Collection
Come along as we head deep into the woodlands to explore the world of Oakberry Lane…the newest collection from Heartfelt Creations! Filled with delightful illustrations of lively, high spirited and lovable squirrels, this collection is one to capture your heart and creative imagination, and will appeal to both the young and the young at heart! Create irresistible outdoor themed scrapbook layouts preserving those precious moments experienced in the great outdoors, as well as charming handmade greeting cards ready to deliver well wishes and sentimental thoughts to friends and loved ones! Darling illustrations of squirrels at play on teeter totters and tire swings, gathering nuts, and bounding about in beautiful floral gardens with their tails held high, remind us that taking time to play, enjoying the company of others and banding together to make light work of the tasks at hand are important to a well balanced life! A stunning autumn themed color palette of acorn browns, woodland greens, sunset oranges, autumn leaf reds, along with deep plums and dark pinks, lay the foundation for decorative papers displaying delicate lace like patterns, vintage style barn wood patchwork backgrounds, as well as fascinating outdoor garden settings! Create your very own Oakberry Lane scenes with three cute and entertaining cling stamp sets and coordinating dies featuring a substantially sized acorn homestead, an assembling of lovable squirrels at play, and of course Oakberry Lane’s own signature wildflower blossom ready to be stamped, colored and assembled into a realistic 3D floral embellishment to accent all of your Oakberry Lane creations! So take a cue from our furry friends and make time to join in on the merriment! A creative adventure awaits you…we promise!Oakberry Lane Collection I Want It All is on 10% discount till 15th September or till supplies last so hurry!!!
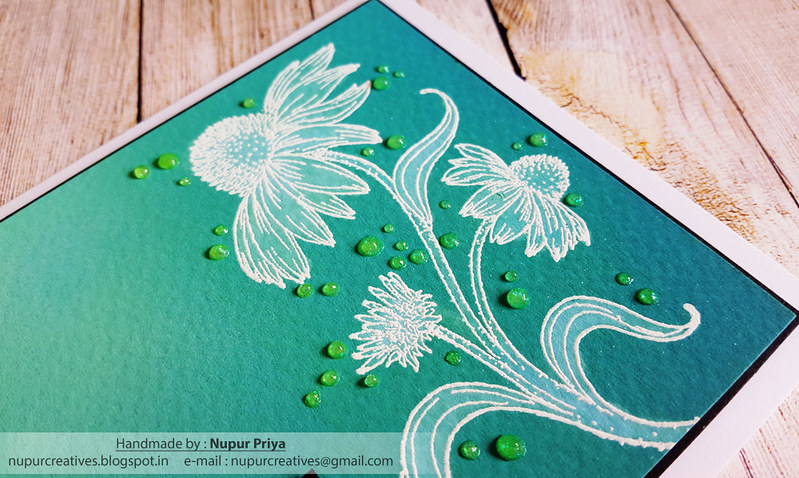
I have made a card with a gorgeous flower image from Oakberry Lane Antics Cling Stamp Set
I have also used Frame a Card Leafy Borders Die to create the background... Using it in a new way which is great to stretch the use of this die to get a different look...
Scroll down for the supply list & instructions on how to make this card....
But before we move on have you checked out the LIMITED EDITION section of Heartfelt Creations store??? They are retiring a lot of stamps, dies, papers and other products and the deals are very good... Dies are available for $14.99 instead of $29.99!
Journal Binder and Pages are also on 50% discount till 7/31/18 !
Don't fail to avail these awesome discount ....
Now moving on to my card...
Heartfelt Creations Products:
HCPC-3840 Oakberry Cottage & Sentiments Cling Stamp Set
HCPC-3841 Oakberry Lane Antics Cling Stamp Set
HCD2-7190 Frame a Card Leafy Borders Die
HCD1-7199 Oakberry Lane Antics Die
RACP468 Ranger Archival Ink Pad - Jet Black
RPEJ685 Embossing Powder - White
HCPP1-438-1 Paper Pack of 10 - Black
HCPP3-452 12 x 12 Cardstock Pack of 25 - White
RAHT Heat It Craft Tool
D120601 Darice Adhesive Foam Strips
NU650 Nuvo Crystal Drops - Ebony Black
173842 Scor-Pal Measuring & Scoring Board
D110305 Stamp Mat Pad
359848 Spellbinders Tool N' One
411231 5pc. Acrylic Block Set
Other Products:
Versamark Ink, Pencil colors,
Instructions:
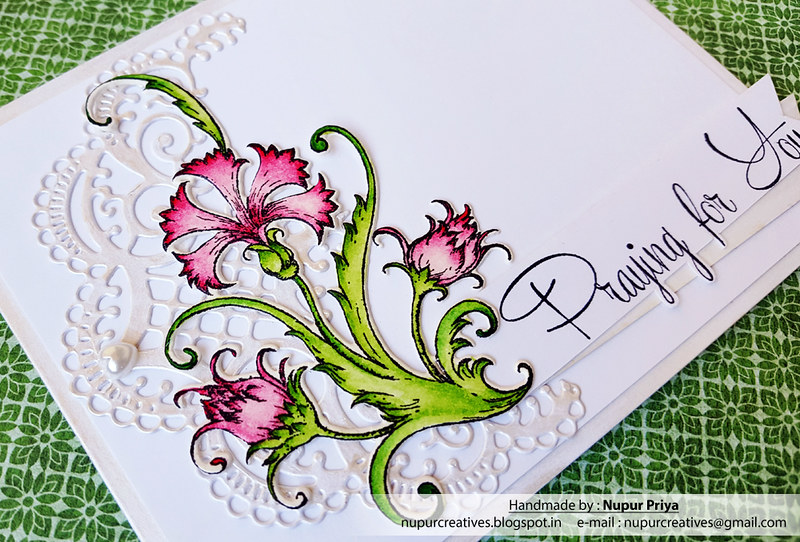
Take a piece of 4"x 5 1/4" white cardstock and die cut the top left corner using the 2 smallest dies from Frame a Card Leafy Borders Die. Use the inset dies only without the borders. Cut of the blank triangle above the die cut border. Adhere it to a 4 1/4" x 5 1/2" white cardbase using Darice Adhesive Foam Strips.
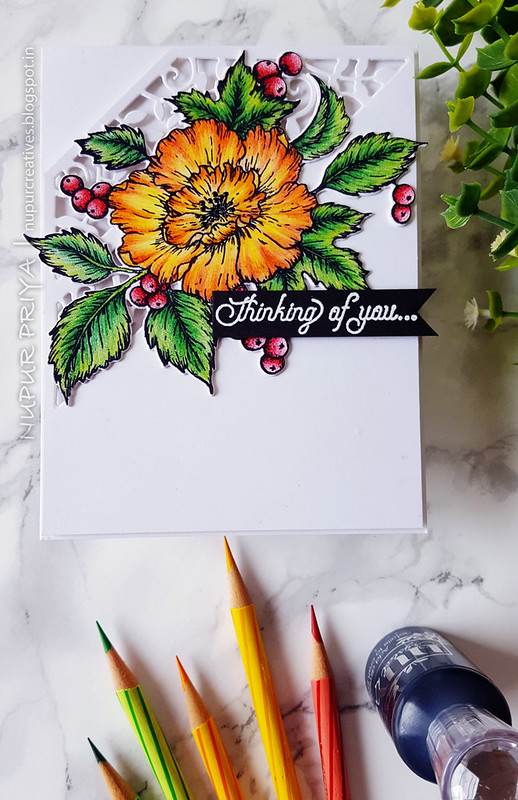
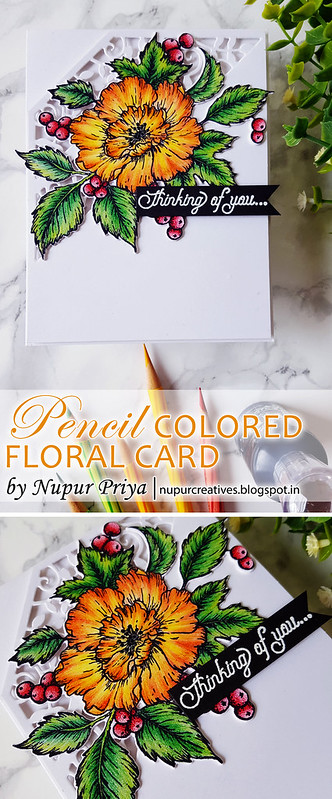
Stamp the image from Oakberry Lane Antics Cling Stamp Set using Black Archival Ink on a piece of white cardstock. Color it using pencil colors in shades of yellow, orange, red and green. Die cut it using matching die from Oakberry Lane Antics Die. Die cut one more piece of white cardstock using the same die. Glue them together to add strength to the die cut image. Glue it to the card front as shown. Add Ebony Black Nuvo Crystal Drops to the flower center.
Stamp the sentiment from Oakberry Cottage & Sentiments Cling Stamp Set using Versamark Ink on a piece of black cardstock and heat emboss it using White Embossing Powder and Heat It Craft Tool. Adhere it to the card front slightly overlapping the colored image using Darice Adhesive Foam Strips.
I have 2 more cards made with this same stamp but with a different technique which resulted in a very different look... so watch out for them in the coming weeks...
Hope you like this card...
Thank you for visiting today... :)