Wednesday, 21 August 2019

No-Line Watercoloring and Ice Skating Penguins

Hello friends and welcome to Heartfelt Wednesday
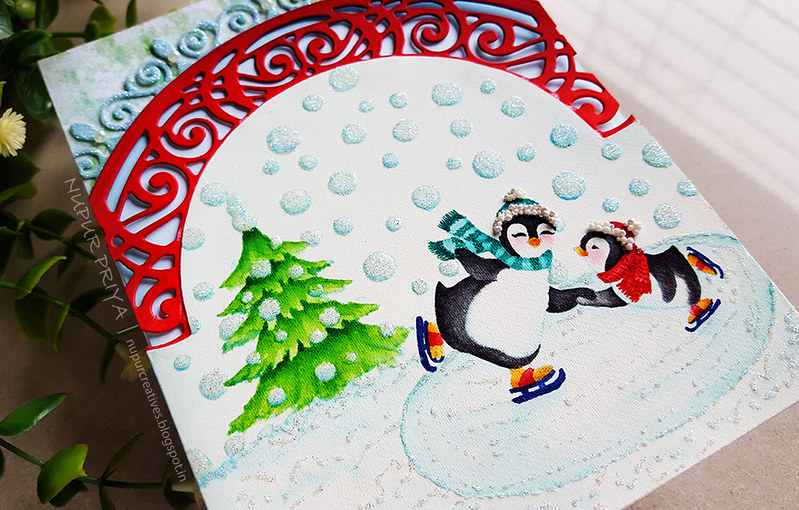
I have a very cute and glittery card with a vintage vibe for today's inspiration made with the latest Christmas collection release by Heartfelt Creations...

Full supply List and instructions at the end...No-Line Watercoloring and Ice Skating Penguins_Nupur Priya_1

No-Line Watercoloring and Ice Skating Penguins_Nupur Priya_2

No-Line Watercoloring and Ice Skating Penguins_Nupur Priya_3

No-Line Watercoloring and Ice Skating Penguins_Nupur Priya_4

Heartfelt Creations Products: 

HCPC-3886 Season of Glee Cling Stamp Set
HCD1-7256 Heart of Joy Decorative Die
HCDP1-2105 Candy Cane Cottage Paper Collection
HCPP3-452 12 x 12 Cardstock Pack of 25 - White
ANC850 Spring Bling Prills - Minnie Pearls
352854 Metal Tip for Adhesive Bottles
159723 Designer Dries Clear Adhesive
159951 Designer Dries White Adhesive 
411231 5pc. Acrylic Block Set
359848 Spellbinders Tool N' One
HCDA2-450 Stack and Store Daubers-Pack of 30

Other Products:

Mowed Lawn, Candied Apple, Tumbled Glass, Pine Needles, Aged Mahogany, Worn Lipstick, Black Soot, Chipped Sapphire and Carved Pupkin Distress inks, watercolor cardstock, Paint Brushes, transparent holographic glitter and pearls.

Instructions:

Stamp the images from Season of Glee Cling Stamp Set on a 4 1/4" x 5" piece of watercolor cardstock using Tumbled Glass Distress ink and color them using Mowed Lawn, Candied Apple, Tumbled Glass, Pine Needles, Aged Mahogany, Worn Lipstick, Black Soot, Chipped Sapphire and Carved Pupkin Distress inks. 

Die cut a piece of white cardstock using the dies from Heart of Joy Decorative Die and ink it with Candied Apple and aged Mahogany Distress inks. Trace the inner semi-circle edge on the watercolored piece and fussy cut it as shown. Trace the top edge of this piece on a 4 3/4" x 5" white cardstock piece aligning it with the right edge and fussy cut this piece too. Score the white cardstock piece at 1/2" to make a hinge. Adhere the red die cut piece behind the watercolored panel and then adhere this piece on the white cardstock piece with the hinge. Adhere the hinge on the left side of a 4 1/4" x 5 1/2" piece of white cardstock.


Cut a 1/4" x 5 1/2" piece of pattern paper from Candy Cane Cottage Paper Collection and adhere it inside the card. Die cut a 1/4" x 5 1/2" piece of white cardstock. using the largest die from  Heart of Joy Decorative Die and ink it with Tumbled Glass Distress ink. Apply glue to the die cut border and sprinkle transparent holographic glitter on it. Adhere this piece on the pattern paperso that the die cut edge aligns with the red die cut on the front.


Apply a little transparent holographic glitter to the snow on the tree image. Apply a little Designer Dries White Adhesive on the penguin's caps and glue Minnie Pearls on it. Add few pearls to the die cut to add finishing touch.

Hope you like it...

Thank you for visiting today... :)
Nupur
Disclosure : Compensated affiliate links used when possible  at NO additional cost to you.. Thank you! 

Sunday, 18 August 2019

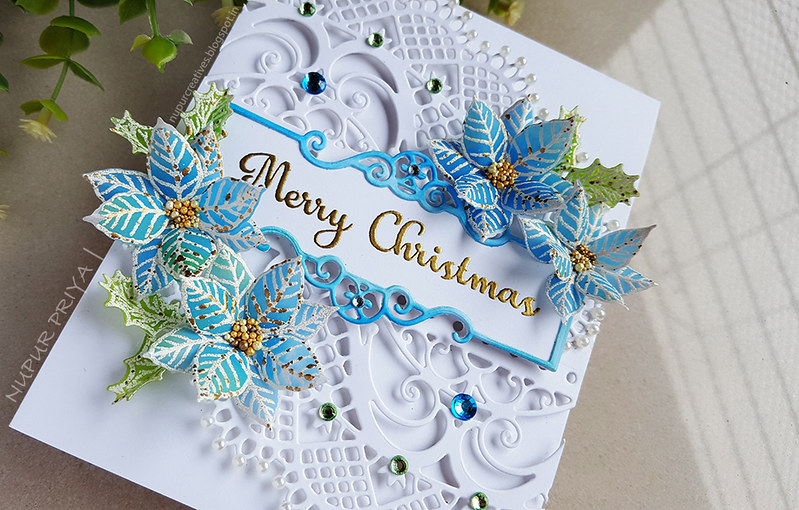
Blue Poinsettia Card

Hello Friends and welcome
I am sharing a Christmas card today
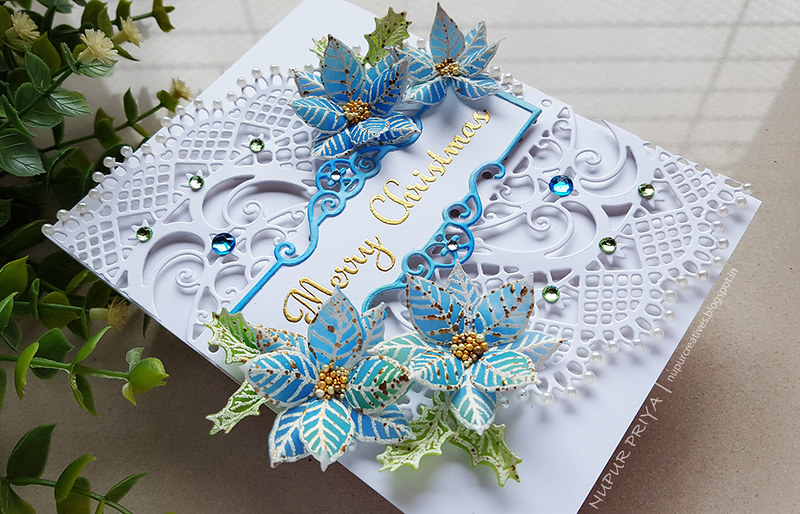
This has non-traditional color scheme : Blue and white with a hint of gold and green
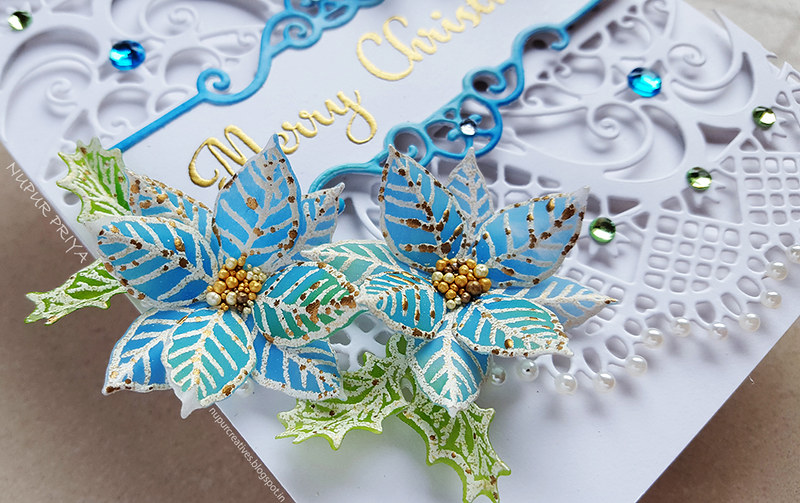
Don't you just love the look of vellum flowers
Full supply list and instructions are below at the end
Blue Poinsettia Card_Nupur Priya_1

Blue Poinsettia Card_Nupur Priya_1

Blue Poinsettia Card_Nupur Priya_2

Blue Poinsettia Card_Nupur Priya_3

Blue Poinsettia Card_Nupur Priya_4

Blue Poinsettia Card_Nupur Priya_5


Heartfelt Creations Products:

HCPC-3881 Christmas Poinsettia & Holly Cling Stamp Set
HCPC-3882 Candlelit Poinsettia Cling Stamp Set
HCD1-7203 Ornamental Tags Die
HCD1-7245 Adorn It Pocket Accents Die
HCD1-7249 Christmas Poinsettia & Holly Die
HCPP3-452 12 x 12 Cardstock Pack of 25 - White
18002 Rajni Chawla's Vellum Flowerite
352854 Metal Tip for Adhesive Bottles
159723 Designer Dries Clear Adhesive
D120601 Darice Adhesive Foam Strips
209277 Embossing Enamel - Aged Ivory
359760 Embossing Powder - Gold
DMCT4185 Groove Golf Tool Set
HCDA2-450 Stack and Store Daubers-Pack of 30
RAHT Heat It Craft Tool
ANC851 Rock N' Roll Prills - I'm A-Maized

Other Products:
Mowed Lawn Distress ink, Salty Ocean Distress Oxide ink, Versamark ink, pearls and rhinestones.


Instruction:
Die cut 2 pieces of white cardstock using the die from Adorn It Pocket Accents Die and cut both at 4 1/4" from the right. Rotate 1 piece so that it is upside down and adhere it to the other piece so that the sizeof the final piece is 4 1/4" x 5 1/2". Adhere this piece on a 4 1/4" x 5 1/2" white card base as shown using Darice Adhesive Foam Strips.


Stamp the sentiment from theCandlelit Poinsettia Cling Stamp Set on a piece of white cardstock using versamark ink and heat emboss using Gold Embossing Powder and Heat It Craft Tool. Die cut this piece of cardstock using the second largest die from Ornamental Tags Die. Die cut another piece of white cardstock using the dies from the same set. Cut away the sentiment portion of the die cut leaving only the border intact. Ink it with Salty Ocean Distress ink and adhere it on the previous white die cut with the sentiment. Adhere the final piece of the card front as shown using Darice Adhesive Foam Strips.

Stamp the leaves and flowers from Christmas Poinsettia & Holly Cling Stamp Set several times on a sheet of Vellum using Versamark ink. Heat emboss them using Aged Ivory Embossing Enamel and Heat It Craft Tool. Color them with Mowed Lawn Distress ink and Salty Ocean Distress Oxide ink. Die cut them using matching dies from Christmas Poinsettia & Holly Die. Shape them using Groove Golf Tool Set and add a little I'm A-Maized Prills to the Poinsettia's center. Arrange and adhere them as shown on the card front.  Add few rhinestones and pearls to the die cut to add finishing touch.


Hope you like it...

Thank you for visiting today... :)
Nupur
Disclosure : Compensated affiliate links used when possible  at NO additional cost to you.. Thank you! 

Wednesday, 14 August 2019

Christmas Carol with Penguins

Hello Friends and welcome to Heartfelt Wednesday
Today is the new release day and we have an adorable Christmas collection and I loved playing with it
If you are a part of Heartfelt Creations Facebook group then chances are that you have already seen the preview video of one of the cards that I made for this collection and I am so thankful for all the lovely comments and the excitement that it created ( that card will be posted here and on heartfelt Creations blog with full instructions in the coming weeks so stay tuned)

So without further ado let me introduce you to the new collection

Candy Cane Cottage Collection!

Join in on the lighthearted merriment of the holiday season with the new Candy Cane Cottage Collection from Heartfelt Creations! Experience a feeling of happiness and excitement as you immerse yourself in a world of fun filled antics featuring adorable North & South Pole critters celebrating Christmas outdoor style! Begin your snow filled adventures ice skating with fun-loving penguins on a glistening frozen pond, then grab a pair of candy canes and hit the ski slopes for a fast downhill race! Head over to the sweet treat Candy Cane Cottage to warm up with a cup of hot cocoa and thawing hugs from loveable polar bears! Bring this whimsical winter yuletide collection to life, and spread the holiday excitement to friends and loved ones with a charming assortment of coordinating cling stamp sets, decorative dies, and a beautiful frosty designer paper collection filled with jolly hues of berry reds, Christmas tree greens, frigid wintry blues and gleaming snowy whites! Premade card panels with gleeful scenes of penguins at play, elegant poinsettia clusters, and candy constructed cottages lend themselves to quick creating during the busy holiday season, while festive background and scrapbook pages display candy cane stripes, scrolling patterns and gently falling snow, perfect for accenting all of your Christmas or winter themed projects! Three charming cling stamp sets showcasing penguins at play, along with a substantially sized Candy Cane Cottage, brightly shining string lights, delicious candy cane accents, and snow filled evergreen trees set the stage for creating frolicsome, animated scenes for handmade greeting cards, scrapbook layouts, and altered art projects! When paired with the coordinating dies, these happy and high-spirited critter die cuts become adorable dimensional embellishment pieces ready to deliver wintry birthday wishes or yuletide sentiments! So, throw on your down filled parka and warm winter boots, and tag along with us as we head out on a wintery holiday adventure with the Candy Cane Cottage Collection!

And here is the card I made to debut this collection...
Full supply list and instructions at the end...
Christmas Carol with Penguins_Nupur Priya_1

Christmas Carol with Penguins_Nupur Priya_2

Christmas Carol with Penguins_Nupur Priya_3

Christmas Carol with Penguins_Nupur Priya_4

Christmas Carol with Penguins_Nupur Priya_5

Christmas Carol with Penguins_Nupur Priya_6

Christmas Carol with Penguins_Nupur Priya_7


Heartfelt Creations Products: 
HCPC-3884 Candy Cane Cottage Cling Stamp Set
HCPC-3885 Merry Moments Cling Stamp Set
HCPC-3886 Season of Glee Cling Stamp Set
HCD1-7253 Candy Cane Cottage Die
HCD1-7254 Merry Moments Die
HCD1-7255 Season of Glee Die
HCD1-7256 Heart of Joy Decorative Die
HCPP3-452 12 x 12 Cardstock Pack of 25 - White
HCDP1-2105 Candy Cane Cottage Paper Collection
RACP468 Ranger Archival Ink Pad - Jet Black
RACP461 Ranger Archival Ink Pad - Vermillion
ANC850 Spring Bling Prills - Minnie Pearls
Zig Clean Color Real Brush Markers
352854 Metal Tip for Adhesive Bottles
159723 Designer Dries Clear Adhesive
159951 Designer Dries White Adhesive
DDOTS Double Dots 100pc. -3D Foam Circles
3D1844 3-D Crystal Lacquer

Other Products:
Watercolor cardstock, transparent holographic glitter and pearls

Instructions:
Adhere a 5" x 7" piece of pattern paper from Candy Cane Cottage Paper Collection on a top folding 5" x 7" white card base. Die cut the left side using the semicircle outline die from Heart of Joy Decorative Die. Die cut a piece of white cardstock using the other two dies from the same die set and adhere it on the die cut circle on the cardbase as shown.

Stamp the images from  Candy Cane Cottage Cling Stamp SetMerry Moments Cling Stamp Set and Season of Glee Cling Stamp Set using Jet Black Archival Ink on a piece of watercolor cardstock. Stamp the candy cane using Vermillion Archival Ink on a piece of watercolor cardstock. Color all the images using Zig Clean Color Real Brush Markers. Die cut them using matching dies from Candy Cane Cottage DieMerry Moments Die and Season of Glee Die. Die cut 4 more pieces white cardstock for every image using the same dies. Stack and adhere all the images. Now adhere all the final pieces on the card front as shown using 3D Foam Circles and  Designer Dries Clear Adhesive


Apply 3-D Crystal Lacquer to the candy canes and the colorful bulbs. Apply a little transparent holographic glitter to the snow on the tree image. Apply a little Designer Dries White Adhesive on the penguin's caps and glue Minnie Pearls on it. Add few pearls to the die cut to add finishing touch.


Hope you like it...

Thank you for visiting today... :)
Nupur
Disclosure : Compensated affiliate links used when possible  at NO additional cost to you.. Thank you! 

Wednesday, 24 July 2019

Vellum Candlelit Christmas Card

Hello and welcome

I am back with yet another card made with Heartfelt Creations products...
Have you started making your Christmas cards yet... 
We are celebrating Christmas in July at Heartfelt Creations and we have lots of inspiration and new collection to get you started...
 This is my 3rd card using the new Candlelit Christmas Collection...
This time I have a Vellum card. I love using vellum and the shimmer vellum is Oh so Gorgeous!
But it's hard to get shimmer Vellum where I live so I have made my own using Pure Platinum Nuvo Mousse on  Rajni Chawla's Vellum Flowerite and it looks so good with the gold embossing on a festive card. I will try other colors of Nuvo Mousse on vellum and see if it works out to create colored shimmer vellum or not. I will keep you posted and if I like the result then I will surely use it on my future cards.
All the instructions and supply list for this card is at the end as usual.
Vellum Candlelit Christmas Card_1_NupurCreatives

Vellum Candlelit Christmas Card_2_NupurCreatives

Heartfelt Creations Products:
HCPC-3882 Candlelit Poinsettia Cling Stamp Set
HCD1-754 Eyelet Circle and Basics Small Dies
HCD1-7250 Candlelit Poinsettia Die
HCD1-7252 Starry Night Decorative Die
HCDP1-2104 Candlelit Christmas Paper Collection
HCPP3-452 12 x 12 Cardstock Pack of 25 - White
18002 Rajni Chawla's Vellum Flowerite
NU803 Pure Platinum Nuvo Mousse
359760 Embossing Powder - Gold
RAHT Heat It Craft Tool
359848 Spellbinders Tool N' One
411231 5pc. Acrylic Block Set
352854 Metal Tip for Adhesive Bottles
159723 Designer Dries Clear Adhesive
DDOTS Double Dots 100pc. -3D Foam Circles

Other Products:

Aged Mahogany, Candied Apple, Peeled Paint, Mowed Lawn, Forest Moss, Salty Ocean, Chipped Sapphire, Mustard Seed and Carved Pumpkin Distress inks, Versamark ink, watercolor cardstock, paint brushes and pearls.

Instructions:

Stamp the image from Candlelit Poinsettia Cling Stamp Set on a piece of watercolor cardstock using Versamark ink and heat emboss using RAHT Heat It Craft Tool and Gold Embossing Powder. Color in the image using Aged Mahogany, Candied Apple, Peeled Paint, Mowed Lawn, Forest Moss, Salty Ocean, Chipped Sapphire, Mustard Seed and Carved Pumpkin Distress inks. Die cut the colored image using the matching die from Candlelit Poinsettia Die. Die cut 4 more pieces of white cardstock using the same die, stack and adhere them together. 

Take a 5 1/2" x 8 1/2" piece of vellum and score it at 4 1/4" to make a 4 1/4" x 5 1/2" top folding card base. Apply Pure Platinum Nuvo Mousse on the front of this card base to add shimmering silver effect on the vellum.


Die cut a piece of white cardstock using Starry Night Decorative Die. Trace the inner semi-circle on a piece of pattern paper from Candlelit Christmas Paper Collection and white cardstock and fussy cut them. Adhere the pattern paper piece behind the die cut and adhere it to the vellum card base as shown. Adhere the white cardstock piece on the other side of vellum to hide the glue marks. Adhere the watercolored piece on the die cut.


Die cut a piece of white cardstock using the largest die from Eyelet Circle and Basics Small Dies and cut it into half. Adhere them on both sides of the back panel of the vellum card base for a place to write personal message. Adhere few pearls to the die cut on the front to add finishing touch.


Hope you like it...

Thank you for visiting today... :)
Nupur
Disclosure : Compensated affiliate links used when possible  at NO additional cost to you.. Thank you! 

Wednesday, 17 July 2019

Underpainting Watercolored Christmas Card

Hello and Welcome...
I am sharing my 2nd card made with the latest release by Heartfelt Creations...
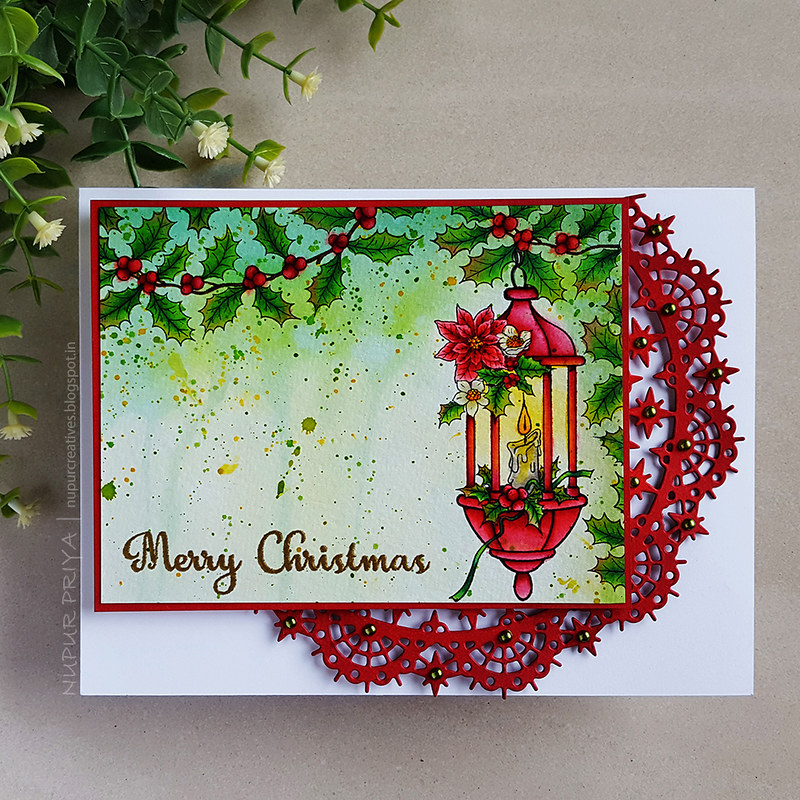
I loved painting for this card. I wanted the painted piece to be the focal point so I didn't add any flowers or embellishments apart from a doily die cut and few green pearls.
Read till the end for the supply list and instruction for this card.

Underpainting Watercolored Christmas Card_1_Nupur Creatives

Underpainting Watercolored Christmas Card_2_Nupur Creatives

Underpainting Watercolored Christmas Card_3_Nupur Creatives

Underpainting Watercolored Christmas Card_4_Nupur Creatives

Underpainting Watercolored Christmas Card_5_Nupur Creatives


Heartfelt Creations Products:
HCPC-3882 Candlelit Poinsettia Cling Stamp Set
HCPC-3883 Glow of Christmas Cling Stamp Set
HCD1-7252 Starry Night Decorative Die
HCPP3-452 12 x 12 Cardstock Pack of 25 - White
RACP468 Ranger Archival Ink Pad - Jet Black
359760 Embossing Powder - Gold
RAHT Heat It Craft Tool
352854 Metal Tip for Adhesive Bottles
159723 Designer Dries Clear Adhesive
D120601 Darice Adhesive Foam Strips
HCDA2-450 Stack and Store Daubers-Pack of 30
359848 Spellbinders Tool N' One
411231 5pc. Acrylic Block Set

Other Products:
Aged Mahogany, Candied Apple, Worn Lipstick, Mustard Seed, Mowed Lawn, Pine Needles, Carved Pumpkin and Hickory Smoke Distress inks, Versamark ink, watercolor cardstock, paint Brushes and green pearls.


Instructions:
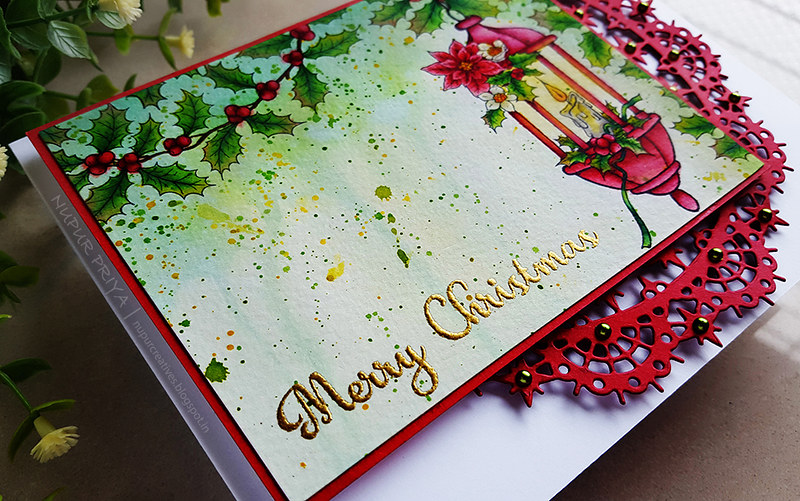
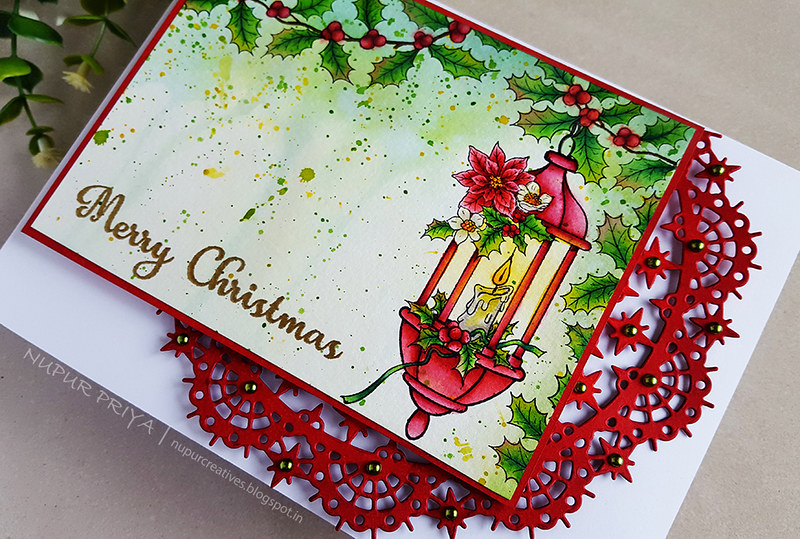
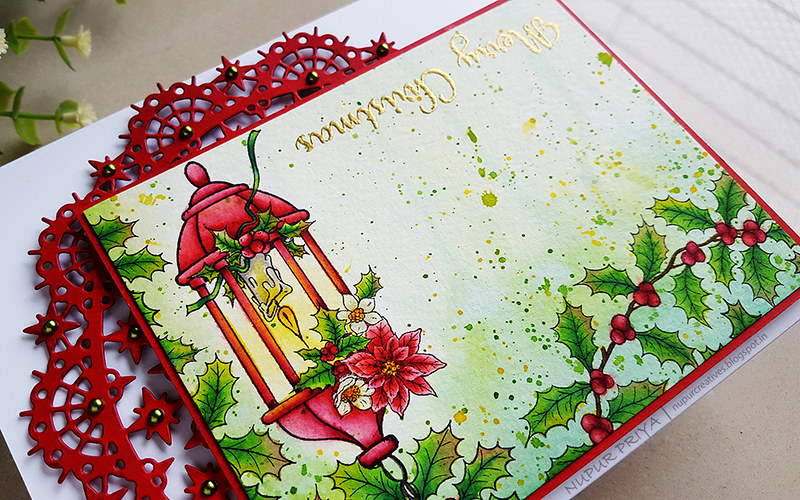
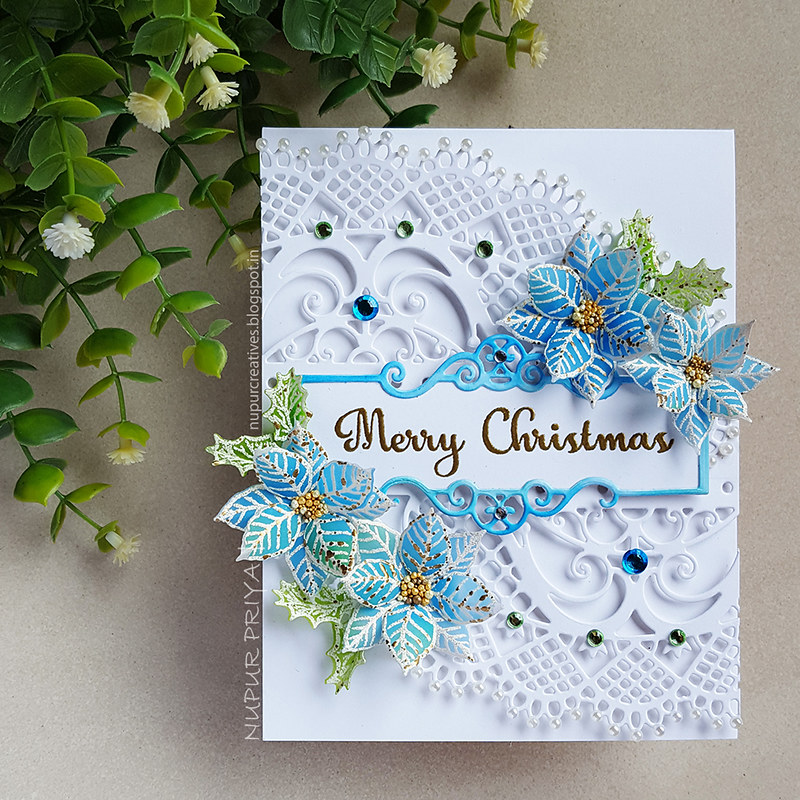
Stamp the images from Glow of Christmas Cling Stamp Set on a piece of watercolor cardstock using Jet Black Archival Ink Pad and color it using Aged Mahogany, Candied Apple, Worn Lipstick, Mustard Seed, Mowed Lawn, Pine Needles, Carved Pumpkin and Hickory Smoke Distress inks. Trim down the watercolored panel to 5" x 3 7/8". Stamp the sentiment from Candlelit Poinsettia Cling Stamp Set on the lower left corner of the watercolored panel using Versamark ink and heat emboss it using RAHT Heat It Craft Tool and Gold Embossing Powder.

Take a slightly larger piece of white cardstock and ink it with 
Aged Mahogany and Candied Apple Distress inks. Adhere the watercolor panel on it. Die cut a piece of white cardstock using the die from Starry Night Decorative Die and ink it with Aged Mahogany and Candied Apple Distress inks. Adhere this piece behind the watercolored panel as shown using Darice Adhesive Foam Strips. Adhere the resulting piece on a 6 3/4" x 5" top folding white card base using  Darice Adhesive Foam Strips. Add some green pearls to the die cut to add finishing touch.


Hope you like it...

Thank you for visiting today... :)
Nupur
Disclosure : Compensated affiliate links used when possible  at NO additional cost to you.. Thank you! 

Wednesday, 10 July 2019

See Through Diecut Christmas Card

Hello Friends and welcome to Heartfelt Wednesday...

Christmas in July is here... WoooHooo...

The snow is gently falling, the decorating has been done, and the soft glow from the candles in the window invite you to just sit, relax and enjoy the peaceful side of the holiday season! Flickering candlelight is always a cozy welcome addition to any Christmas festivities, and is a lovely way to create a warm and welcoming ambiance, allowing for a stillness that leads to reflections of the season! Steeped in traditions for centuries, illuminated candles have been associated with the yuletide season in various ways…from being placed in the window offering a warm welcome to travelers from afar, to representing the Star of Bethlehem guiding the Wise Men to the birthplace of Jesus Christ, to setting the ambiance to a family Christmas dinner! Whether you enjoy the brilliance of candlelit lanterns, grand candelabras or a glowing votive, there is no denying the beautiful luminescence candles bring to the advent season! Join us as we leave behind the hustle and bustle and take time to reflect on the calmer side of the holiday season with the new Candlelit Christmas Collection! Become enraptured in a glimmering paper collection hued in brilliant blues, garland greens and holly berry reds, ensconced in illustrations of glowing candlelit lanterns, pretty centerpieces, and gladdening poinsettias, all dipped in elegant snowflake patterns, breathtaking brocades and festive floral clusters! A brilliant assembling of cling stamp sets, along with coordinating dies, offer radiant illustrations of festive lanterns, stunning ornamental centerpieces and beautifully scripted sentiments, perfect for embellishing all of your Christmas themed paper crafting creations. Stamp, die cut and shape an assortment of traditional flowering poinsettias, along with decorative holly accents quickly and easily with the coordinating cling stamp set, dies and dimensional shaping mold, allowing you to assemble realistic holiday poinsettias ideal for accenting handmade holiday greeting cards, scrapbook layouts, and heirloom albums!  So, join us as we light our favorite candles, take in the beauty of the holiday season, and enjoy the shimmer and incandescence of the Candlelit Christmas Collection!


This is a gorgeous collection and here is what I created using this collection.

This card was inspired by the amazing Jennifer McGuire.
Read till the end for full supply list and instructions for this card.

See Through Diecut Christmas Card_1

See Through Diecut Christmas Card_2

See Through Diecut Christmas Card_3

See Through Diecut Christmas Card_4

Heartfelt Creations Products:

HCPC-3881 Christmas Poinsettia & Holly Cling Stamp Set
HCD1-7214 Ornate Pocket Accents Die
HCD1-7249 Christmas Poinsettia & Holly Die
HCDP1-2104 Candlelit Christmas Paper Collection
HCPP3-452 12 x 12 Cardstock Pack of 25 - White
HCPP1-475 Deluxe Flower Shaping Paper - Pack of 50
RACP499 Ranger Archival Ink Pad - Plum
RACP482 Ranger Archival Ink Pad - Olive
ANC850 Spring Bling Prills - Heart of Gold
HCFB1-478 3D Christmas Poinsettia Shaping Mold
HCST1-401 Deluxe Flower Shaping Kit
352854 Metal Tip for Adhesive Bottles
159723 Designer Dries Clear Adhesive
HCS1-457-2 Pastel Pearl Stamens-Medium

Other Products:
Candied Apple and Mowed Lawn Distress inks, MS scoreboard, pearls and rhinestones.

Instruction: Take a piece of 4 1/2" x 5 3/4" piece of white cardstock and die cut its edges 4 times with the die from Ornate Pocket Accents Die so that it makes a 4 1/4" x 5 1/2" frame. Die cut 2 pieces of white cardstock using the lacy corner die from the same die set so that there is a 1/8" border on the uncut adjacent sides. Glue these sides behind the top right corner and bottom left corner of the frame created in previous step.

Stamp the leaves and flowers from Christmas Poinsettia & Holly Cling Stamp Set several times on a sheet of Deluxe Flower Shaping Paper using Olive and Plum Archival Ink pad. Die cut them using matching dies from Christmas Poinsettia & Holly Die. Ink the flowers with Candied Apple Distress ink and the leaves with Mowed Lawn Distress ink.


Arrange and adhere the leaves so that they connect both the corner die cuts leaving some areas uncovered to create a continues see through look. Adhere some pieces from the back to make it sturdier. Shape the remaining flowers and leaves using 3D Christmas Poinsettia Shaping Mold and Deluxe Flower Shaping Kit. Glue a little Heart of Gold Prills to the flower centers. Glue the shaped leaves overlapping the previously glued leaves. Glue the flowers on the leaves. Glue few white stamens from Medium Pastel Pearl Stamens to the flower arrangement. Add few rhinestones and pearls to the die cut.


Take a 4 1/4" x 11 1/8" piece of cardstock and score it at 5 1/2" and 11". Cut away a sliver of cardstock from the 5 1/2" side. Fold all the scorelines and adhere the 1/8" tab behind the die cut front panel that we created to make a trifold card. Cut a 4 1/4" x 5 1/2" piece of pattern paper from Candlelit Christmas Paper Collection and adhere it to the side that can be seen when the card is closed.


Hope you like it...

Thank you for visiting today... :)
Nupur
Disclosure : Compensated affiliate links used when possible  at NO additional cost to you.. Thank you!